Correcaminos Got Hitched
(Click to enlarge)
Installing an EcoHitch
on our Model 3
Mark D Larsen
|
Correcaminos Got Hitched (Click to enlarge) | Hitch 1:
Installing an EcoHitch on our Model 3 Mark D Larsen |
Several years ago, I installed a Torklift EcoHitch on our LEAF to carry the bike rack that we had used previously on our Subaru. We really liked being able to use that hitch to transport our converted e-bikes to the various bicycle paths around our community. I was therefore very glad to see several months ago that Torklift now sells an EcoHitch for the Model 3. Even better, this newer model had a “stealth” design like Tesla’s own trailer hitch for the Model X, so that owners can remove the receiver and cover the opening with an aerodynamic plate. I determined to buy a 1.25" version of one of these new EcoHitches for Correcaminos, not only to accommodate our bike rack, but also a new add-on.
I am not an adept handyman, but I will state that installing this EcoHitch was not as daunting as I had anticipated, thanks to the step-by-step video that Torklift has posted on YouTube. The challenge basically involves removing 6 plastic clips and two torx screws in the wheel wells, as well as several bolts behind the tail lights and through the undercover, then unclipping the wiring for the rear sensors. No welding is needed, because the hitch mounts on the same bolts that secure the crash bar behind the bumper. The only cutting required is for the “stealth” opening in the undercover.
NOTE: You can click on any of the following photos to enlarge them.

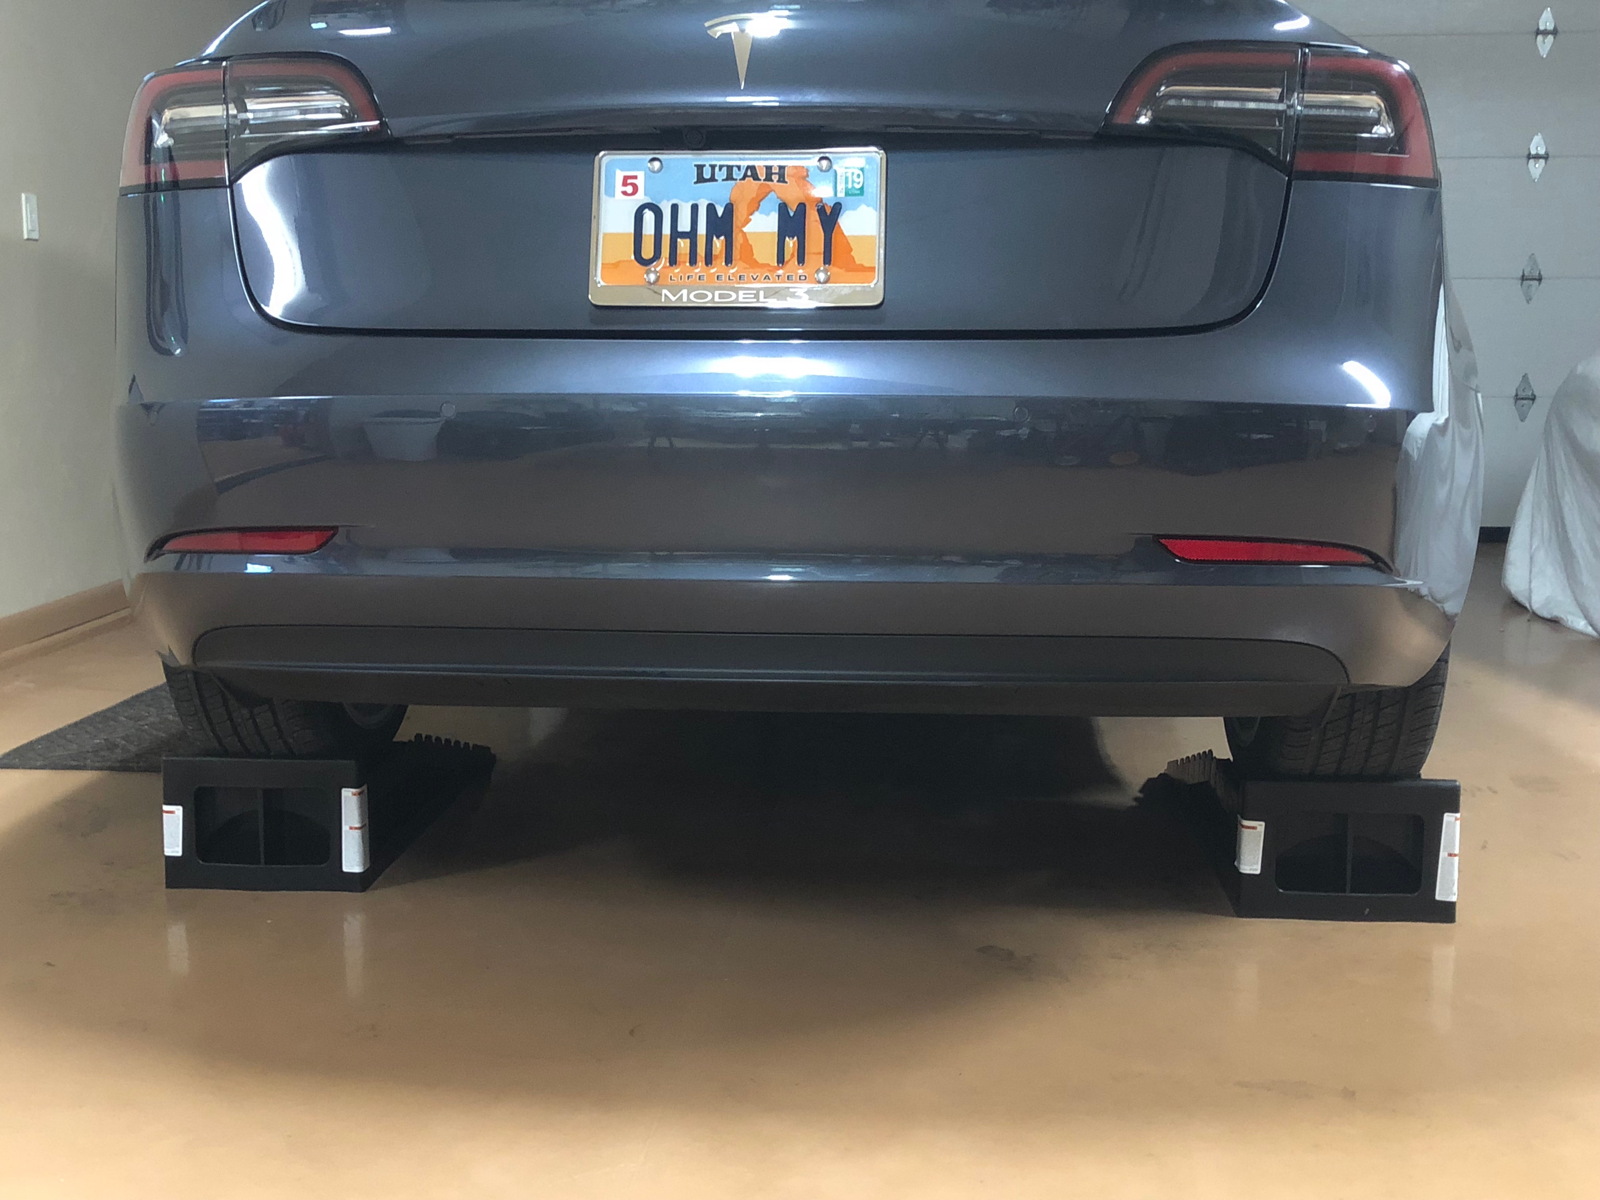
To access the undercover more easily, I purchased a pair of car ramps.

They raised the rear end about a half-a-foot.

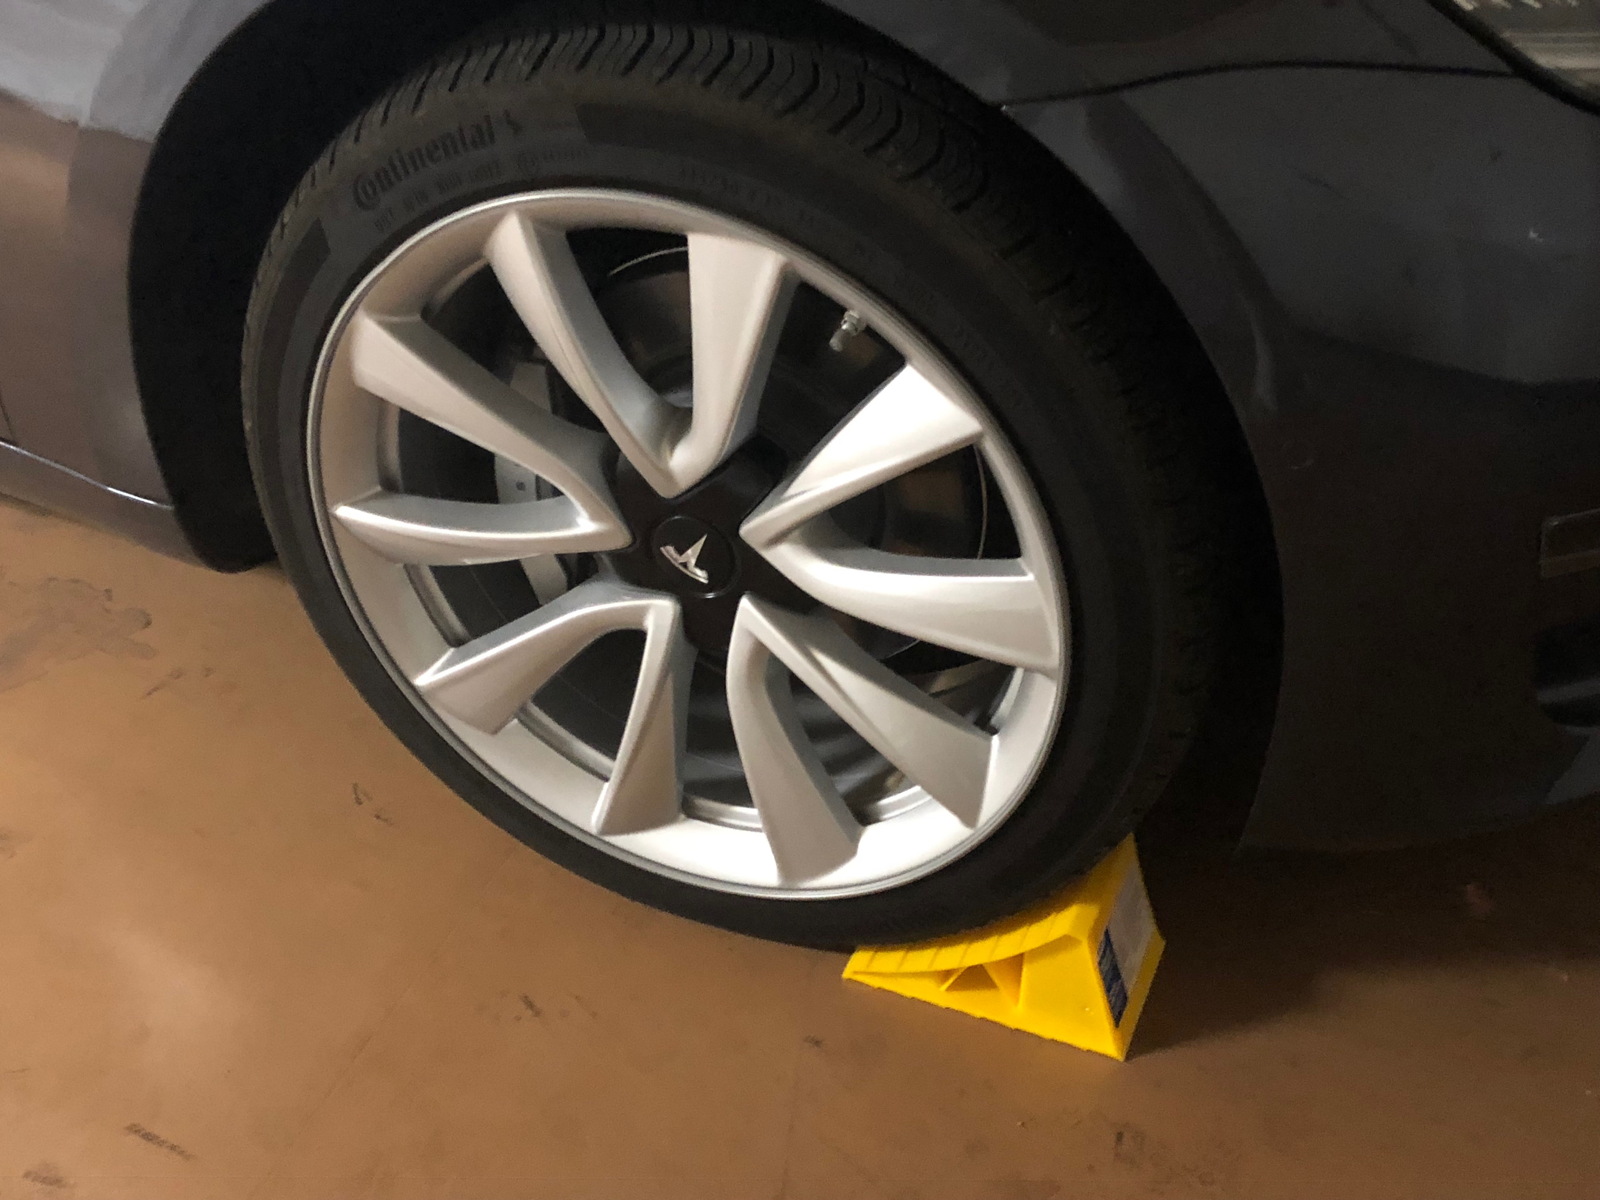
To be on the safe side, I also bought a pair of chocks to secure the front wheels while I worked.

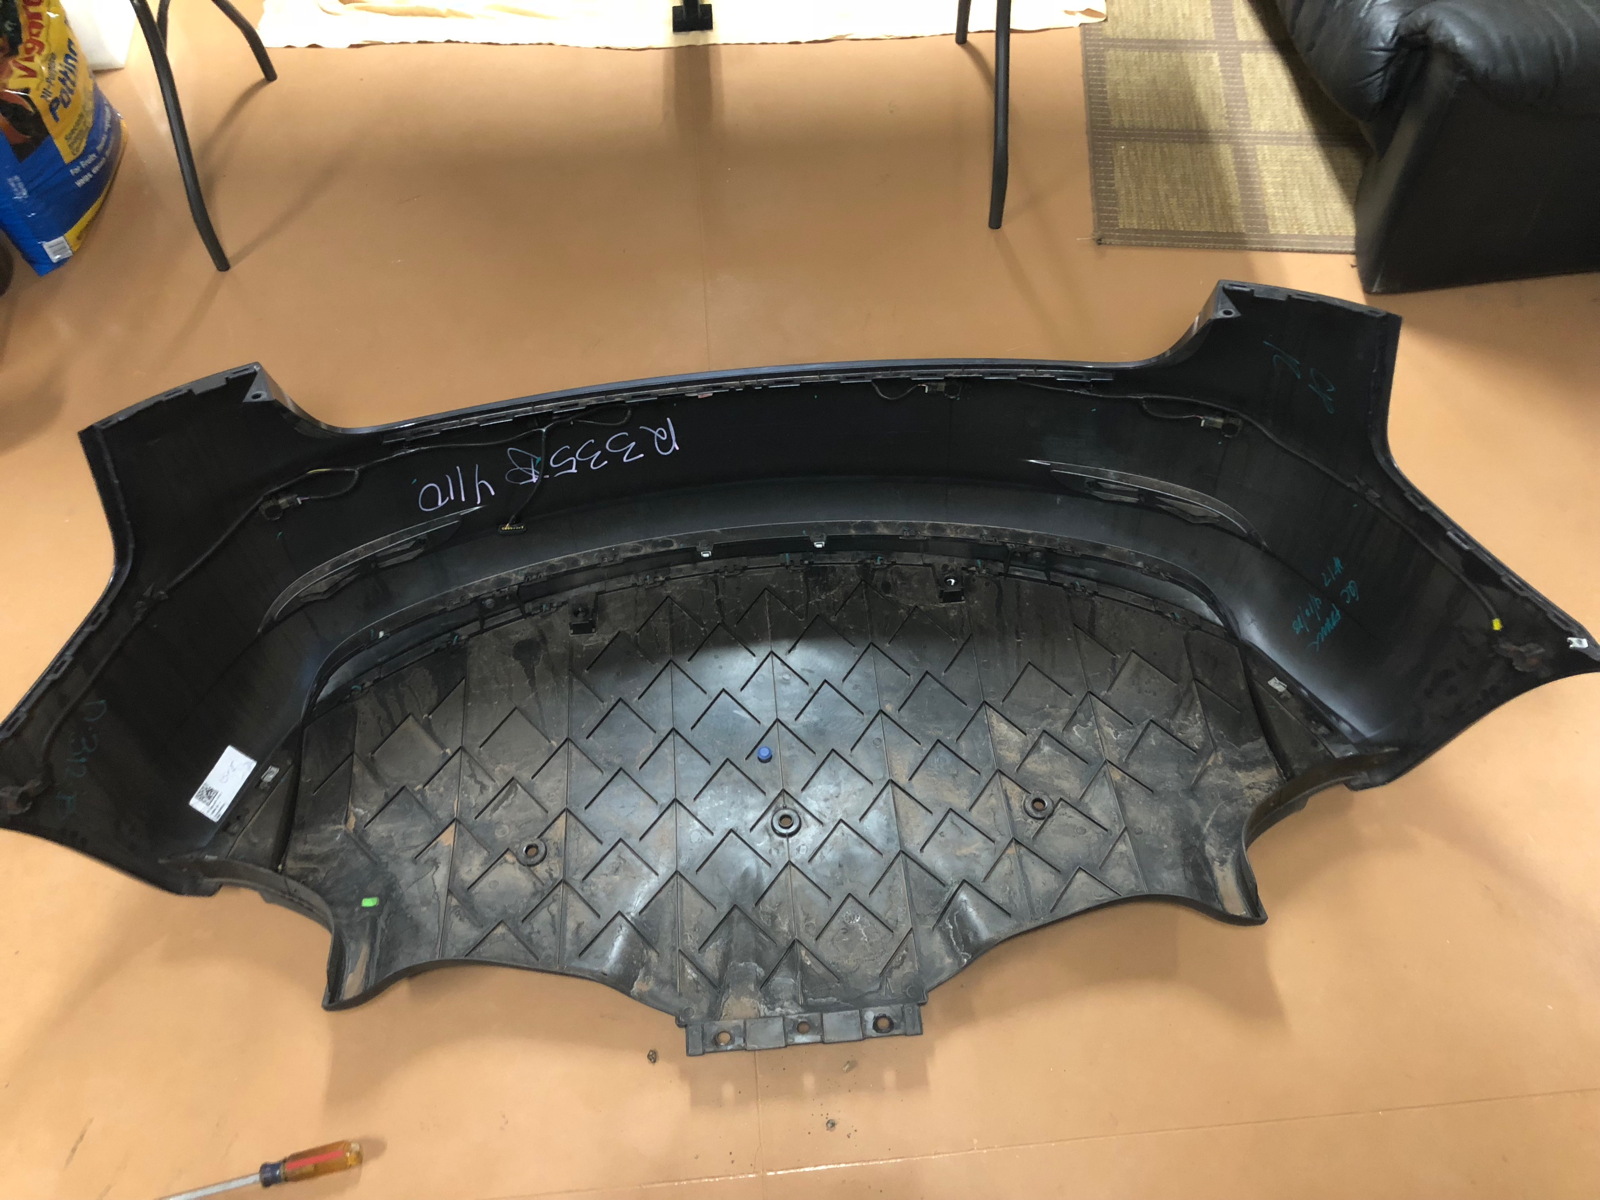
After removing all the clips and bolts, the bumper basically unsnaps from slots around the rear end. I was surprised to see how dirty the undercover was inside, so I cleaned it off as best I could.

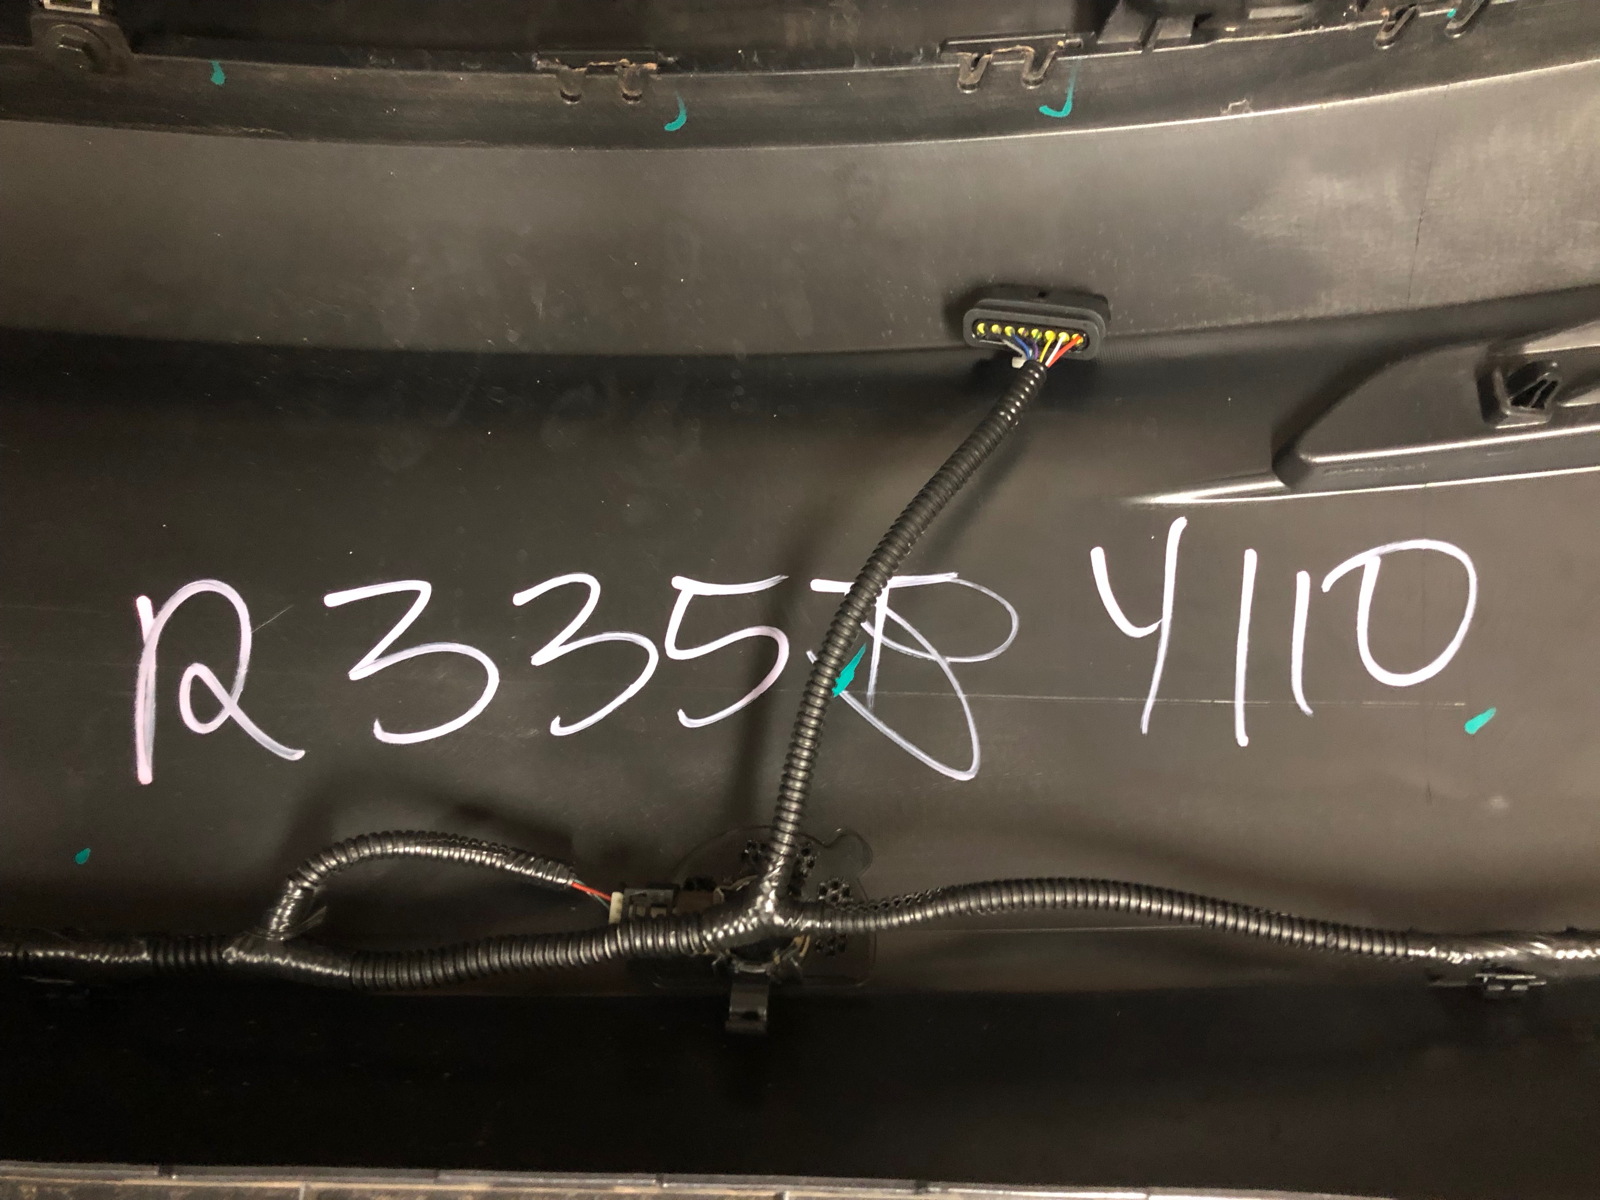
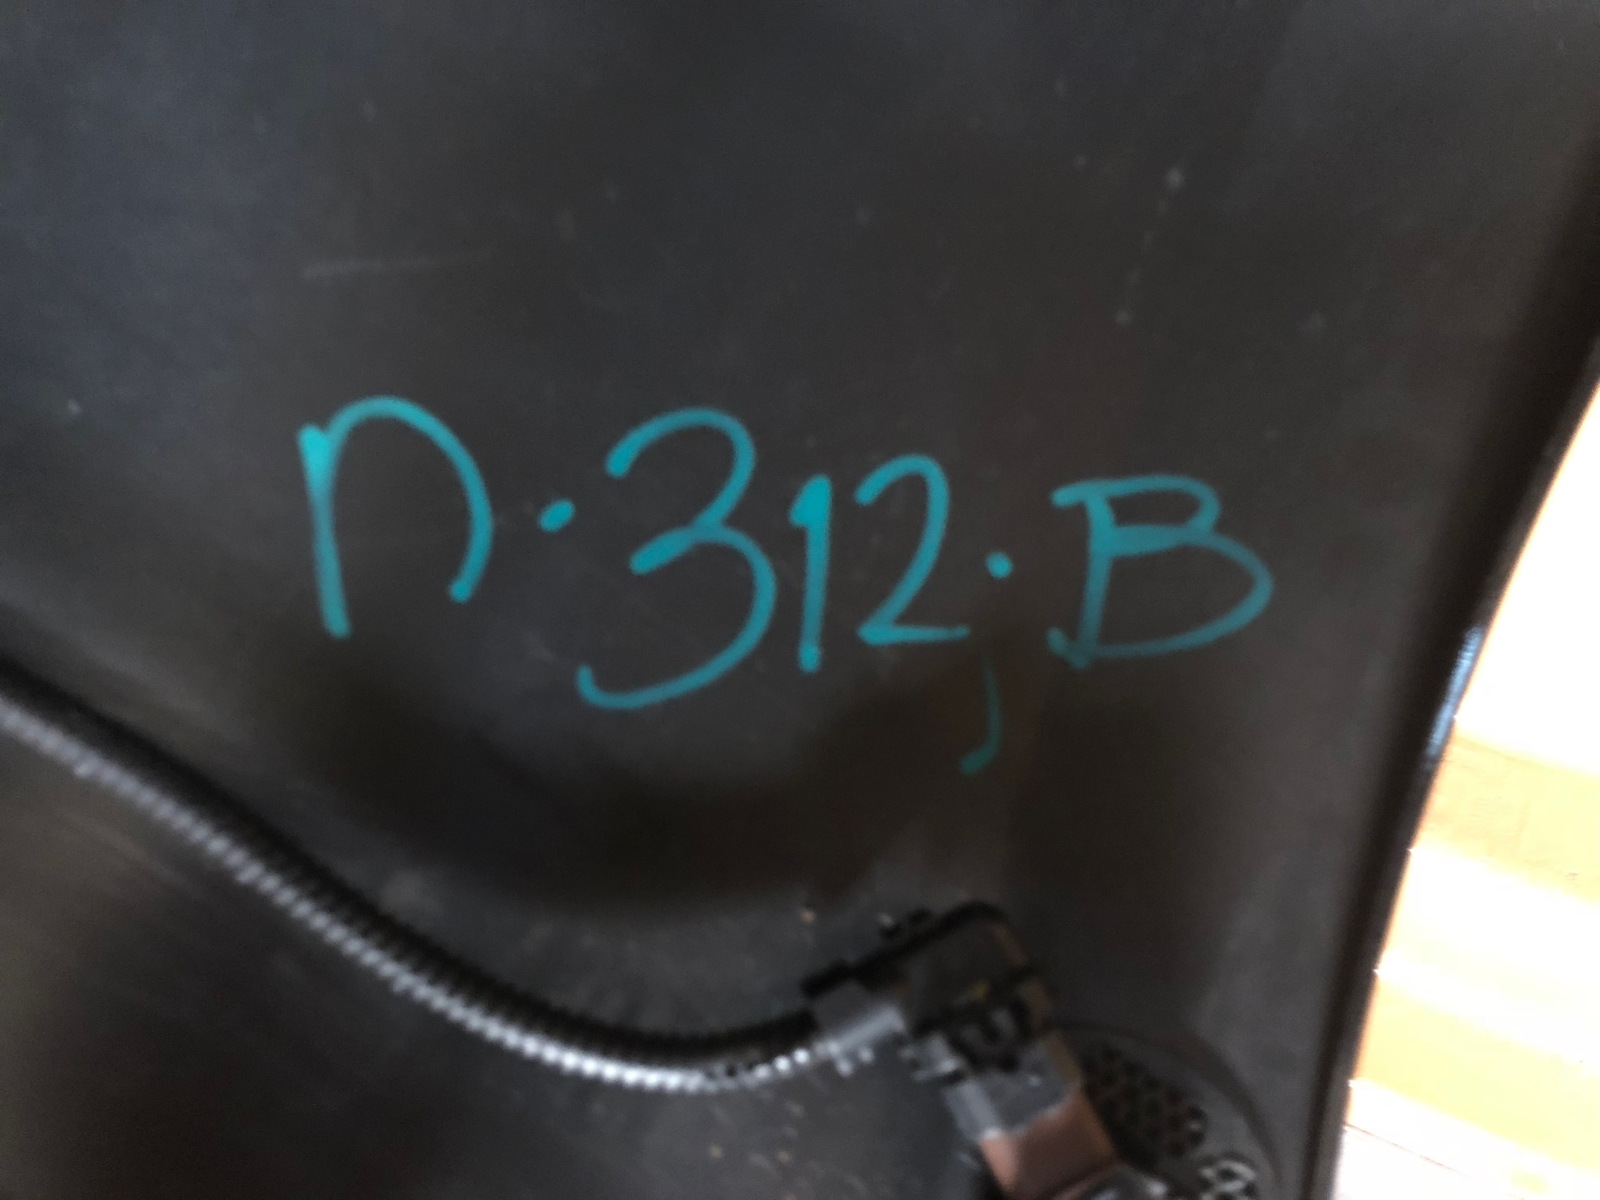
I was intrigued to find some hand-written notes on its inside. This one included the date 4/10/18. Was that the day Correcaminos was assembled at the factory...?

This note also showed the date 4/10, which was 4 days after we placed our order, and 18 days before we took delivery.

There was no date on this note, but it makes me wonder what “n,” “312,” and “B” refer to...?

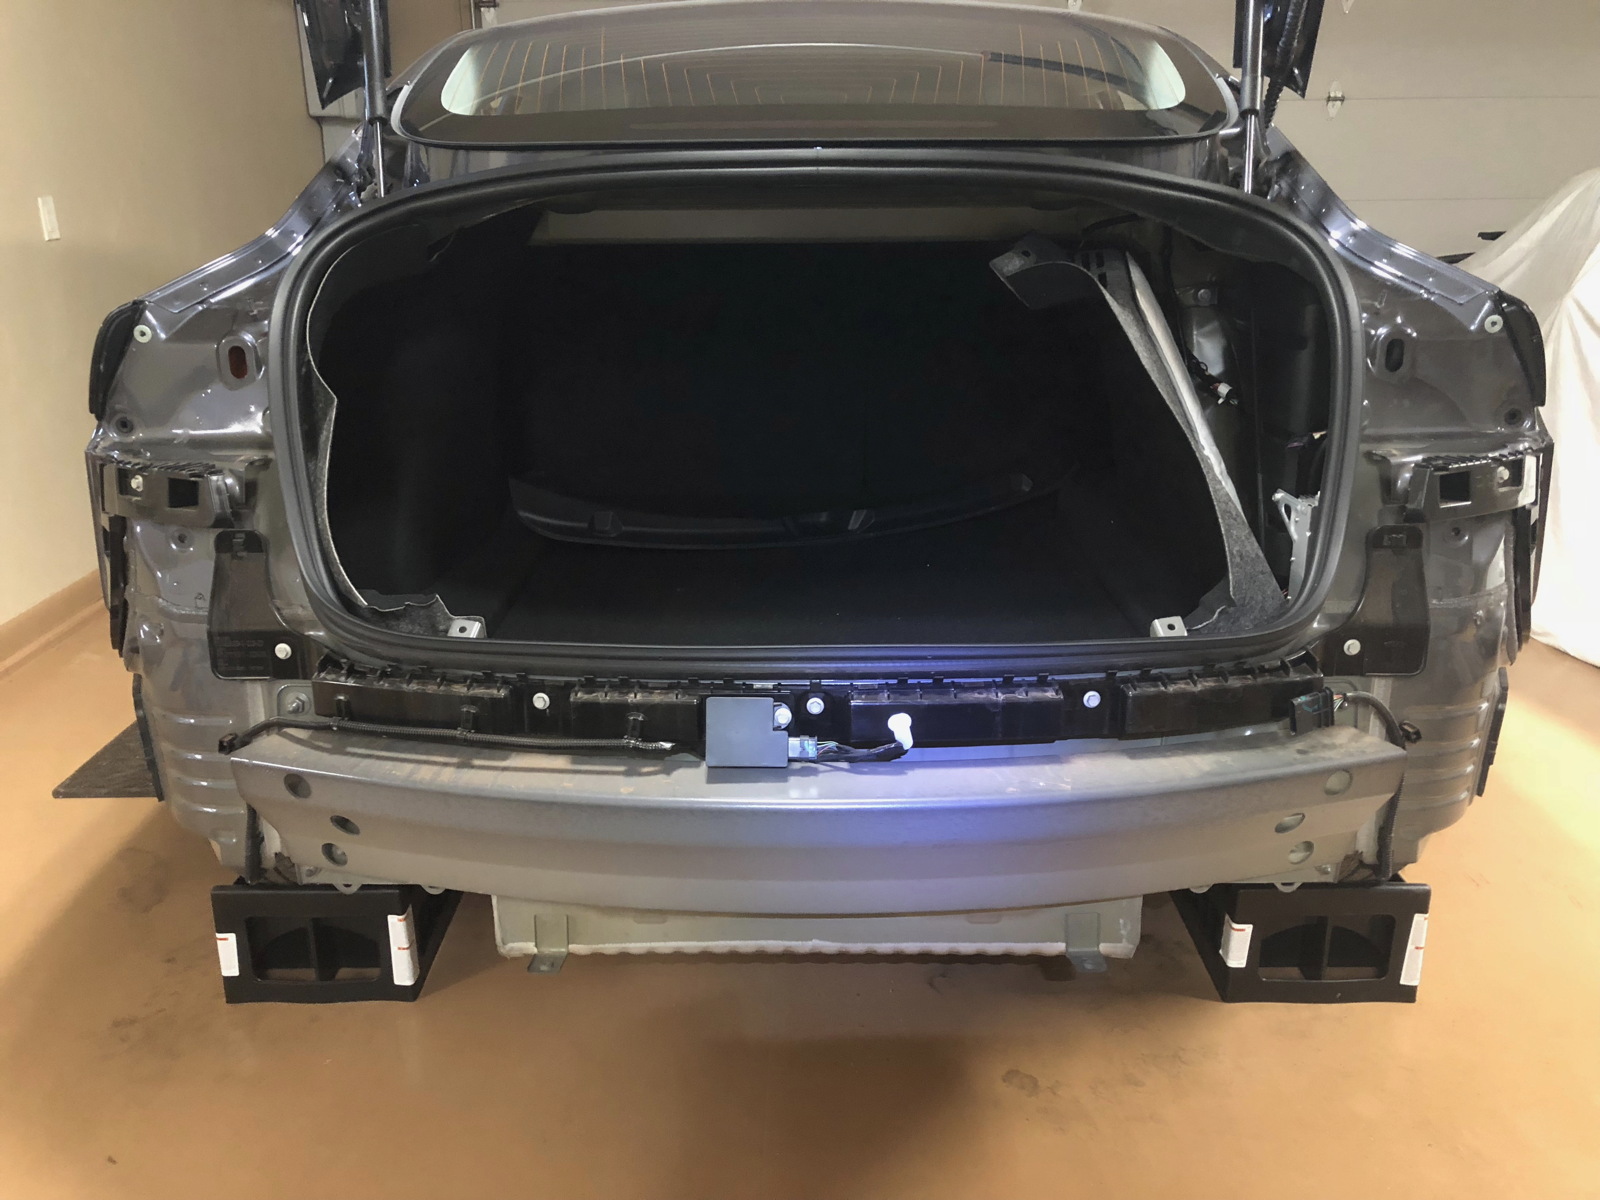
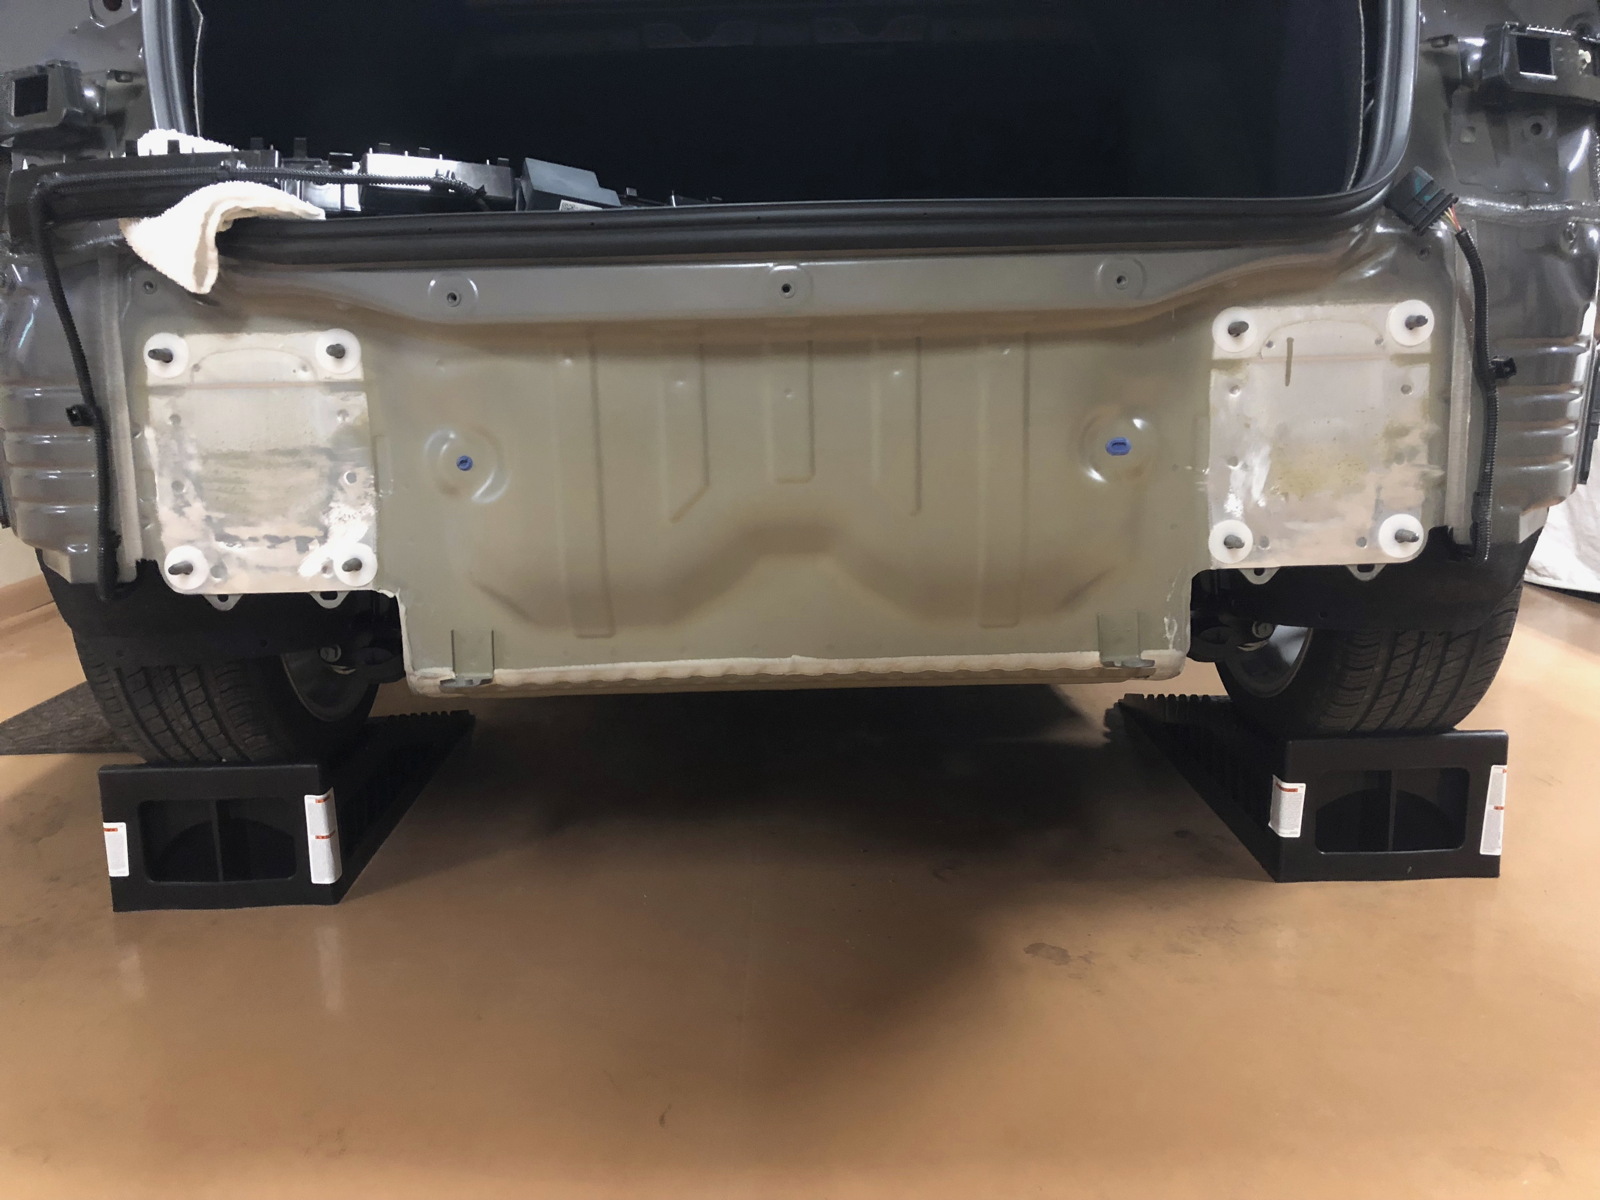
Here is the rear end with the bumper removed. At this point, I needed to unbolt the plastic facia along the top, and then the crash bar below.

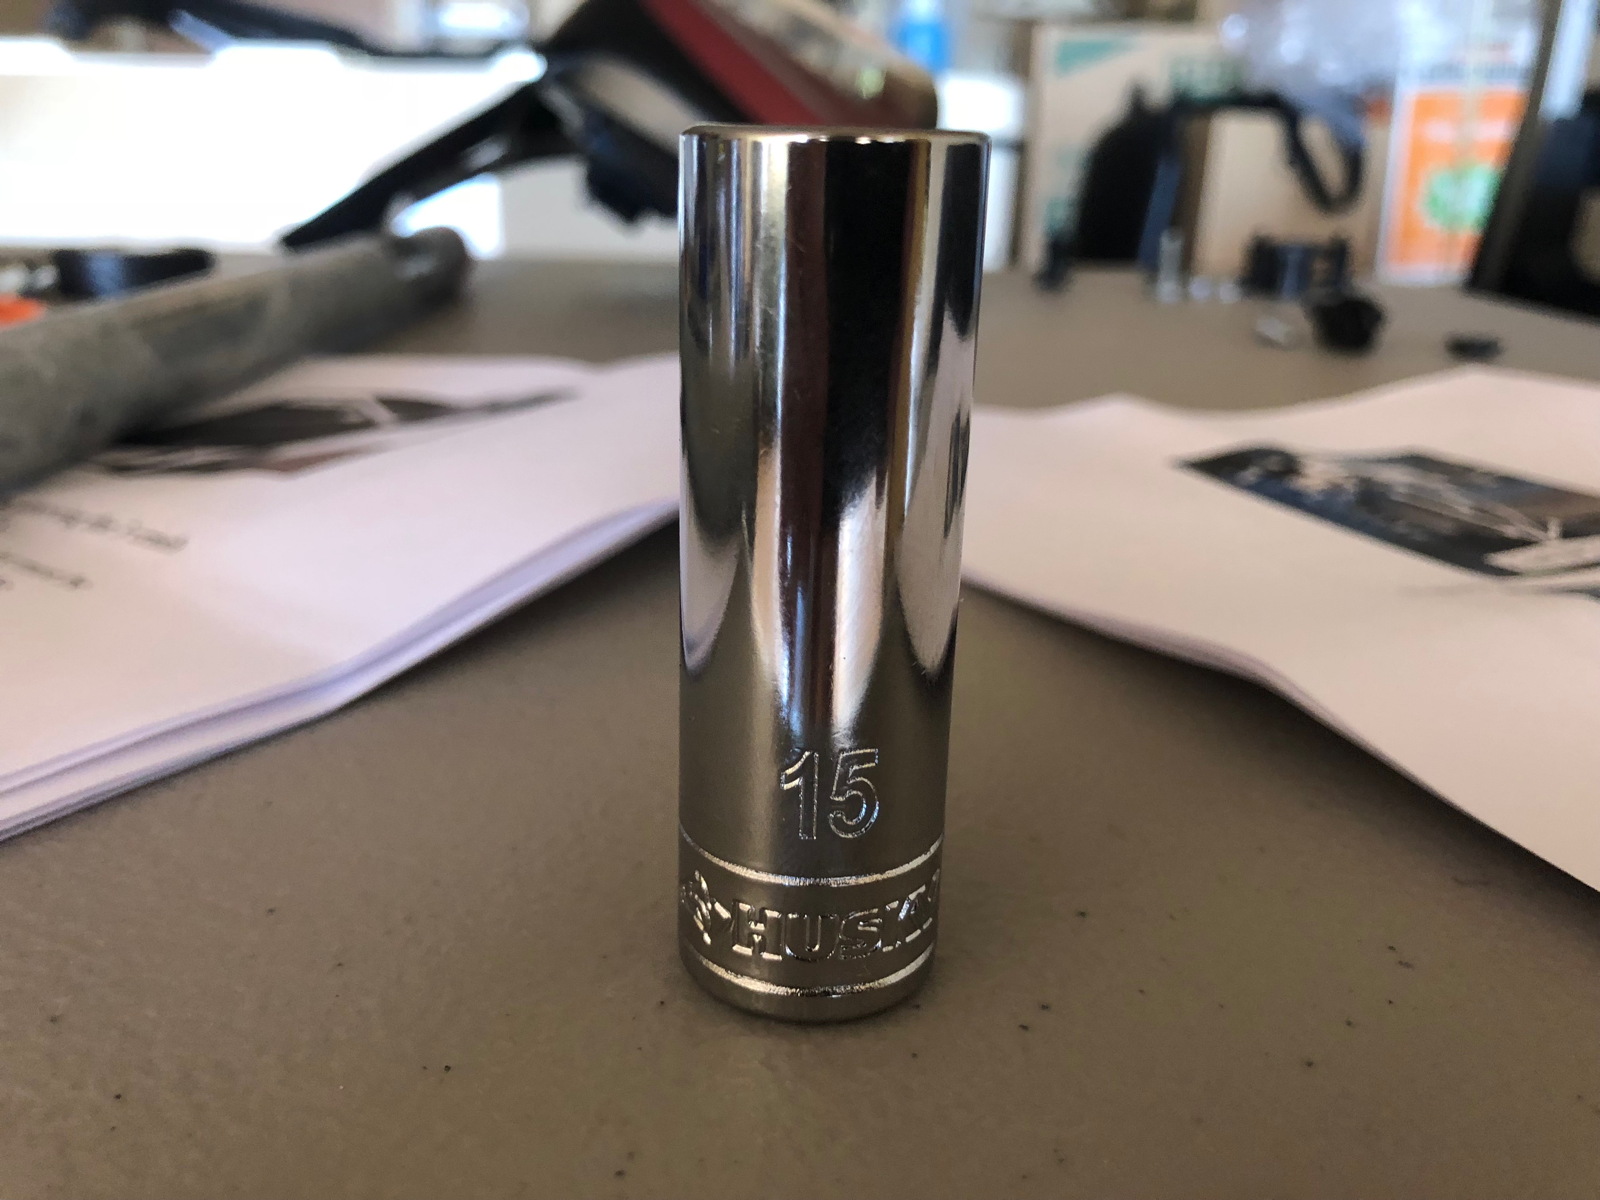
Unfortunately, I didn’t have a deep 15mm socket to remove the nuts inside the crash bar, so I had to go to Home Depot to buy a new set. Ah well... I can always use more tools.

With the crash bar removed, I could then unbolt the plates that held the crash bar. Once unbolted, these plates were not easy to remove. I had to pry them off with my largest screwdriver and some hefty leverage.

After they finally popped off, I could see that they had been epoxied to the frame. The hitch instructions indicated that such would be the case, and recommended scraping any excess epoxy off the frame itself before installing the EcoHitch on the bolts that had held these plates.

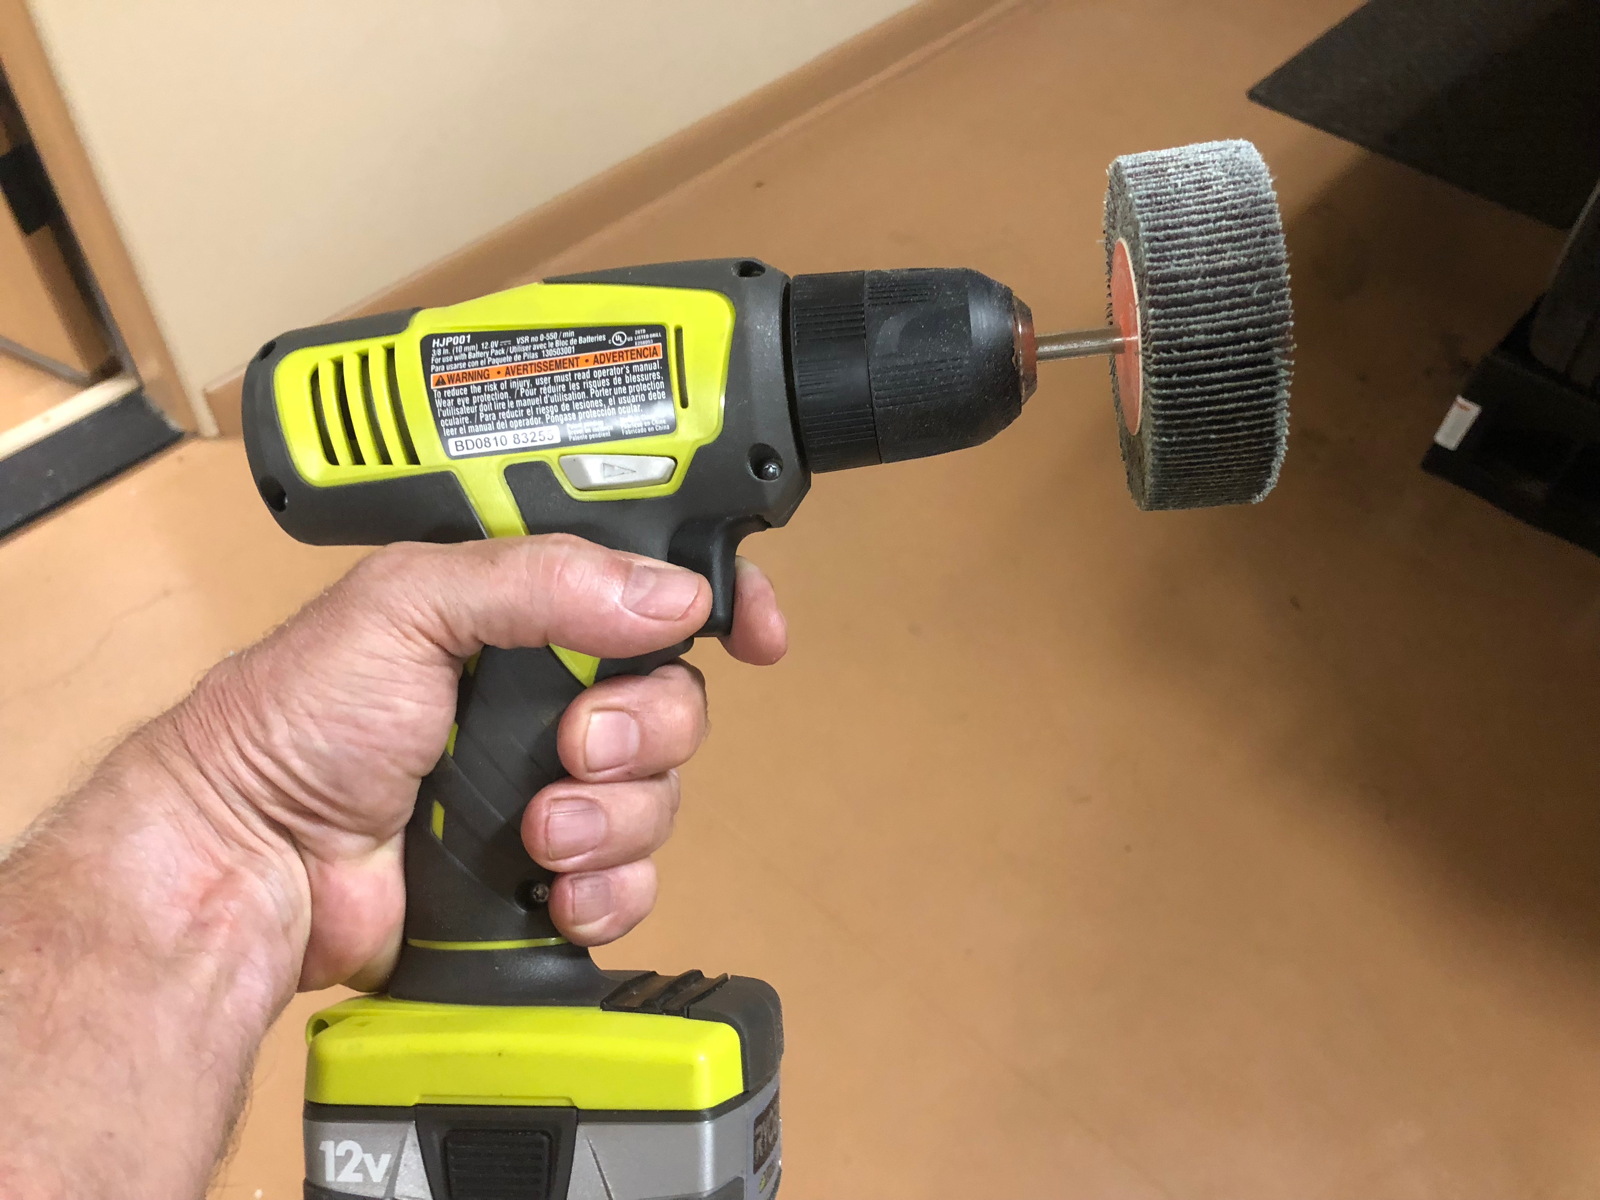
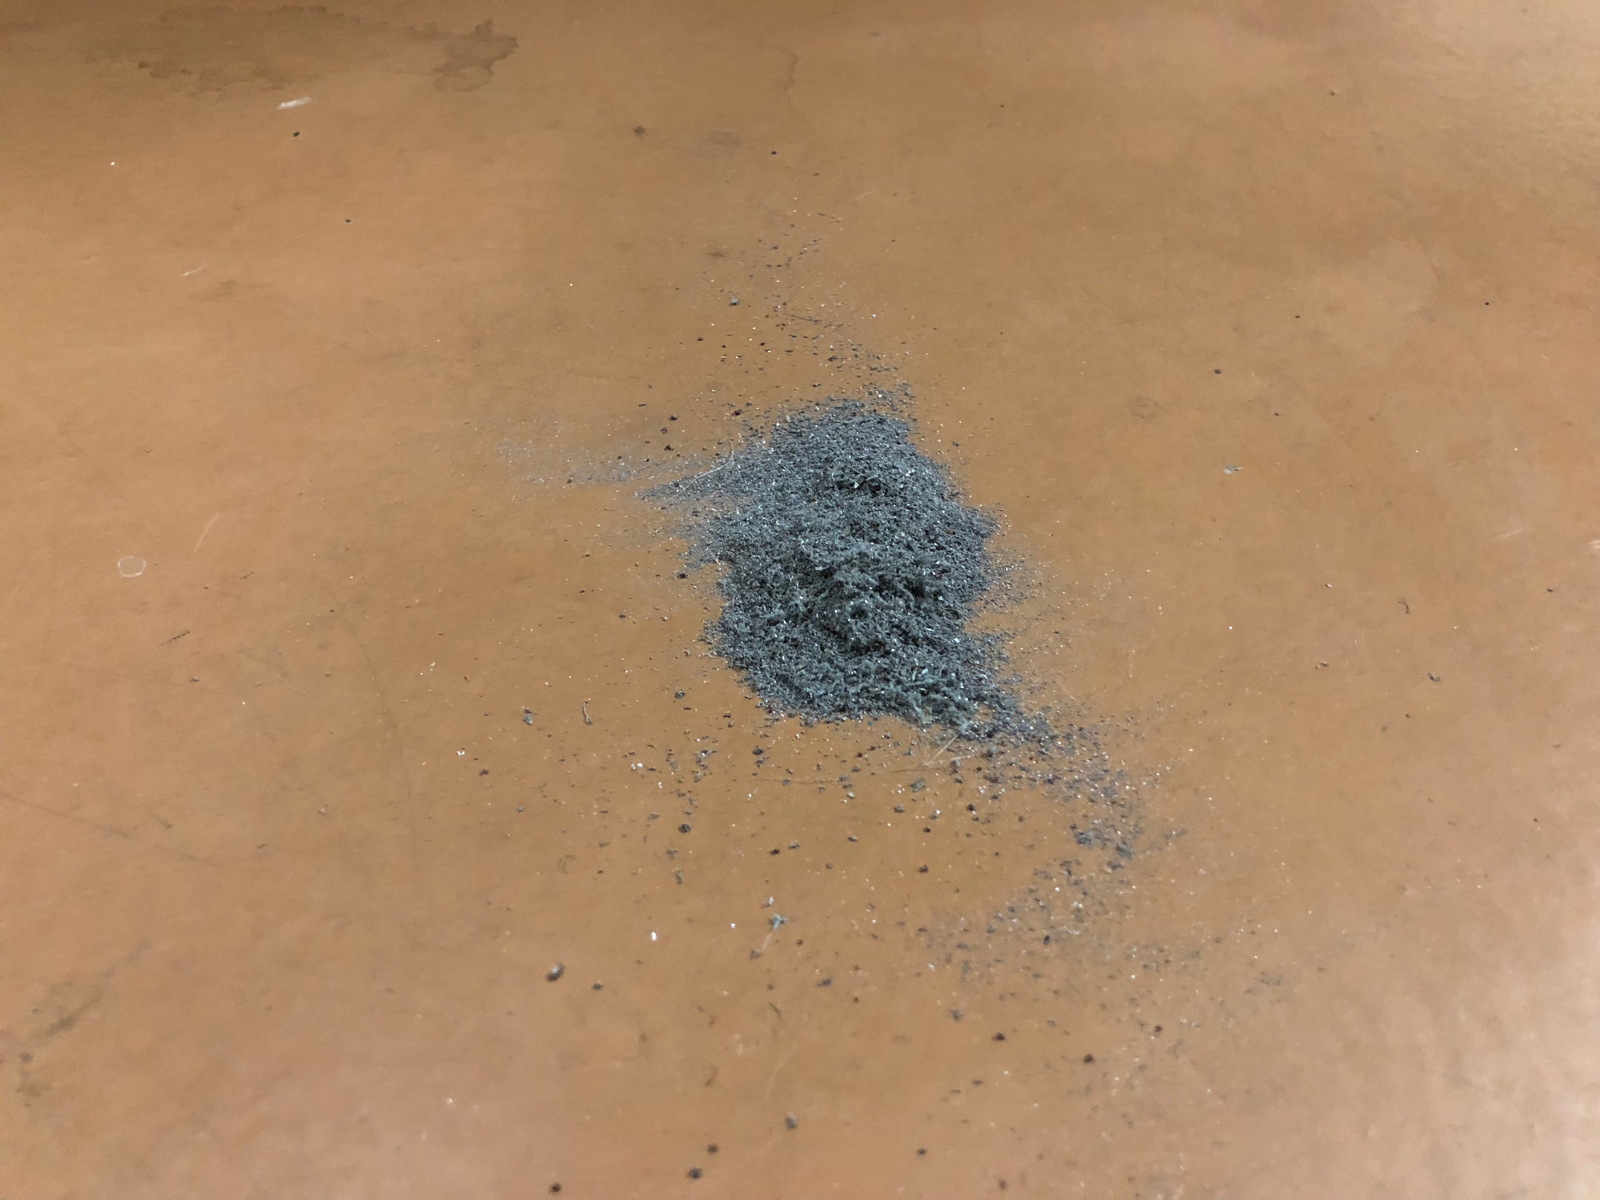
Hmm. How to “scrape” off the epoxy? I used a rubber mallet and chisel for the biggest hunks, but then applied my electric drill with a sanding wheel to smooth off the rest.

This is a closeup of a plate area after I sanded off its epoxy.

And here is a pile of epoxy that I sanded off.

The plate areas were now flat and smooth enough to mount the hitch. When I contemplate how perfectly the hitch fit on the frame, I couldn’t help but suspect that the Model 3 was purposely designed to accommodate such an accessory. Perhaps Tesla will thus eventually release its own similar hitch that owners could have installed at a Service Center...?

To avoid metallic corrosion when bolting steel to aluminum, the hitch came with 14 nylon washers. Following the instructions, I put 8 of them on the frame’s bolts, shown in the previous photo. I then mounted the hitch using the original nuts. I put the remaining 6 on the hitch’s bolts for the crash bar as shown above.

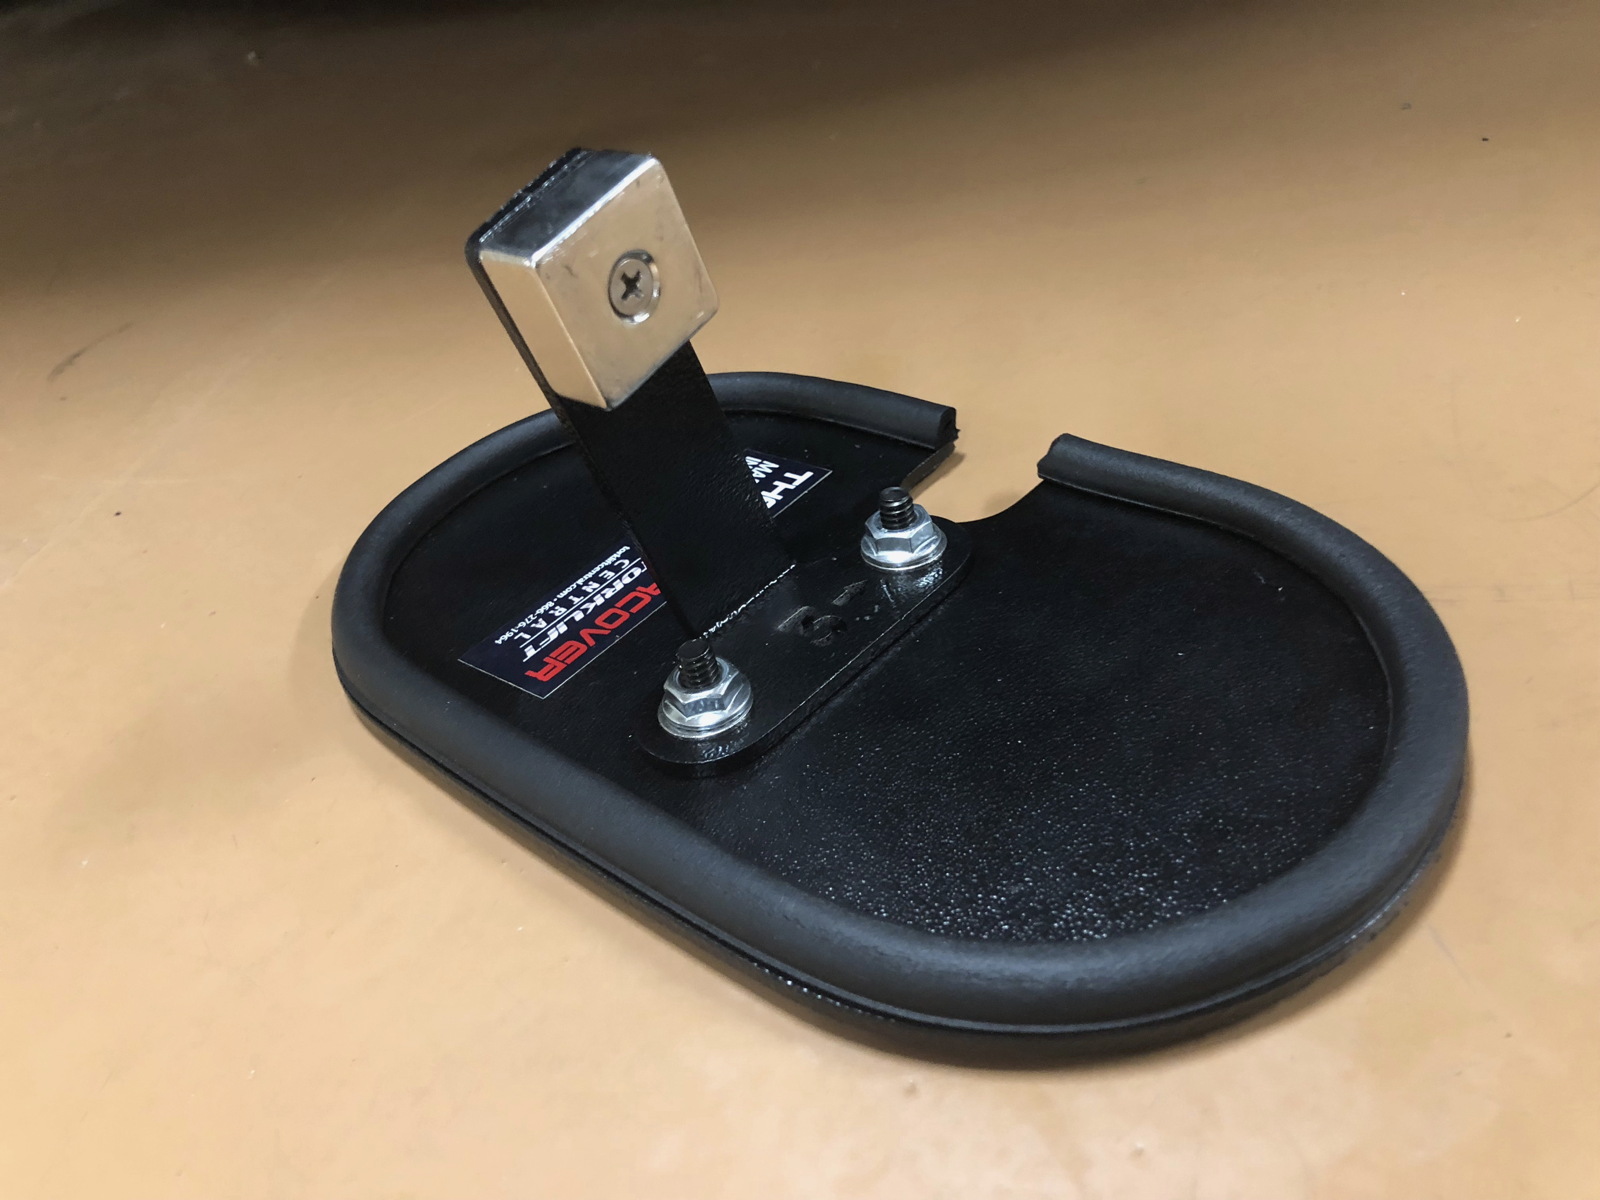
I then cut out the “stealth” hole in the bumper according the the measurements provided in the instructions. This is the plate that covers that hole using a strong magnet that holds it to the inside of the opening for the receiver. Finishing the project was then a simple matter of putting the crash bar and bumper back on the car by reversing the steps in the instructions.

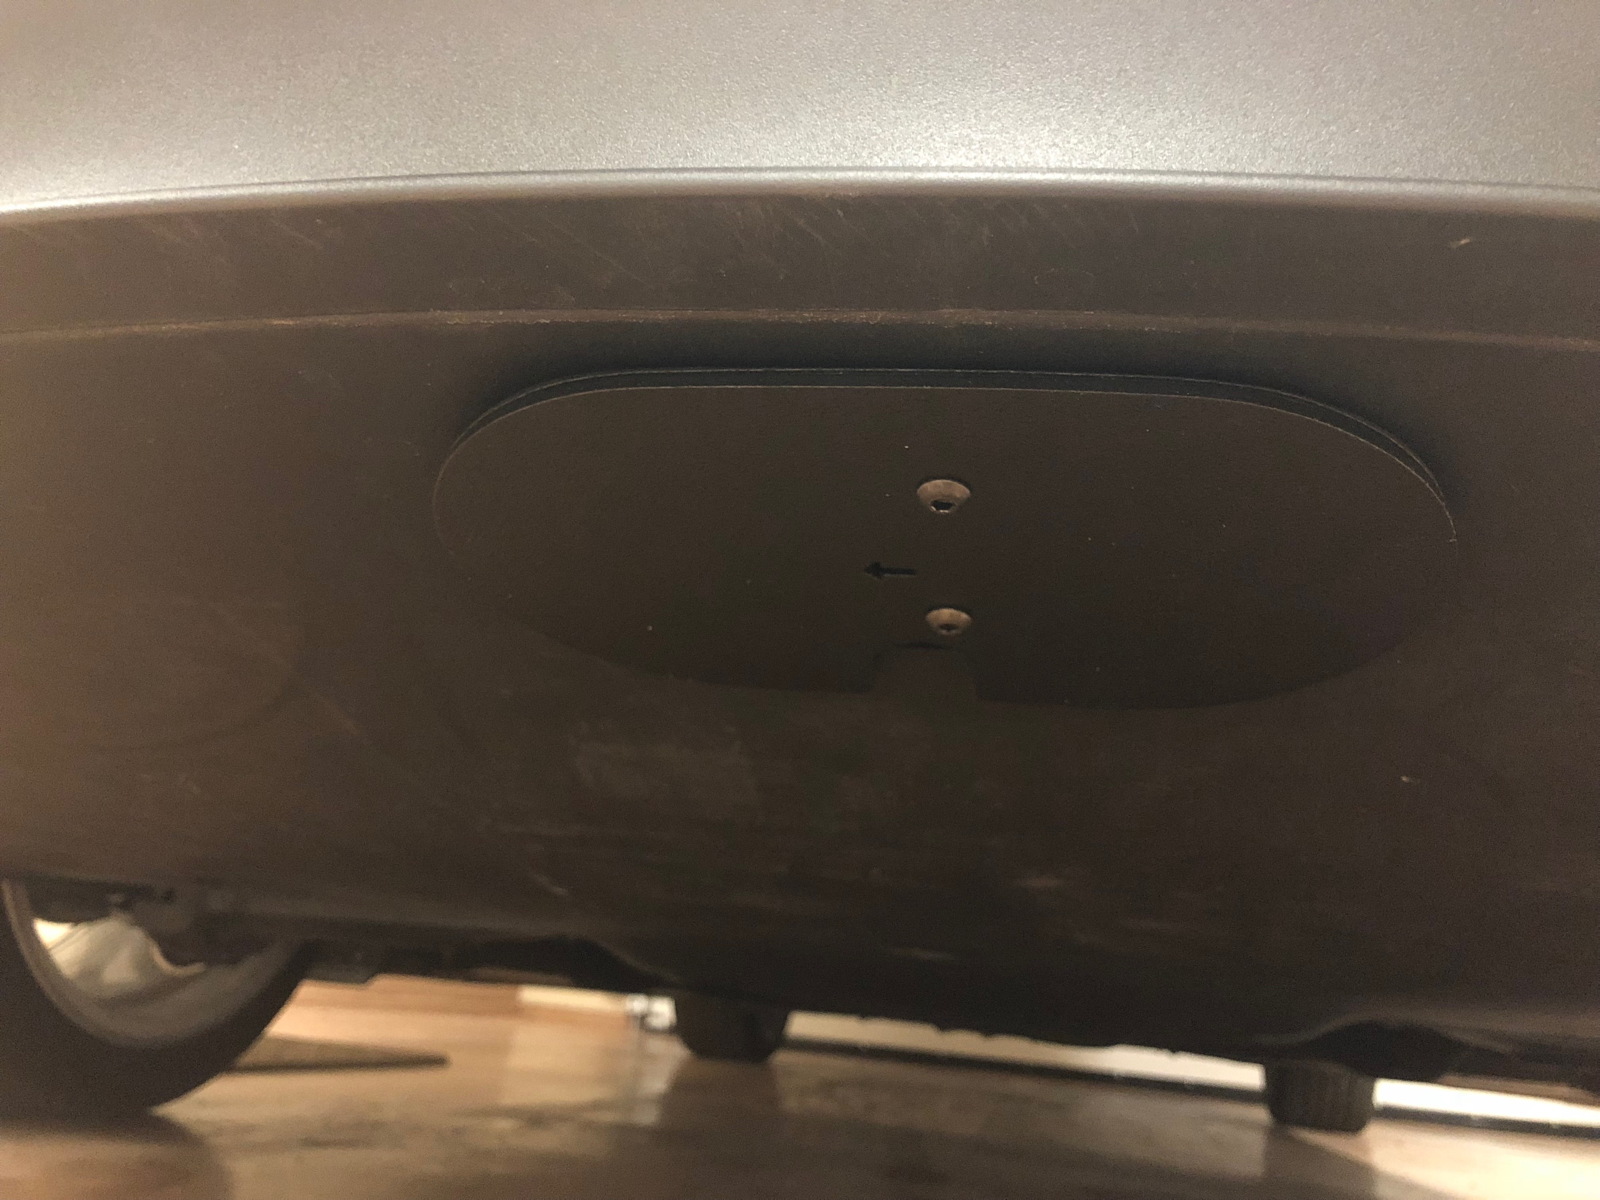
Here is the plate cover inserted into the hitch, barely noticeable from the outside of the car when the receiver is not in use, a literally slick feature that our LEAF’s EcoHitch lacked. Voilà!
I am very pleased with how this project turned out, and look forward to using the EcoHitch with both our bike rack and our new add-on. Stay tuned for future reports!