for my Ioniq 5
Mark D Larsen
April 19, 2024
The Nose Knows
| HEPA Air Filter
for my Ioniq 5 Mark D Larsen April 19, 2024 |
The Nose Knows |
Practically all cars now come with air filters for the climate control system to prevent dirt, dust, and smells from entering the cabin. How easily one can replace those filters when needed depends upon the make and model, sometimes only accessible by a service technician at the dealership. Nonetheless, if at all possible, I prefer to perform that service as a DIY task. I had done so with my Nissan LEAF, and also with my Tesla Model 3. In both those cases, it was not an easy chore: you have to practically lie on your back in the passenger footwell and reach up behind the areas under the dashboard to unscrew covers and cables, extract the old filter, and insert a new one.
For a few years now there are newer, better HEPA air filters available with activated charcoal layers that do a much better job at keeping out odors, contaminents, and even mold. Tamara prefers that we always use such filters, so I searched the web and found some filters that were the right size to replace the original one that came in our Ioniq 5. I ordered a PureFlow model from Amazon, it arrived today, and I immediately installed it as described below.
NOTE: You can click on the following photos to enlarge them.
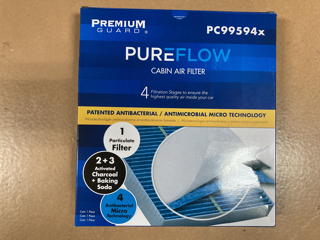
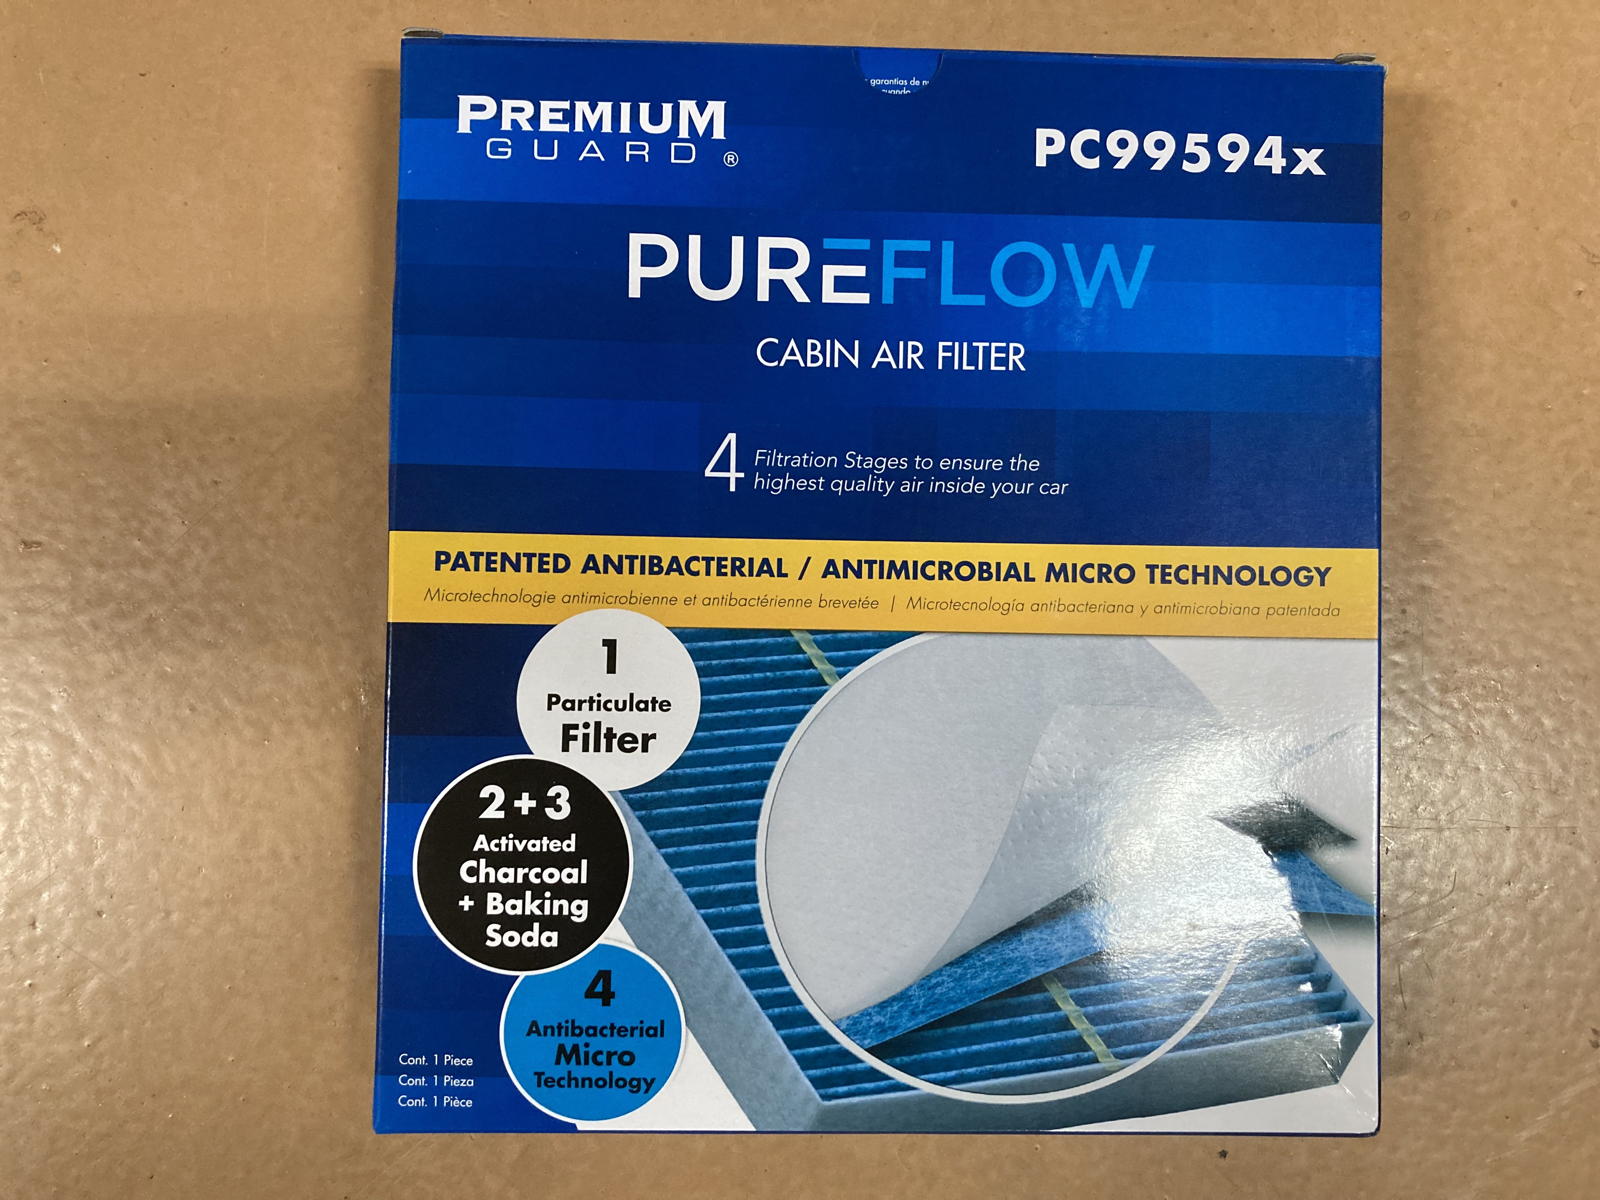
Here is the box with the filter than arrived in our mailbox.
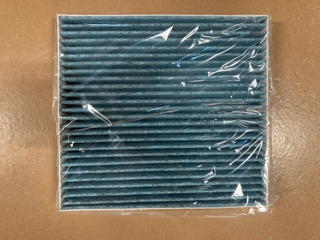
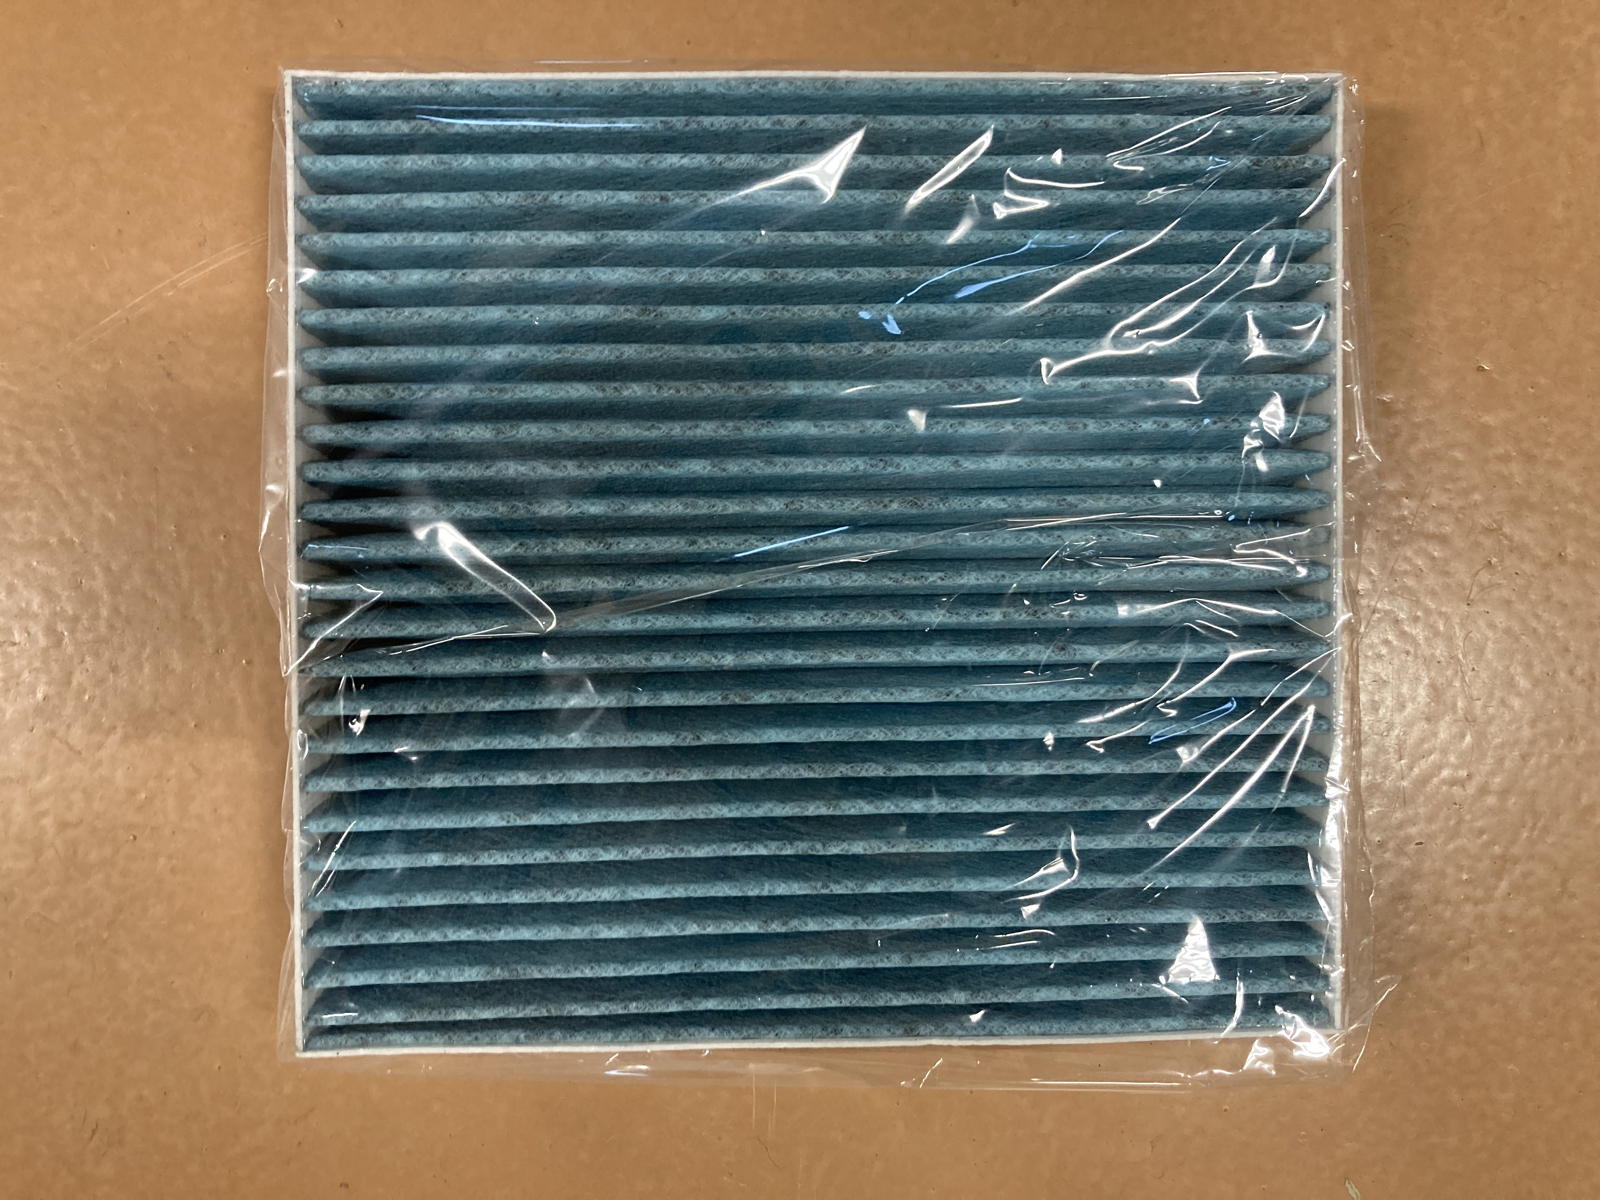
Inside was the filter wrapped in plastic.
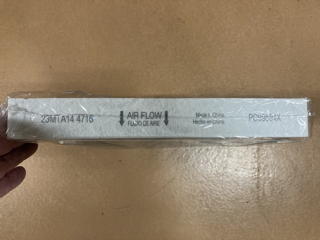
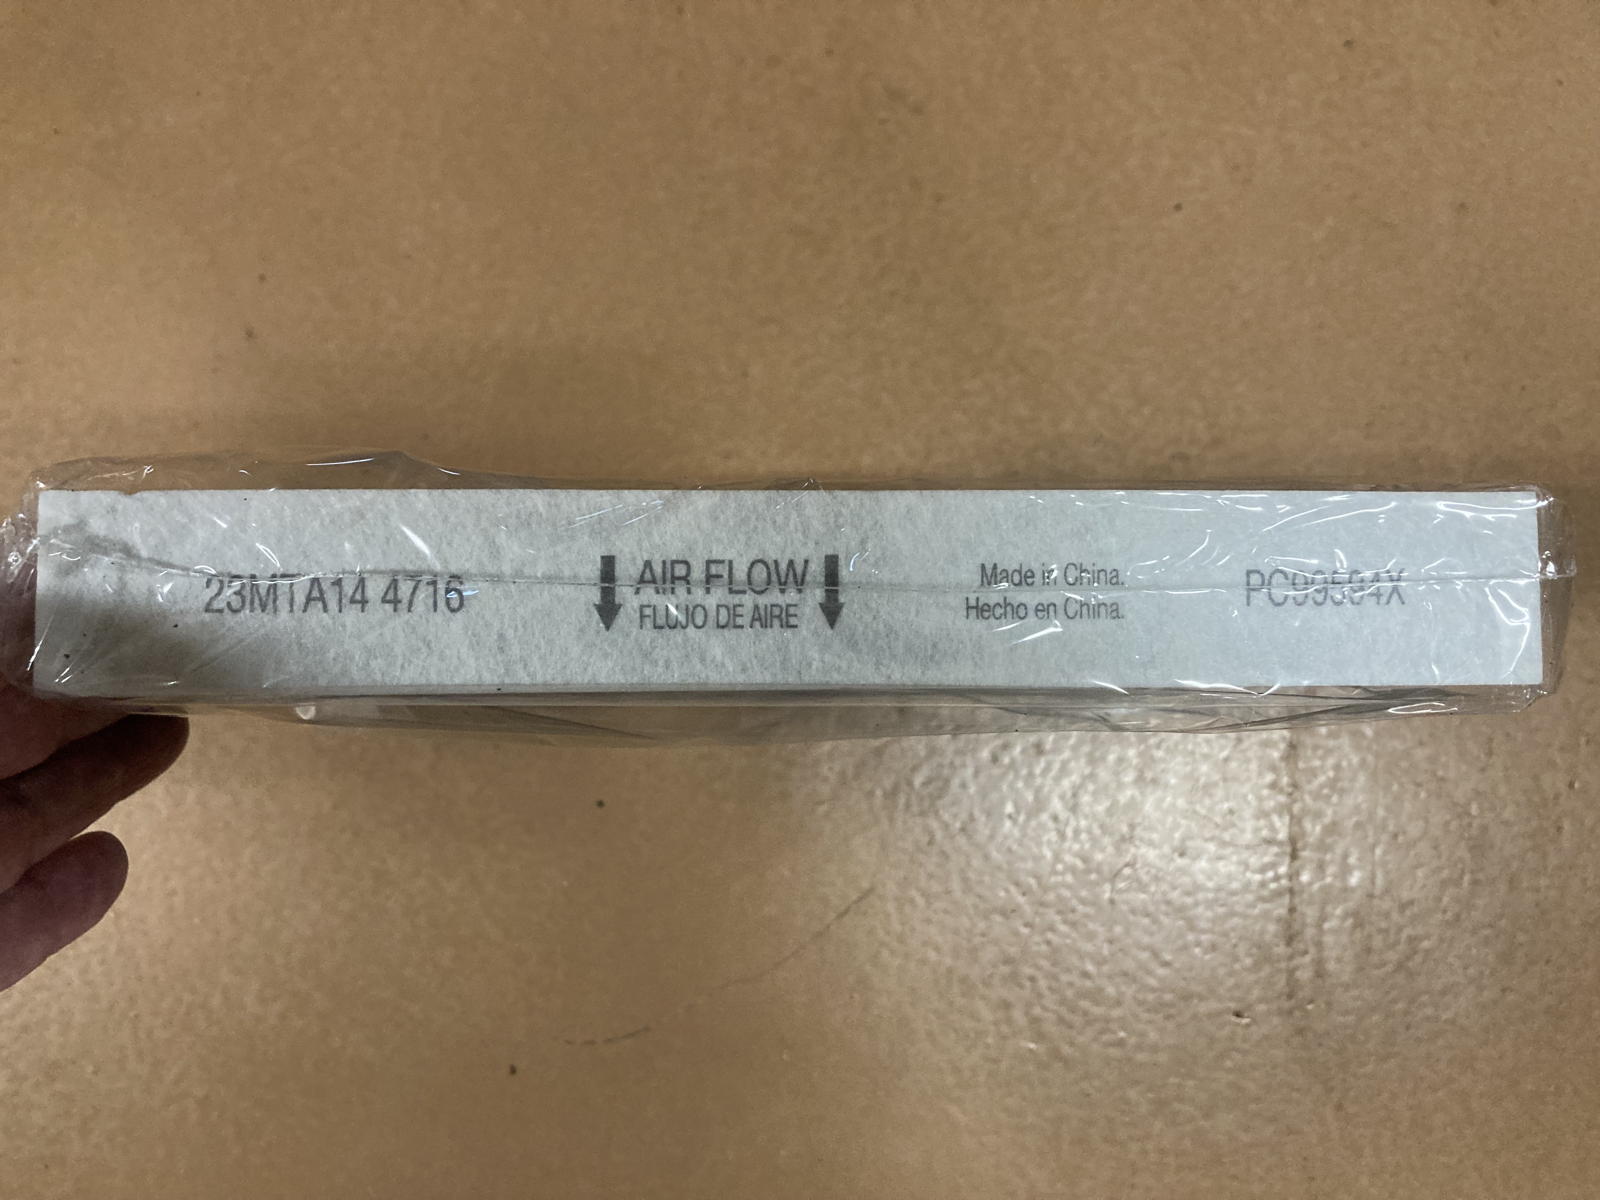
On its side are arrows indicating the correct direction of the airflow through the filter.
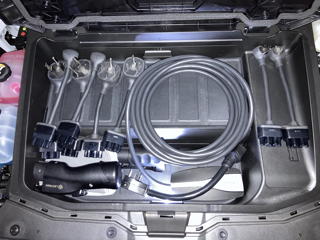
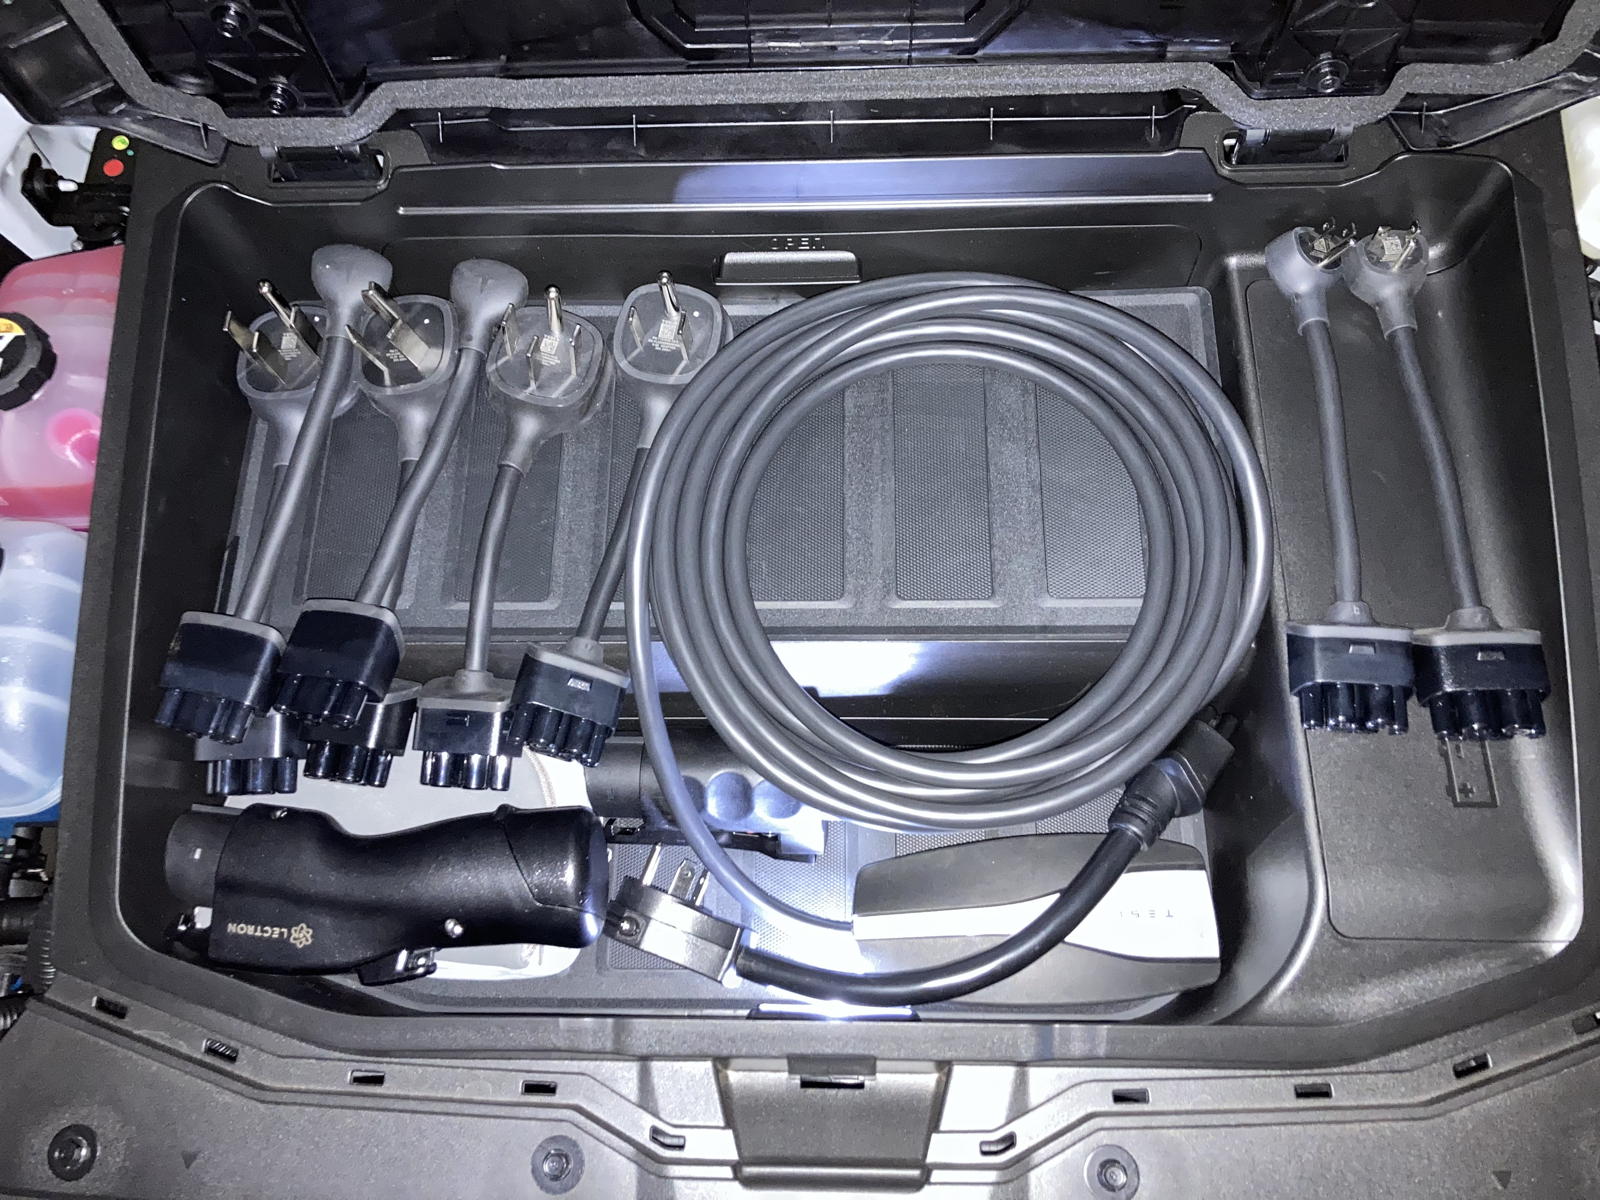
A laudable feature on the Ioniq 5 is that, unlike with my LEAF and Model 3, its air filter is accessible through the frunk under the hood. As readers will recall from a previous post, this is where I store all my portable charging paraphernalia.
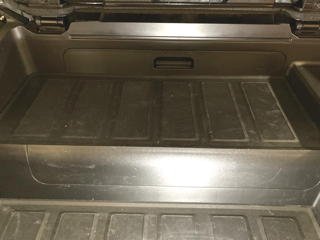
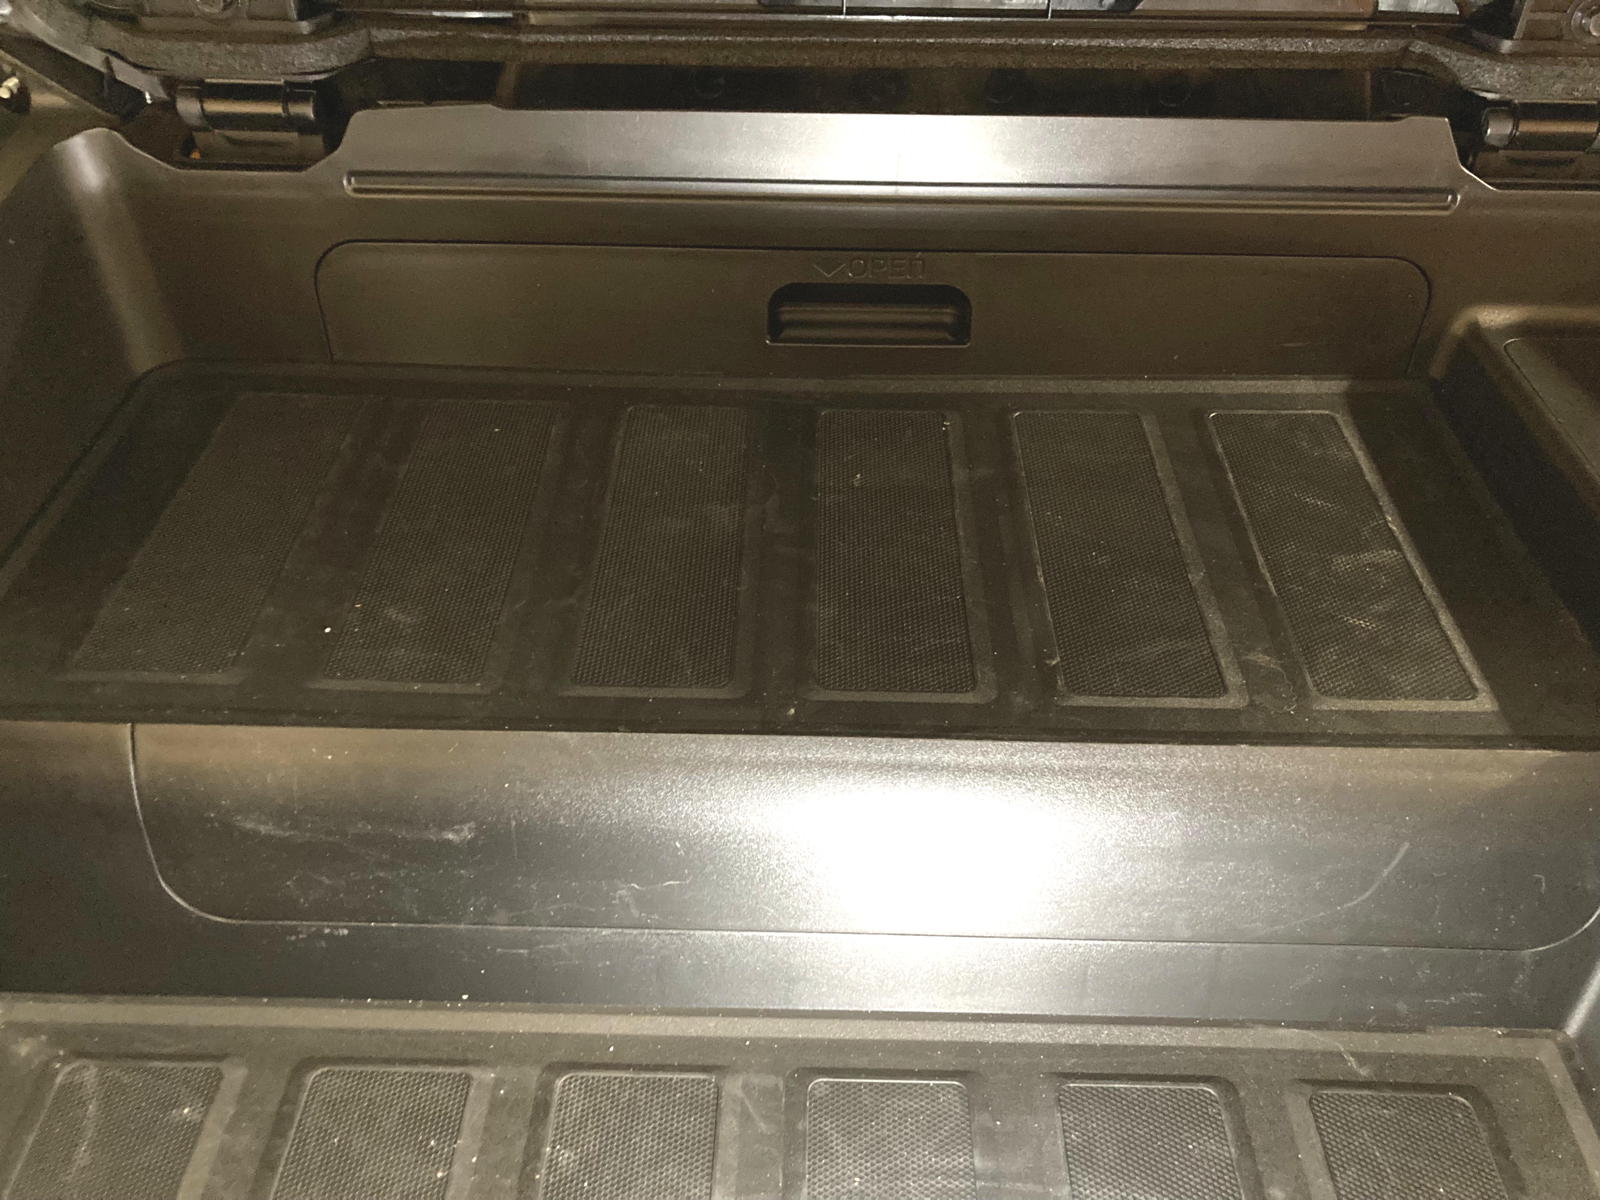
I therefore removed the charger and all its adapters from the frunk to access the compartment lid to the filter location.
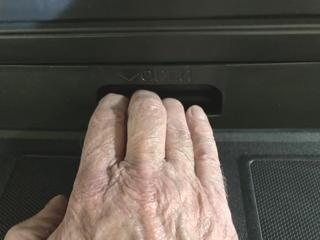
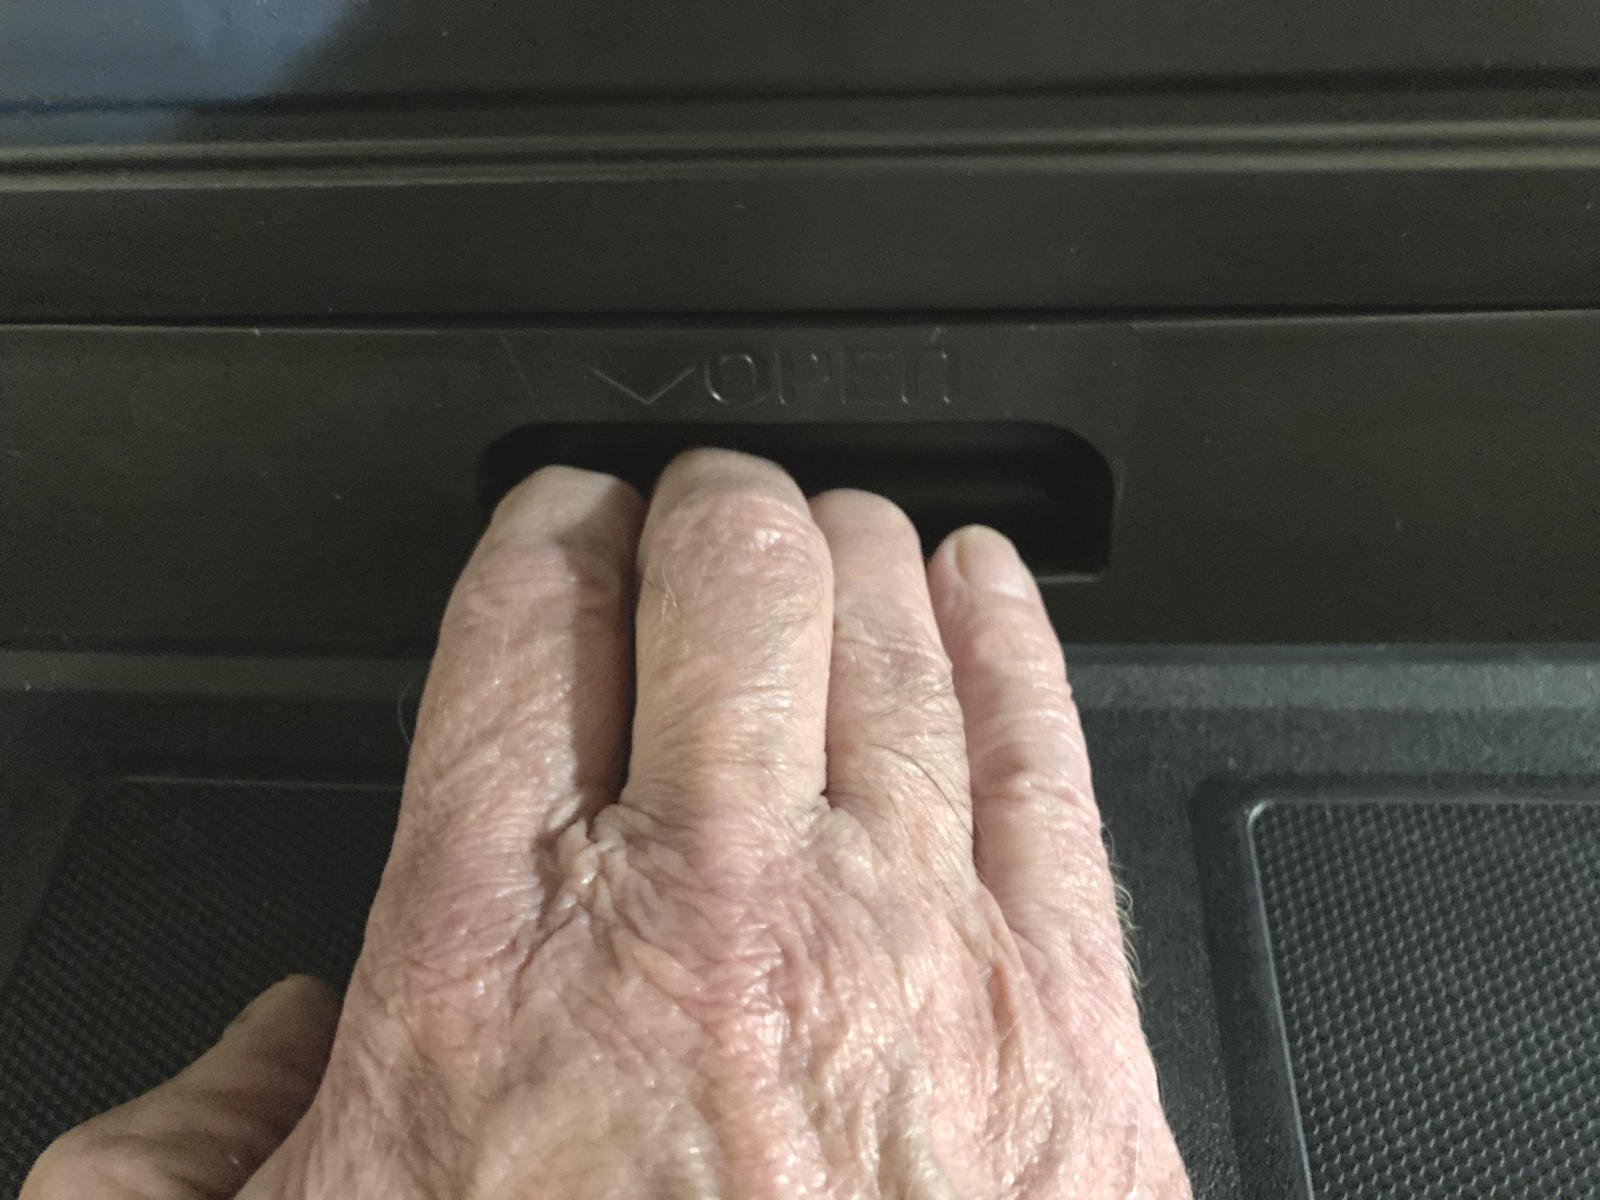
I had to firmly grip the handle at the rear of the lid and give it a good tug to open it.
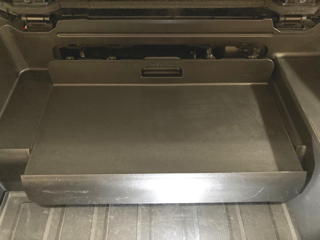
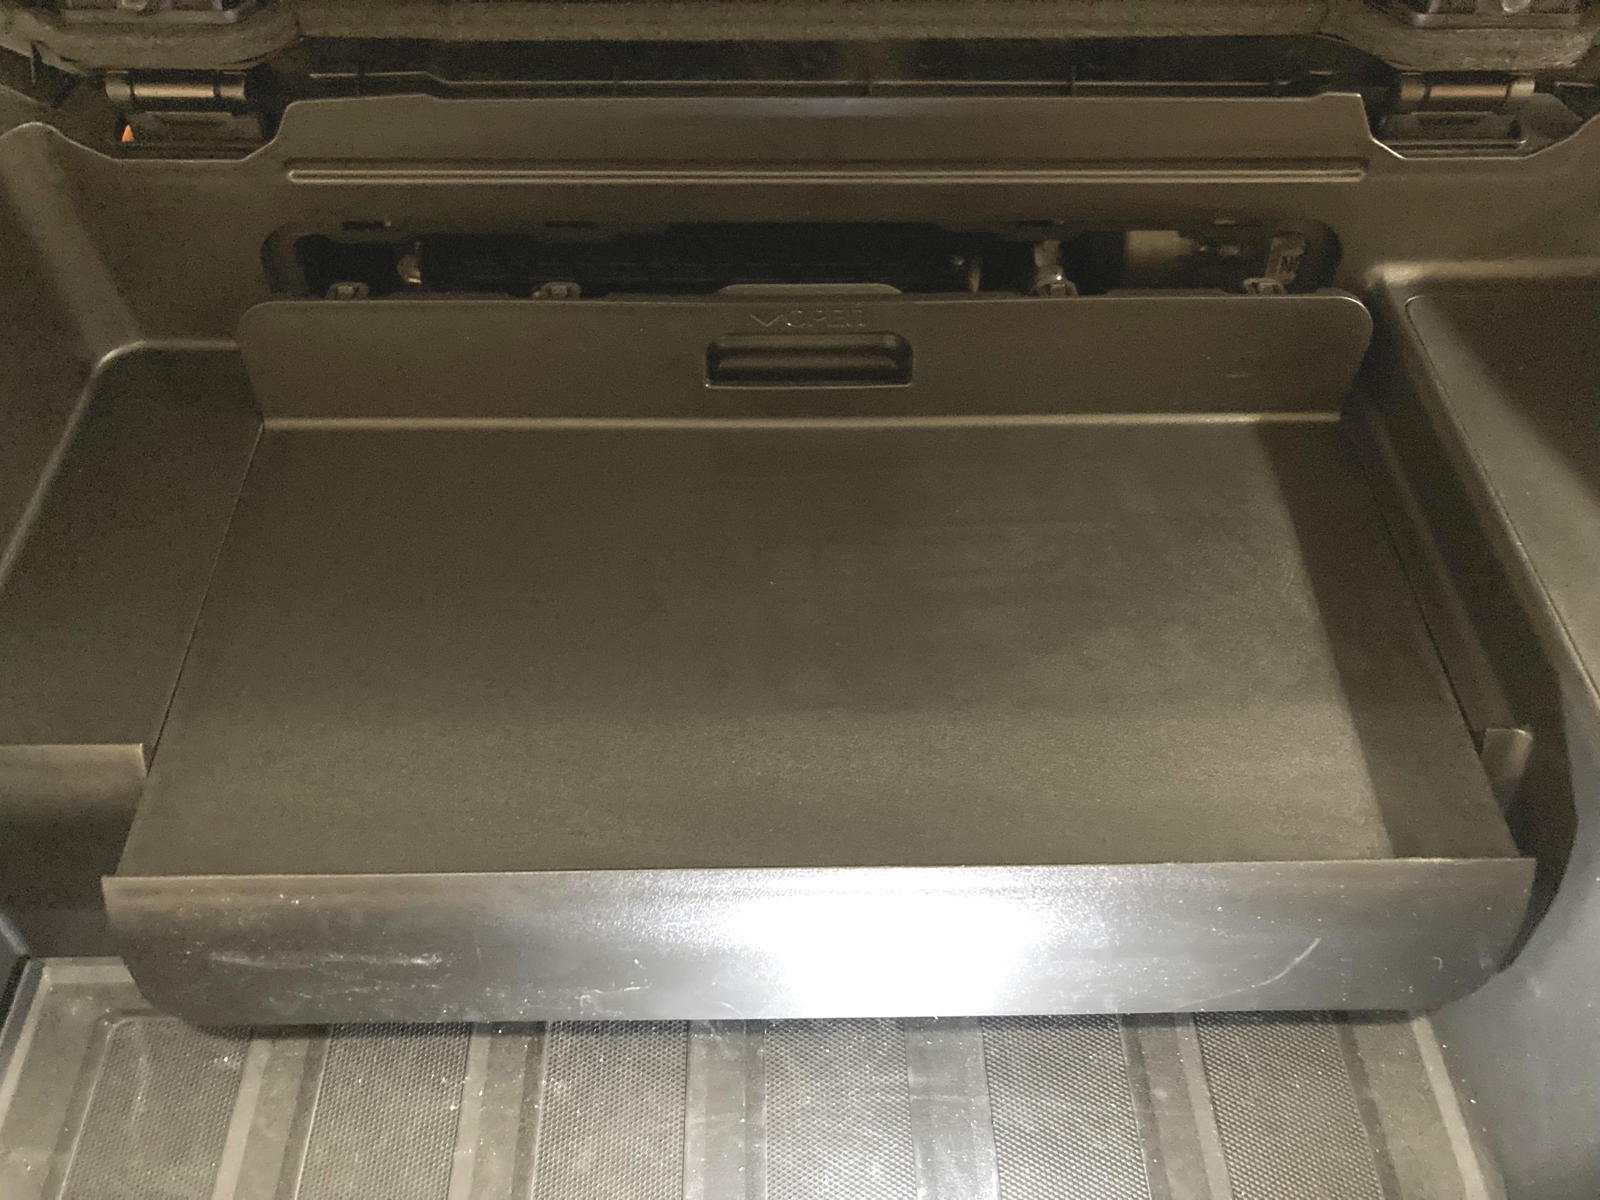
Here I have pulled out the lid, which also constitutes the top portion of the floor in the frunk.
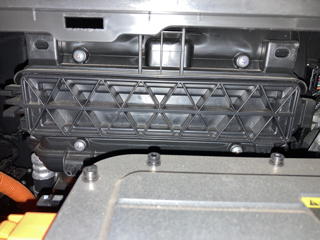
Inside the opening there was a cover over the shelf for the air filter.
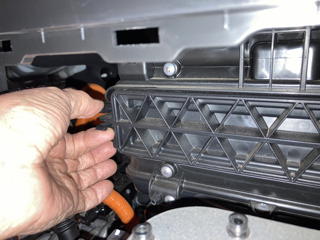
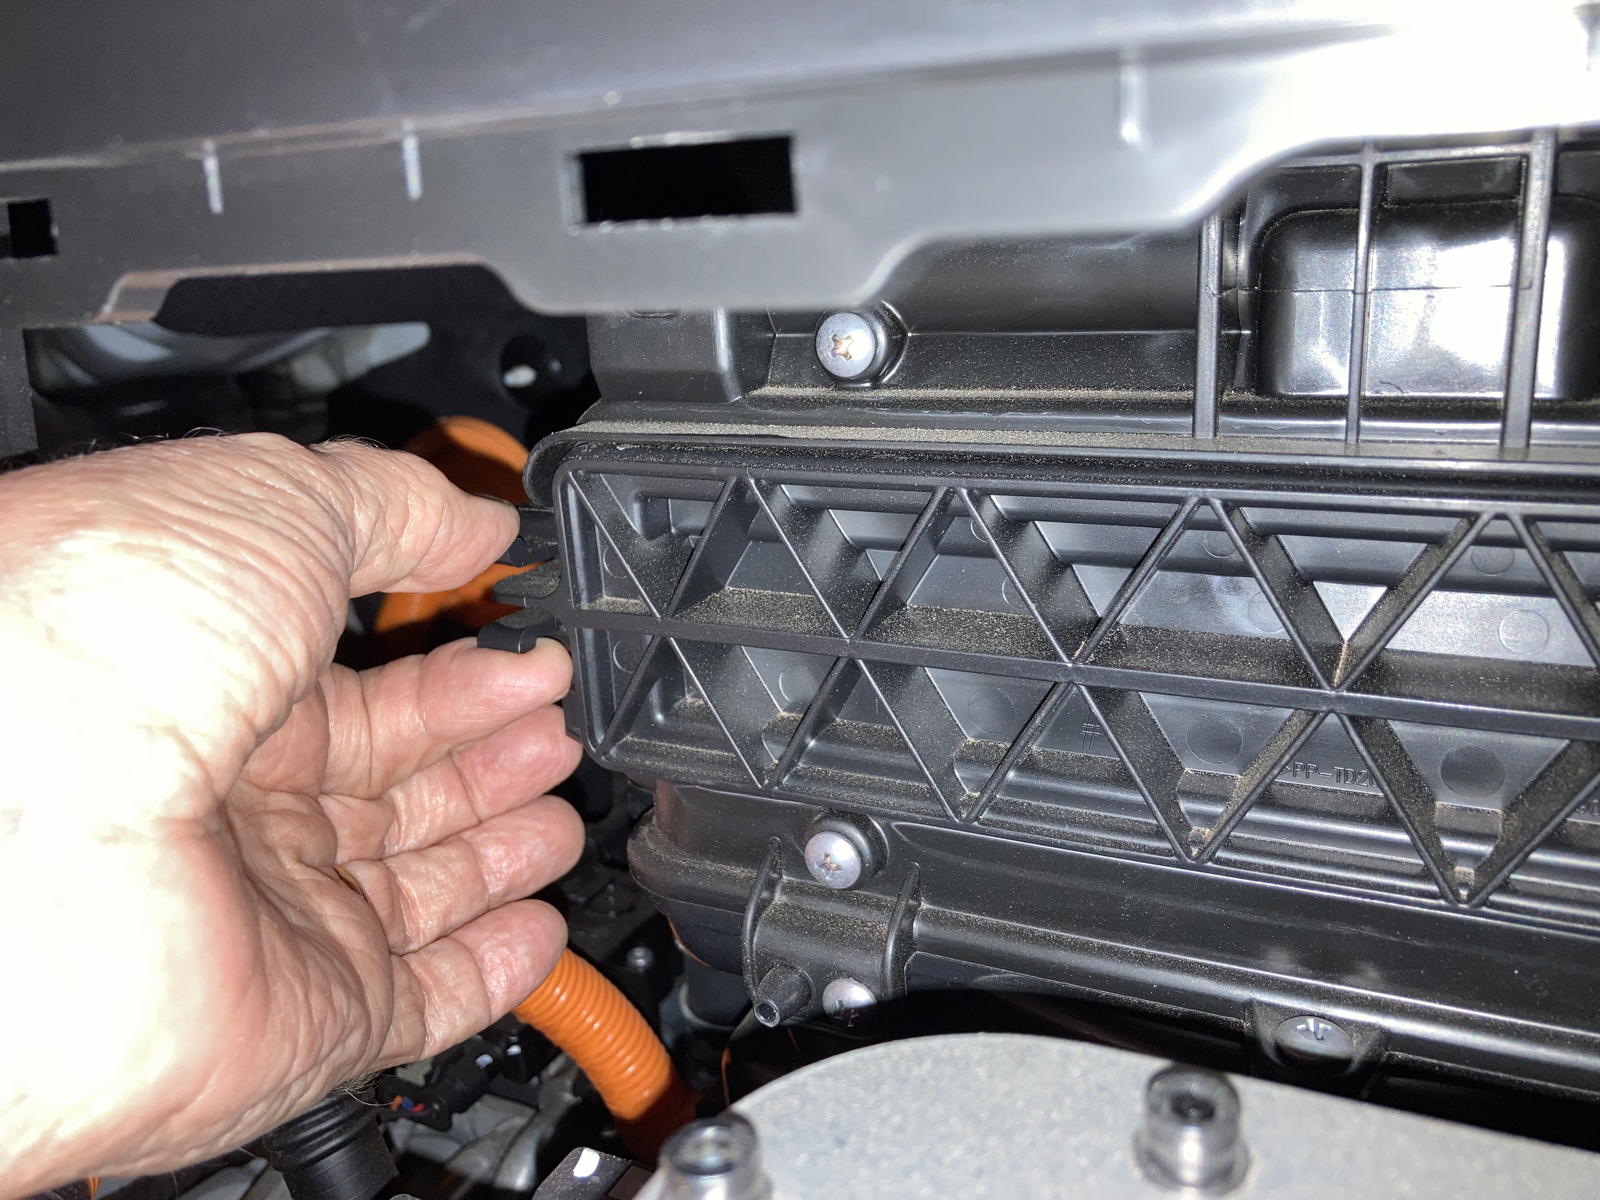
To open the cover, I had to pinch the latches on the left side, swing it forward, and remove it.
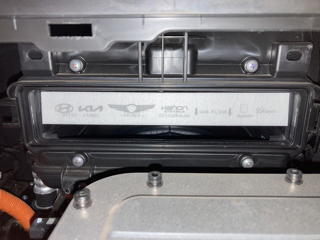
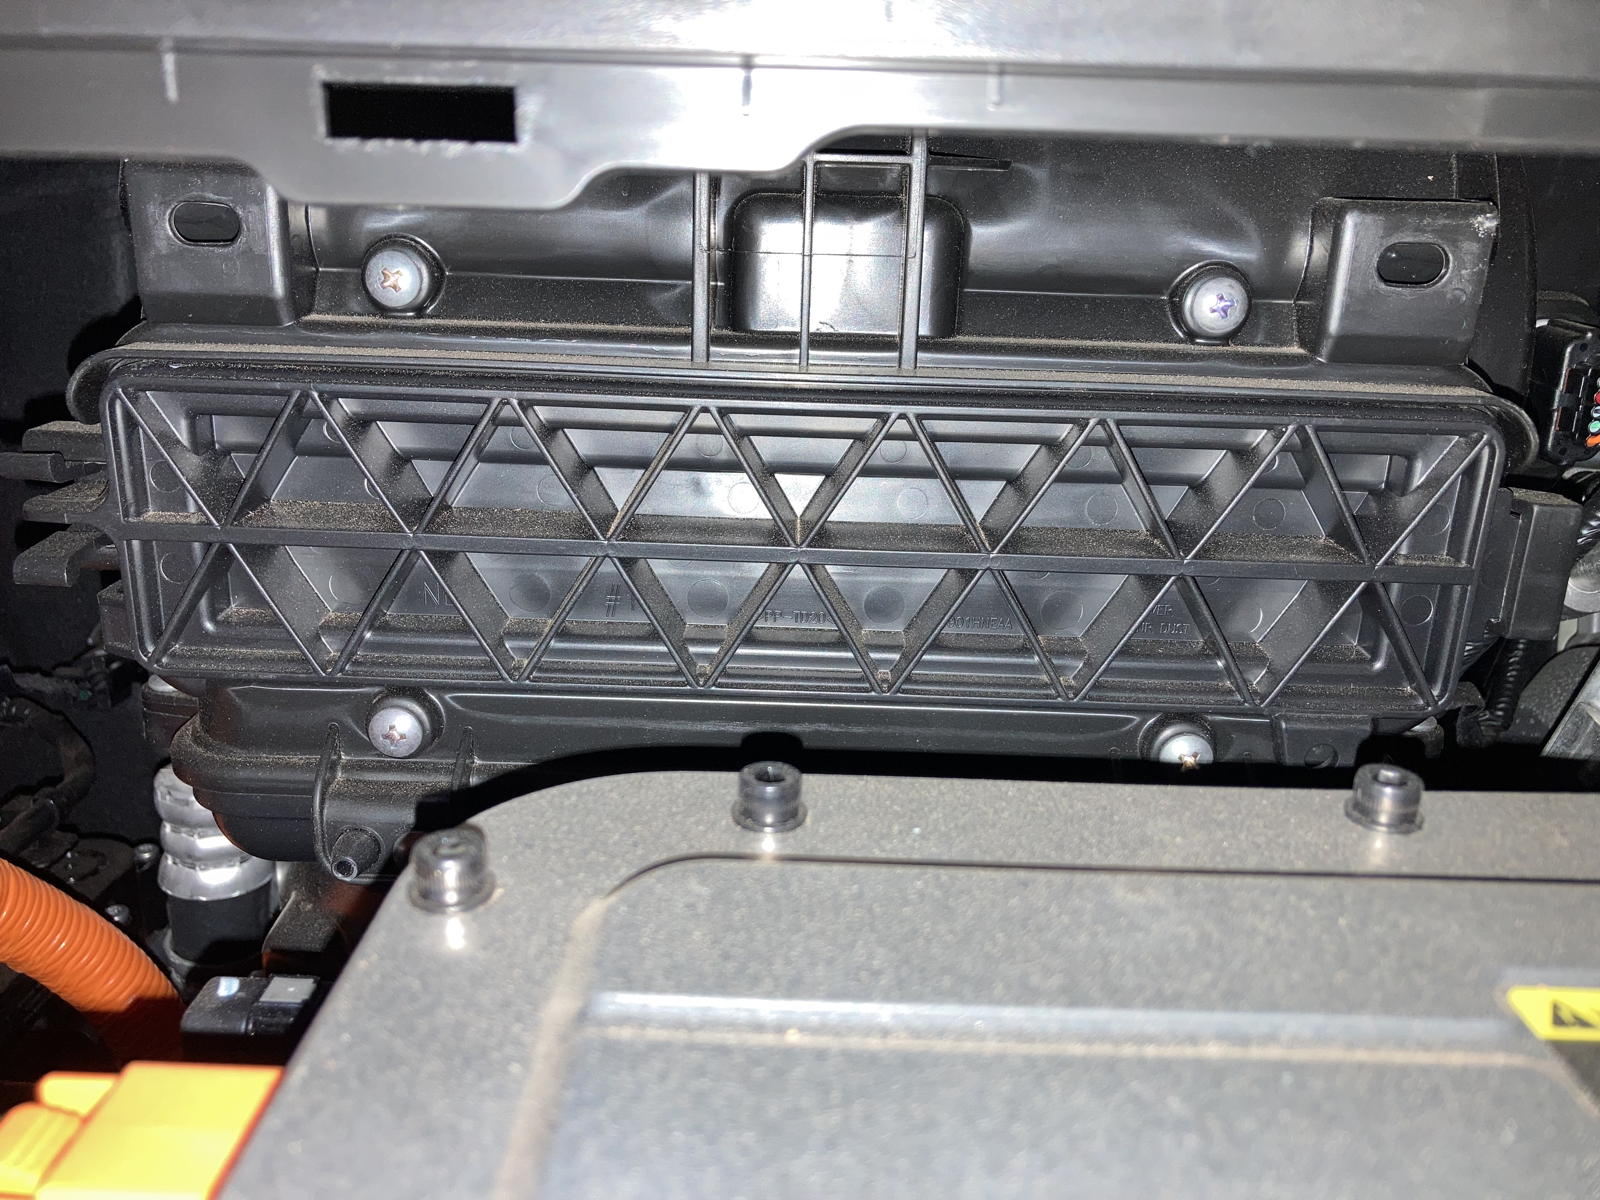
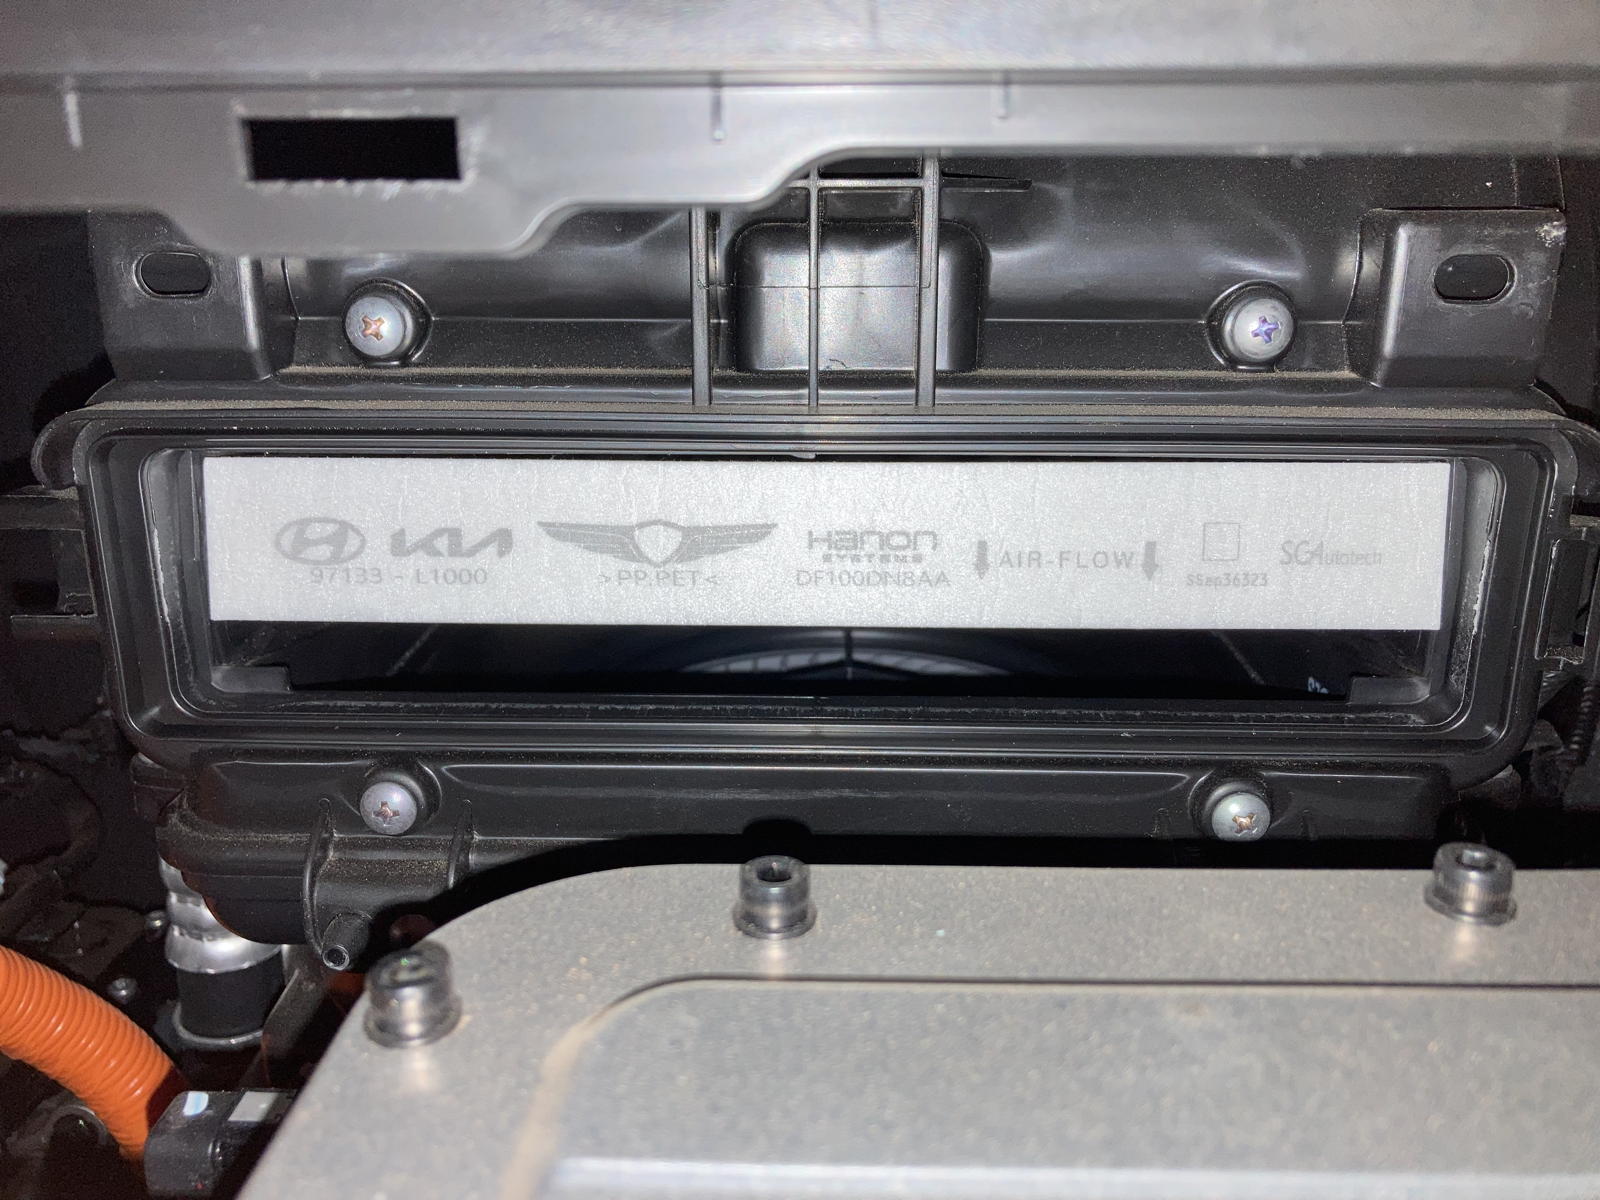
Right behind the cover was the original air filter, which I could easily pull out.
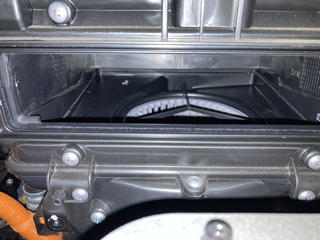
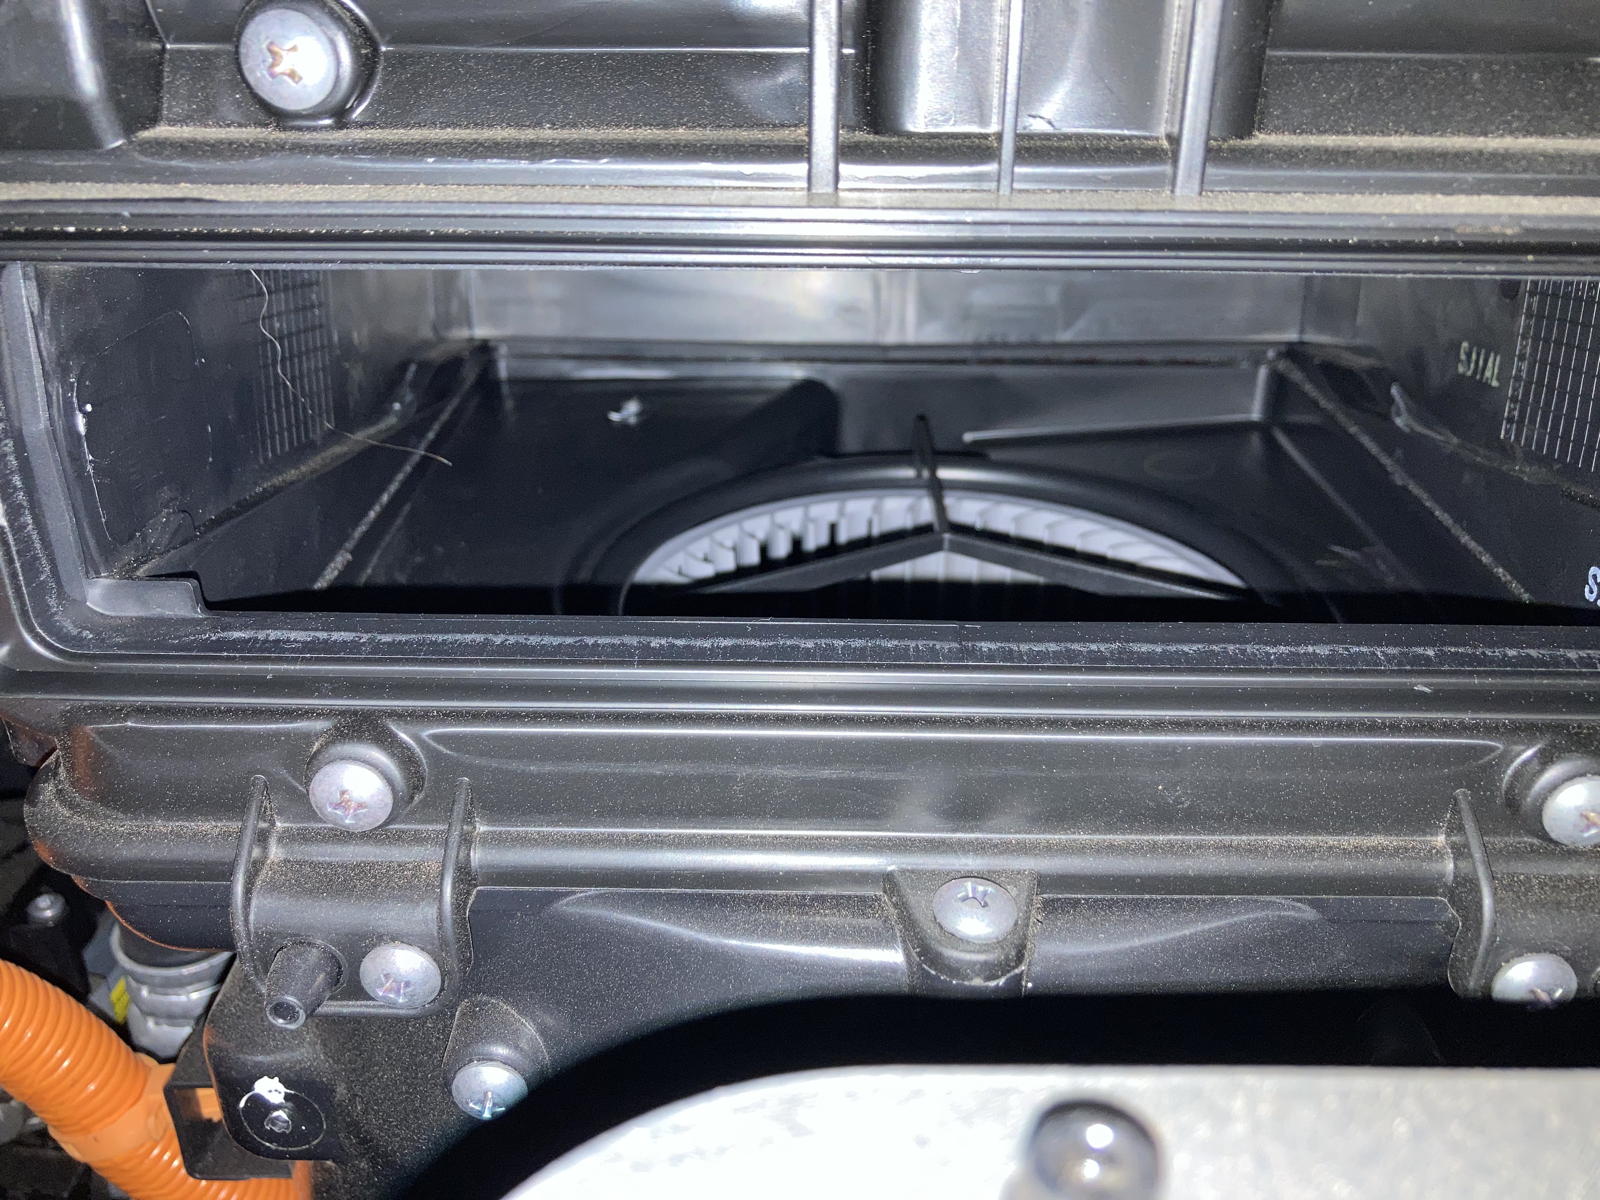
With the filter removed, I could see the climate control fan below that area that sucks air downward through the filter and into the cabin.
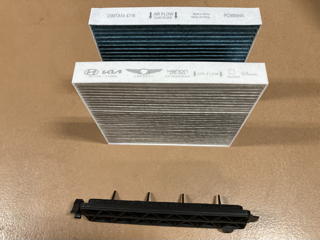
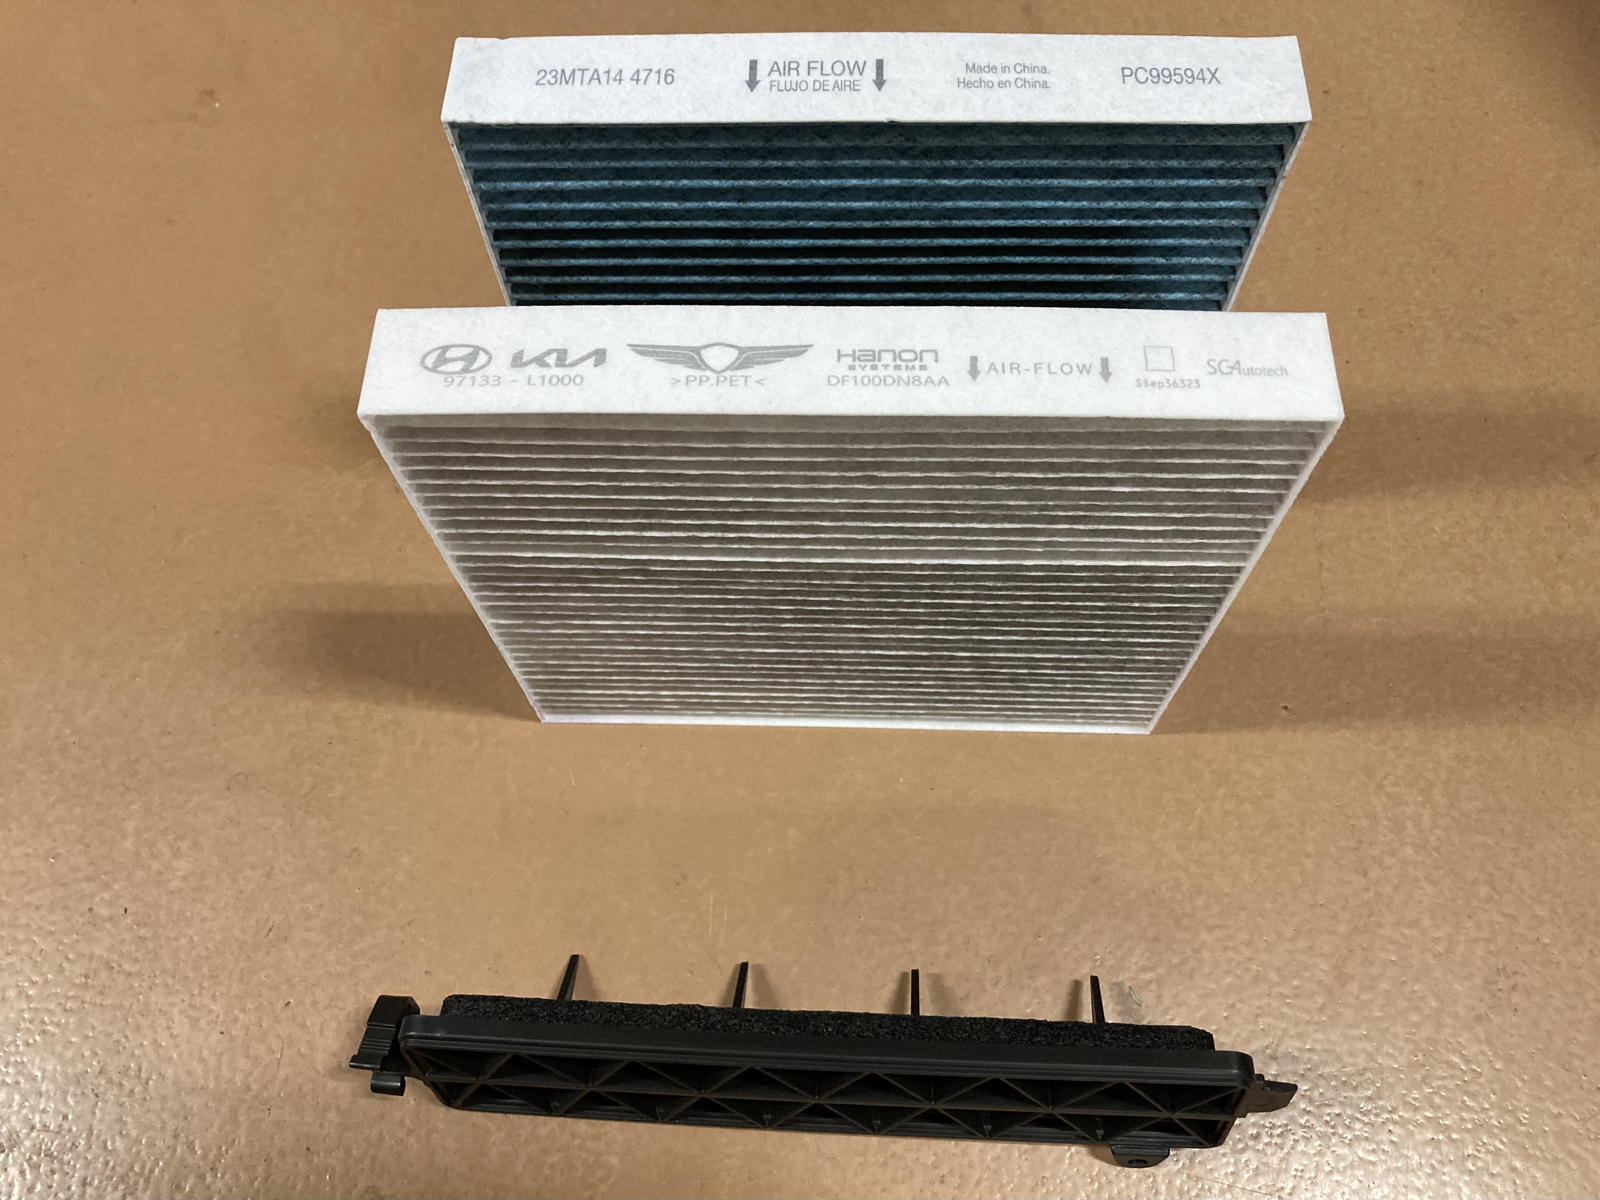
As a comparison, here is the shelf cover, the old filter, and the new filter.
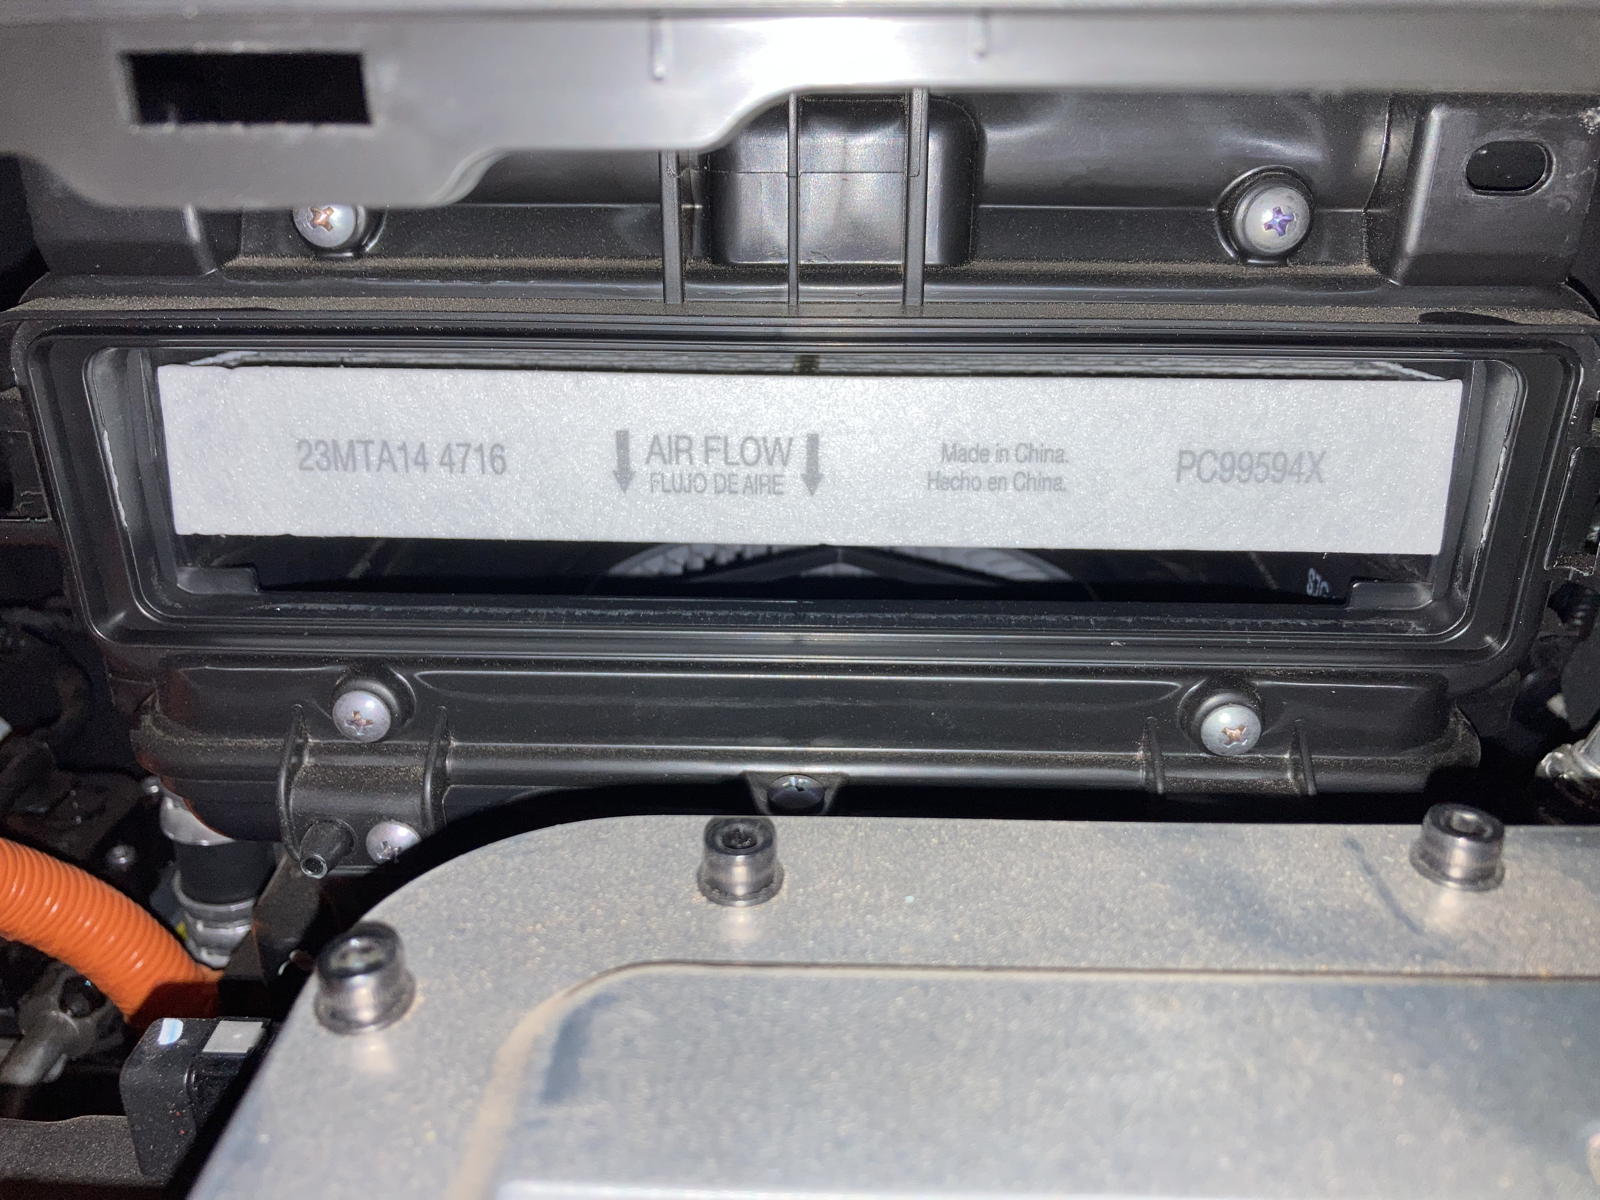
I inserted the new filter into its slot, shown in the photo at the top of the page. I then replaced its cover, put the compartment lid back, and reloaded my charging equipment into the frunk. Voilà! I have to say that I really appreciate how incredibly simple it is to replace the air filters in my Ioniq 5 —so much easier than what I had experienced in the past with my first two EVs! Thank you, Hyundai, for designing such a clever, easily accomplished procedure into your vehicles. Why more automakers are not more accommodating of their DIY customers is beyond me.