Hyped for HEPA
(Click to enlarge)
for our Model 3
Mark D Larsen
October 12, 2020
|
Hyped for HEPA (Click to enlarge) | HEPA Air Filters
for our Model 3 Mark D Larsen
|
Tesla recommends changing the cabin air filters in its cars every two years, so shortly after our two-year anniversary of ownership, I ordered and installed a pair in Correcaminos. I followed the steps shown in the video on Tesla’s DIY page, but I have to say that I found the task more difficult and time consuming than I had anticipated. I hoped I wouldn’t have to attempt it again for at least another two years.
However, lately our air quality has grown alarmingly unhealthy from all the smoke blowing our way from the raging California wildfires. It was having an effect on Tamara’s asthma, and we began to envy Model X and Model S owners who had HEPA (‘H’igh ‘E’fficiency ‘P’articulate ‘A’bsorbent) air filters in their cars. I therefore shopped around and found that there were now 3rd-party HEPA filters for the Model 3 from Abstract Ocean, so I decided that I’d just have to repeat the daunting challenge once again, after only a few months. I ordered the HEPA filters and received them today, so I grit my teeth and again… swapped out the filters. Having done the job previously, this time was a bit easier, but still a royal pain —not so much because of complicated steps, but because it requires practically standing on your head in the footwell, twisting around to try and see the upper console, working around cumbersome covers and cables, with ribs painfully lying across the passenger door sill. Still, I managed to pull it off once again. Whew!
I will post below some photos to comment on aspects of the installation that Tesla’s DIY video glosses over or doesn’t even mention. Perhaps such details will help other owners who decide to change or upgrade the filters in their Model 3.
NOTE: You can click on any of the following photos to enlarge them.

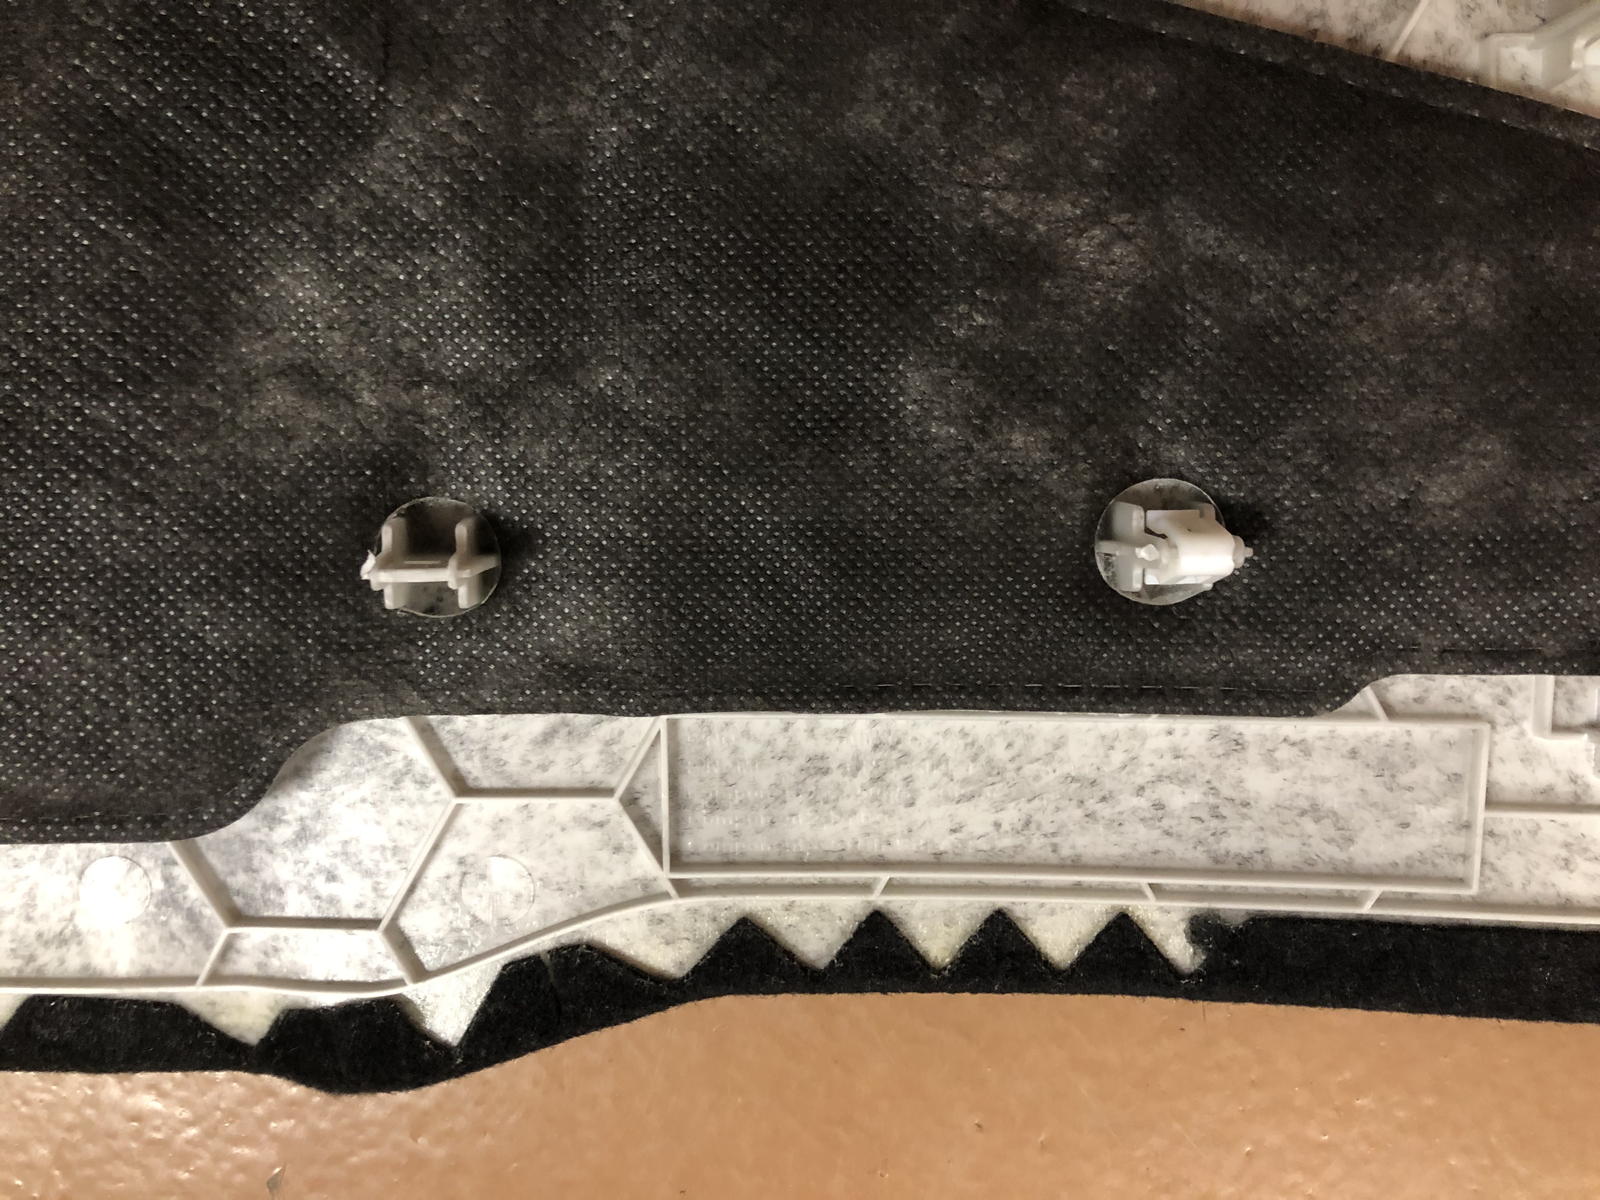
One of the first steps is to pry off and remove the panel from the side of the console. This panel is held on with clips in various locations, which snap into holes like you can see underneath as I pull the panel off in this photo.

On the underside of the panel, I noticed that some of the clips were attached to their plastic tabs, others were missing.

Inspecting the corresponding holes, I saw that the missing clips were still in them. Perhaps all the clips should have remained in the console, but I decided to remove these as well, since they were now loose and might get lost.

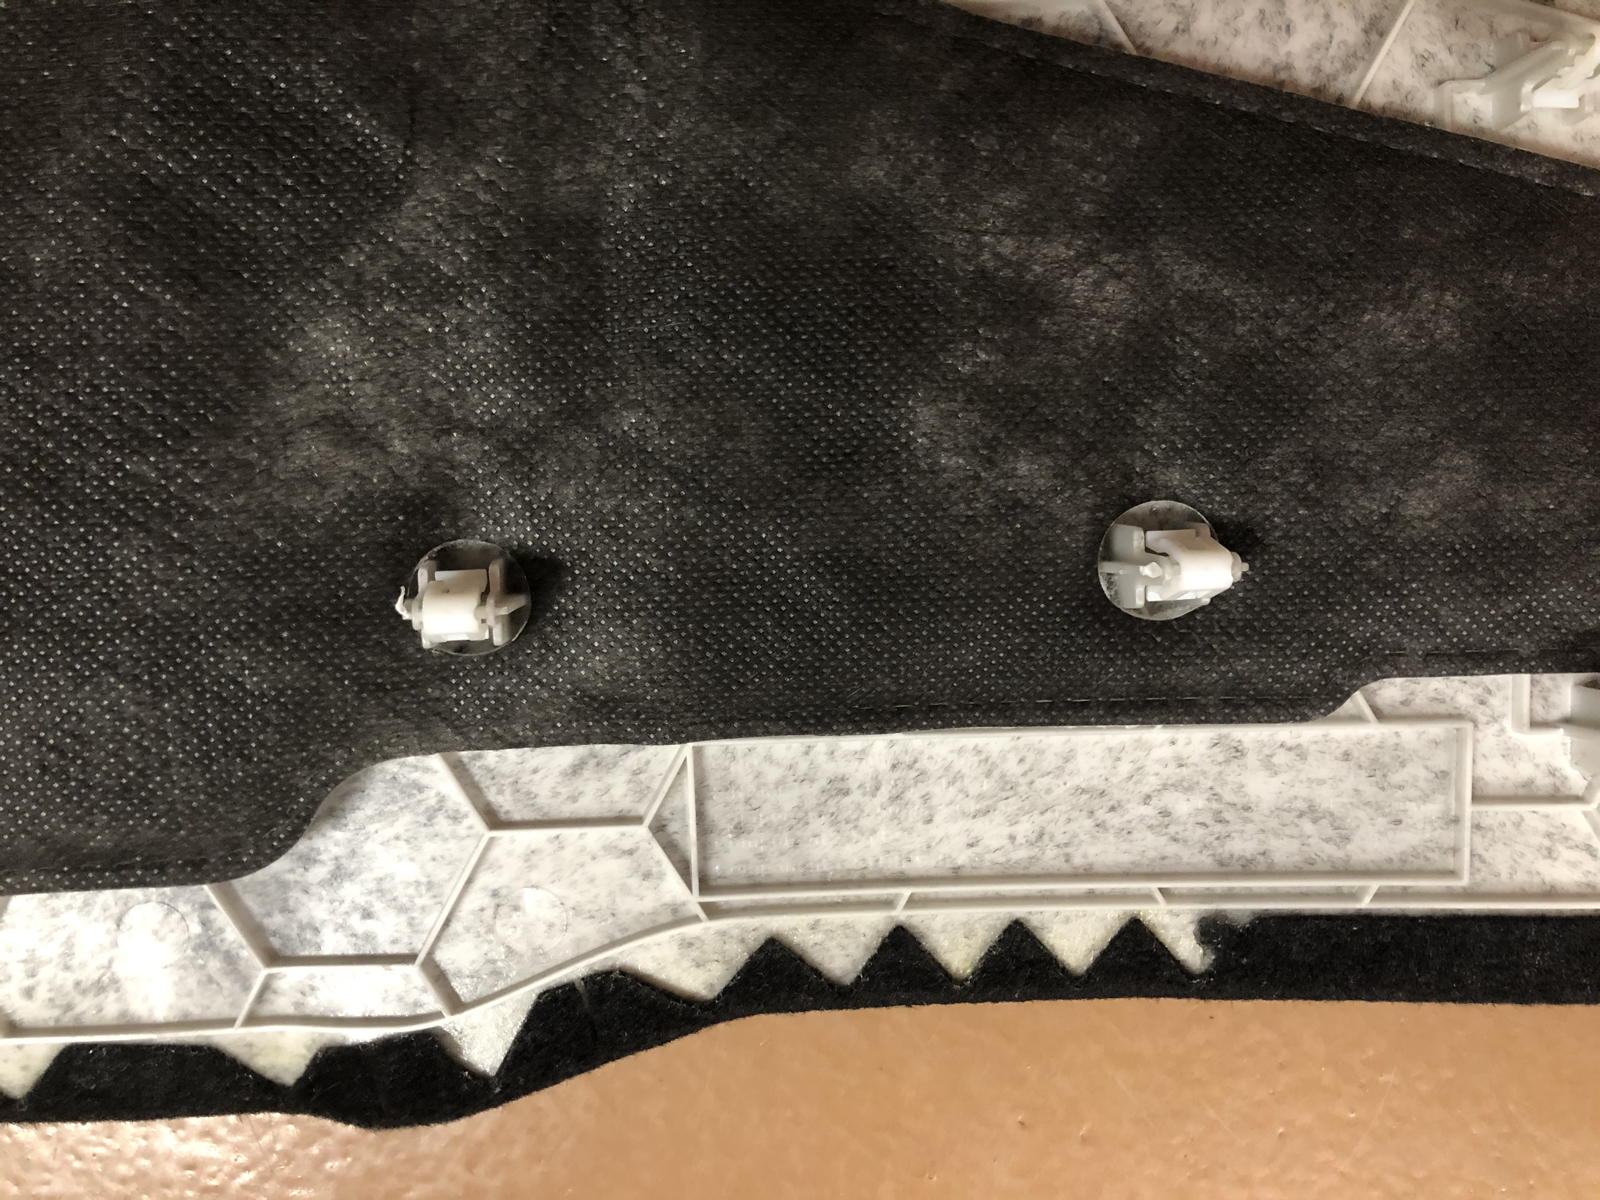
Here are the three clips that I removed. You can see that they have notched edges that secure the panel when pushed into the holes.

I then put them back on their corresponding tabs protruding from the underside of the panel, as you can see comparing this photo with the one above in which one clip was missing.

The next step is to remove the cover behind the glovebox underneath the dashboard by remove its push clips. I had worked with these clips in the past, not only when changing the air filters, but also when installing hitches on both my previous LEAF and Correcaminos. The trick is that they have two parts to them, There’s a middle “plug” that you first need to pull out of the clip. You can then pry out the clip itself.

Here are the four clips that secure the cover. You can see that, when pushed in, the plugs keep the expanding ends of the clips from collapsing, thus securing them tightly in their holes.

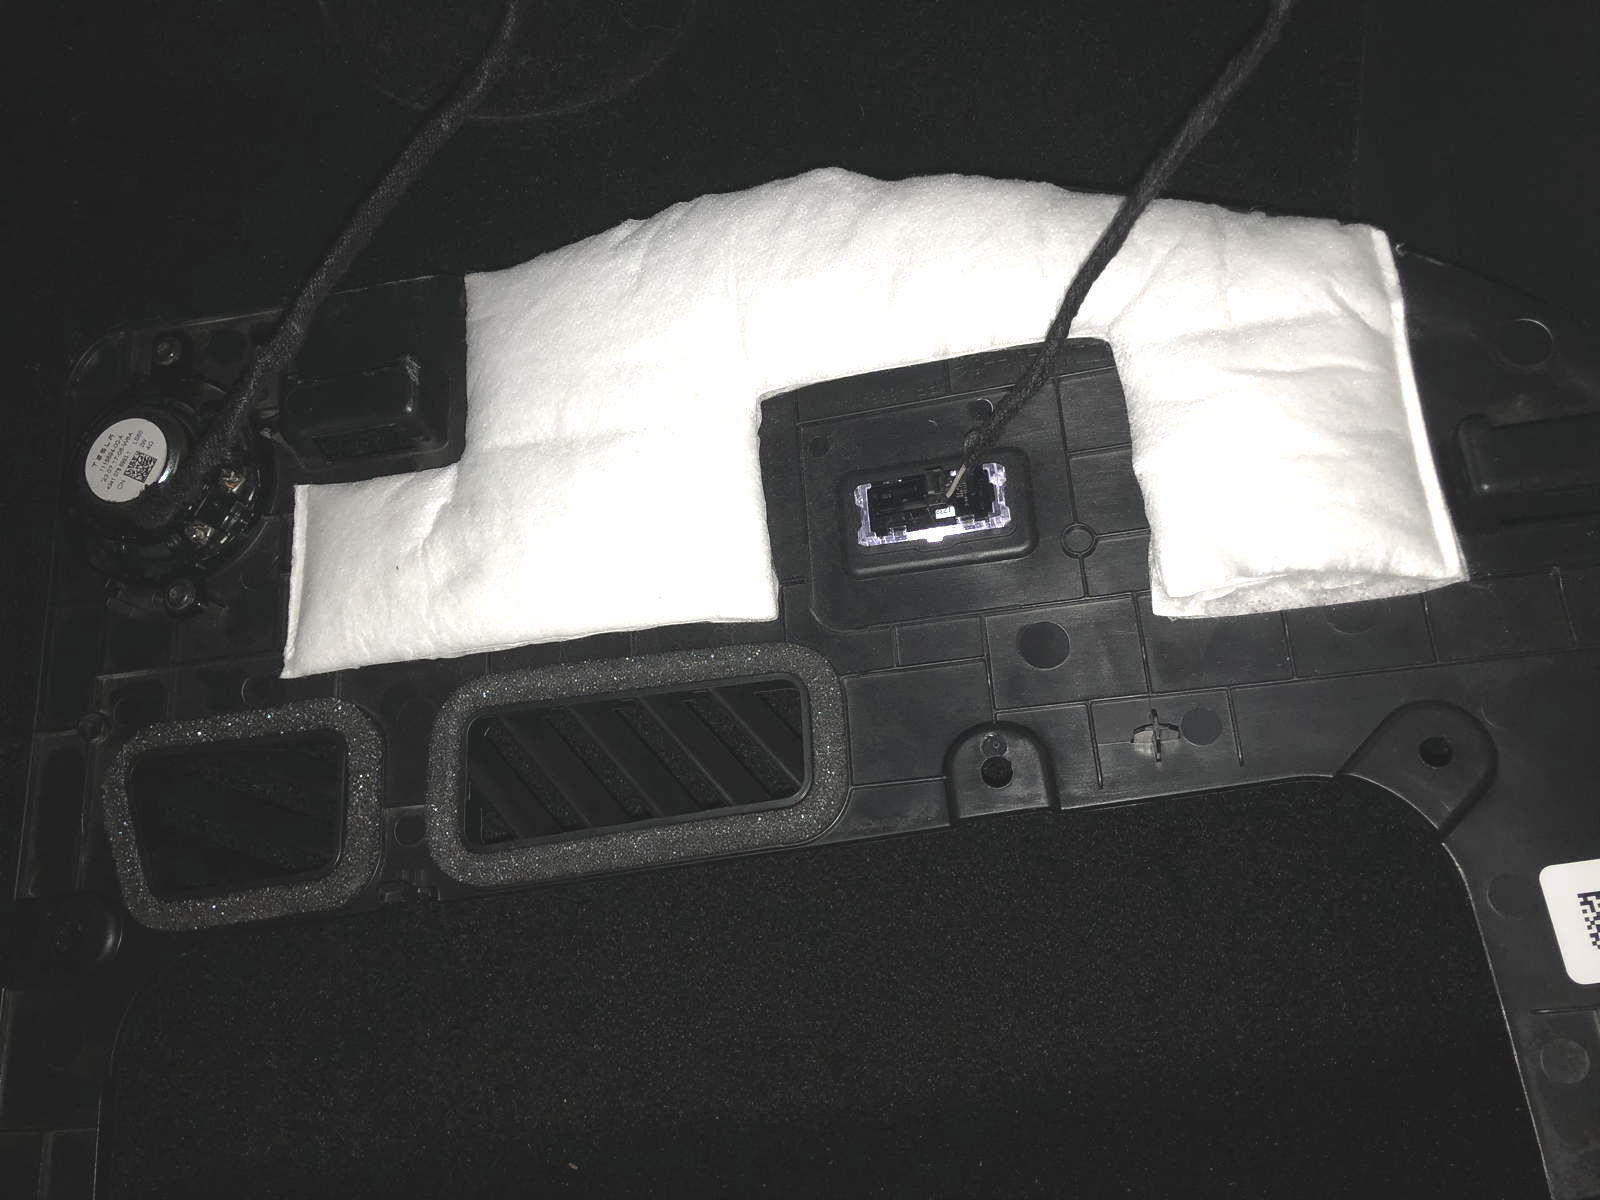
Here is the backside of the cover after removing the clips and prying it off. You can see that it has two wires: one to the footwell’s LED light, and another to a tiny speaker used for the car’s warning alerts.

The DIY video instructs you to unclip the wires and remove the cover entirely. Easier said than done, especially when you’re crammed into the footwell, trying to fiddle with their clips! This time I decided to forego that step, and merely set the cover off to the side and over the door sill, since the wires extend far enough to allow it.

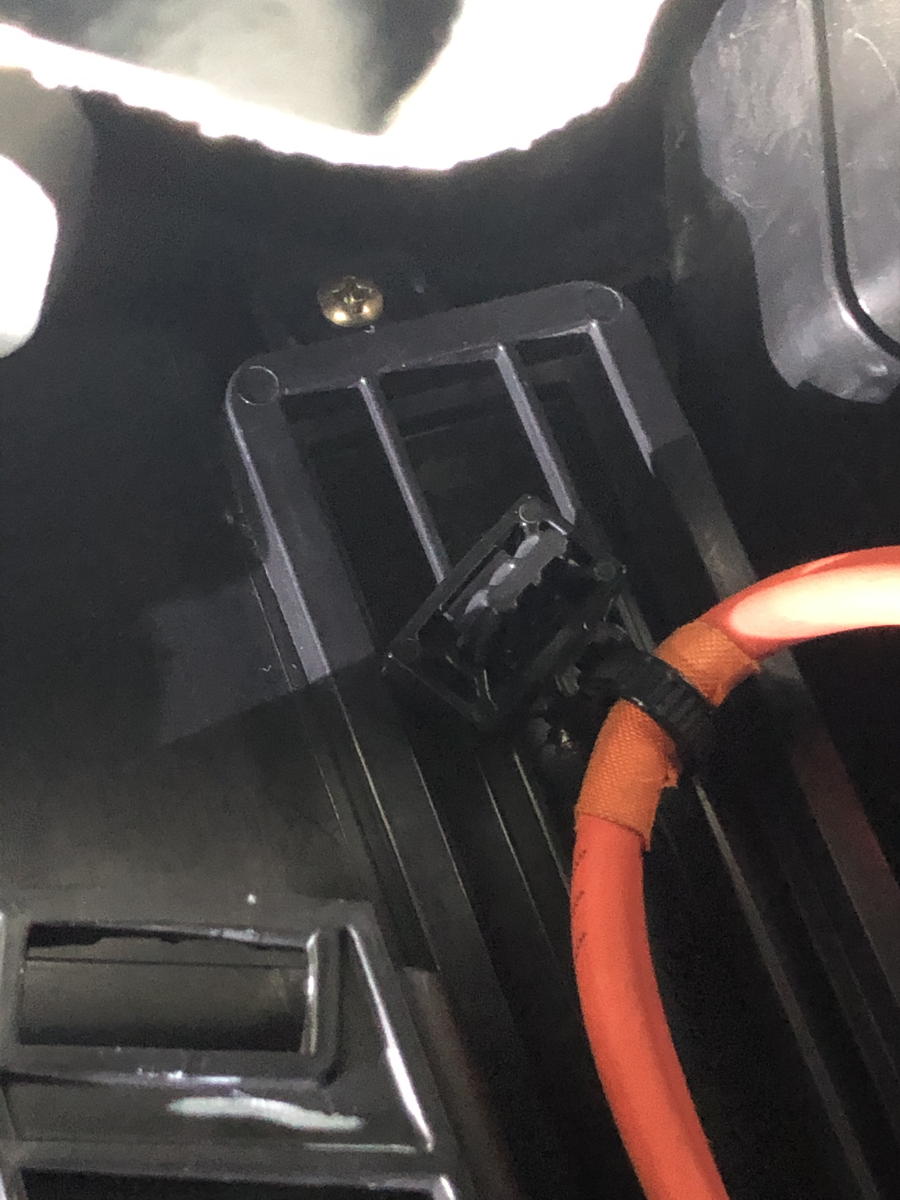
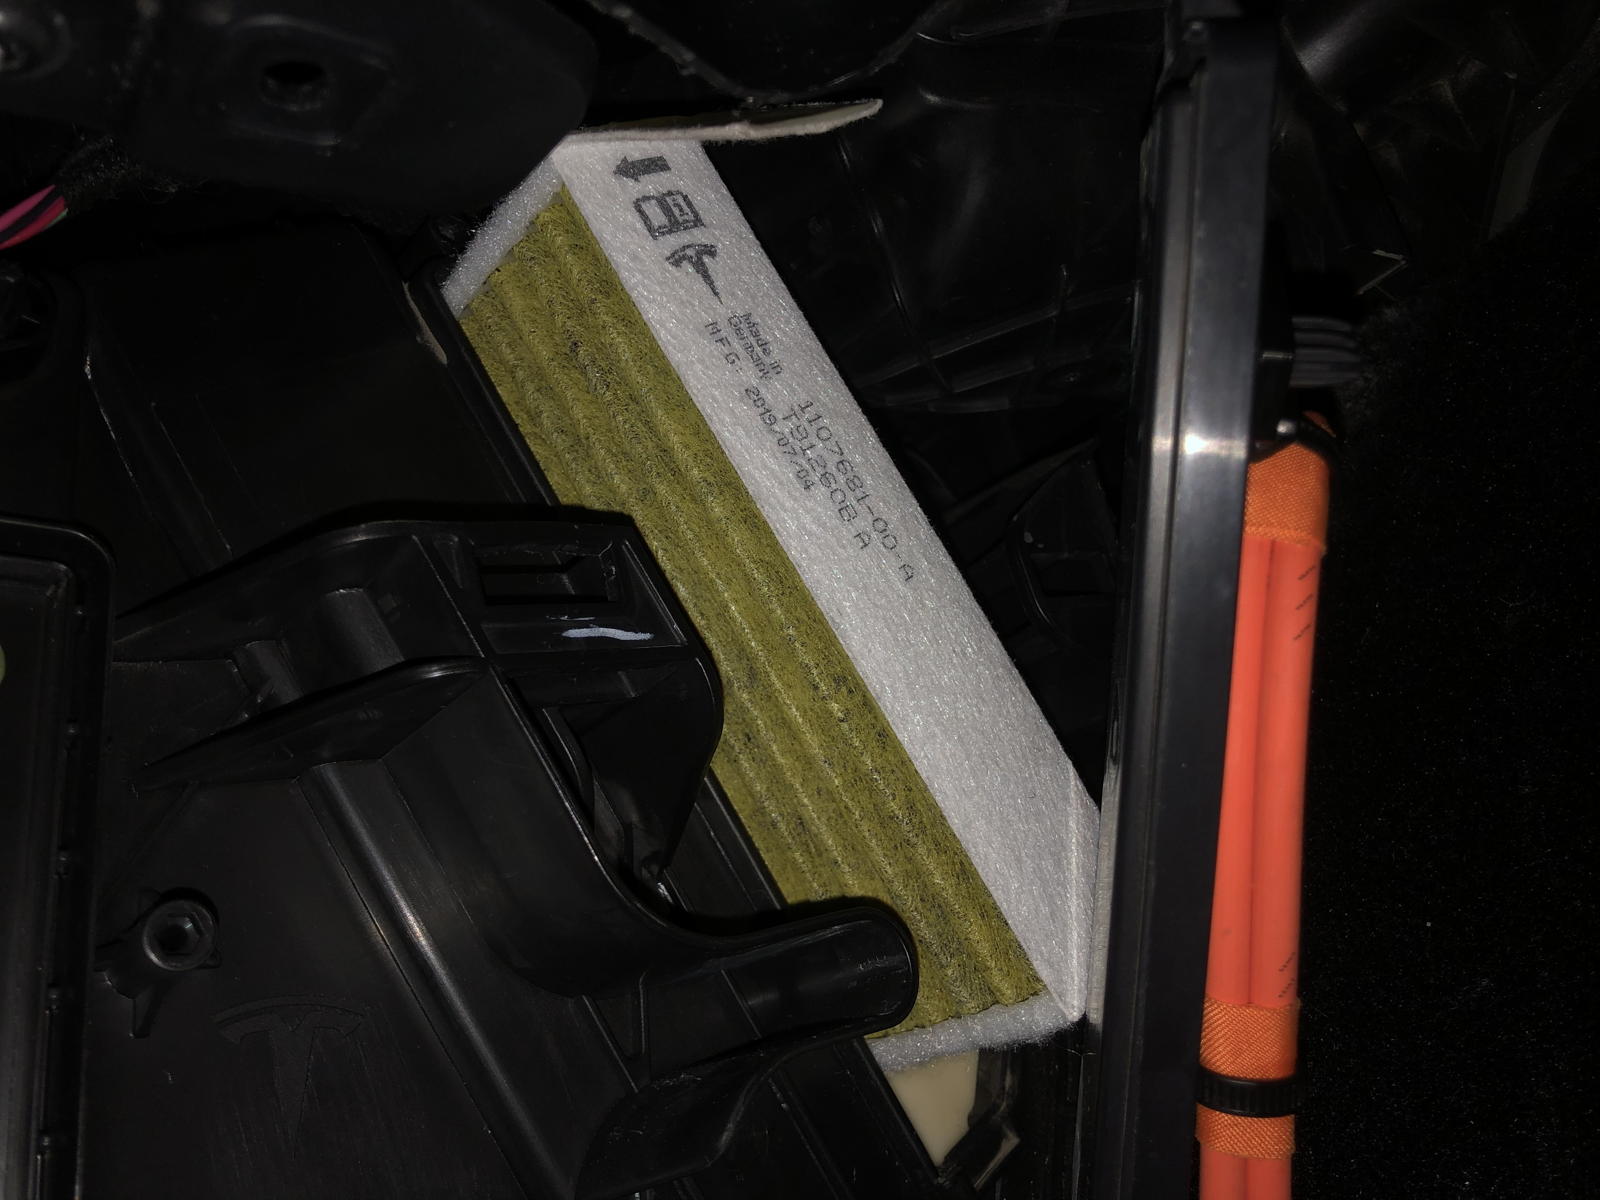
Now you have to cram yourself farther in, twisting to reach the air filter door with an orange cable attached to it. To open the door, you must remove a screw at the top of it. Not an easy task for your arms, hands, and a screw driver stuffed into such tight space!

I should explain about this screw. The first time I replaced the filters, I dropped the door’s tiny T20 torx screw down into the console. Argh! Could’t find it to save my life. Luckily, however, I had a Phillips screw of the same size and threads to replace it, shown here removed.

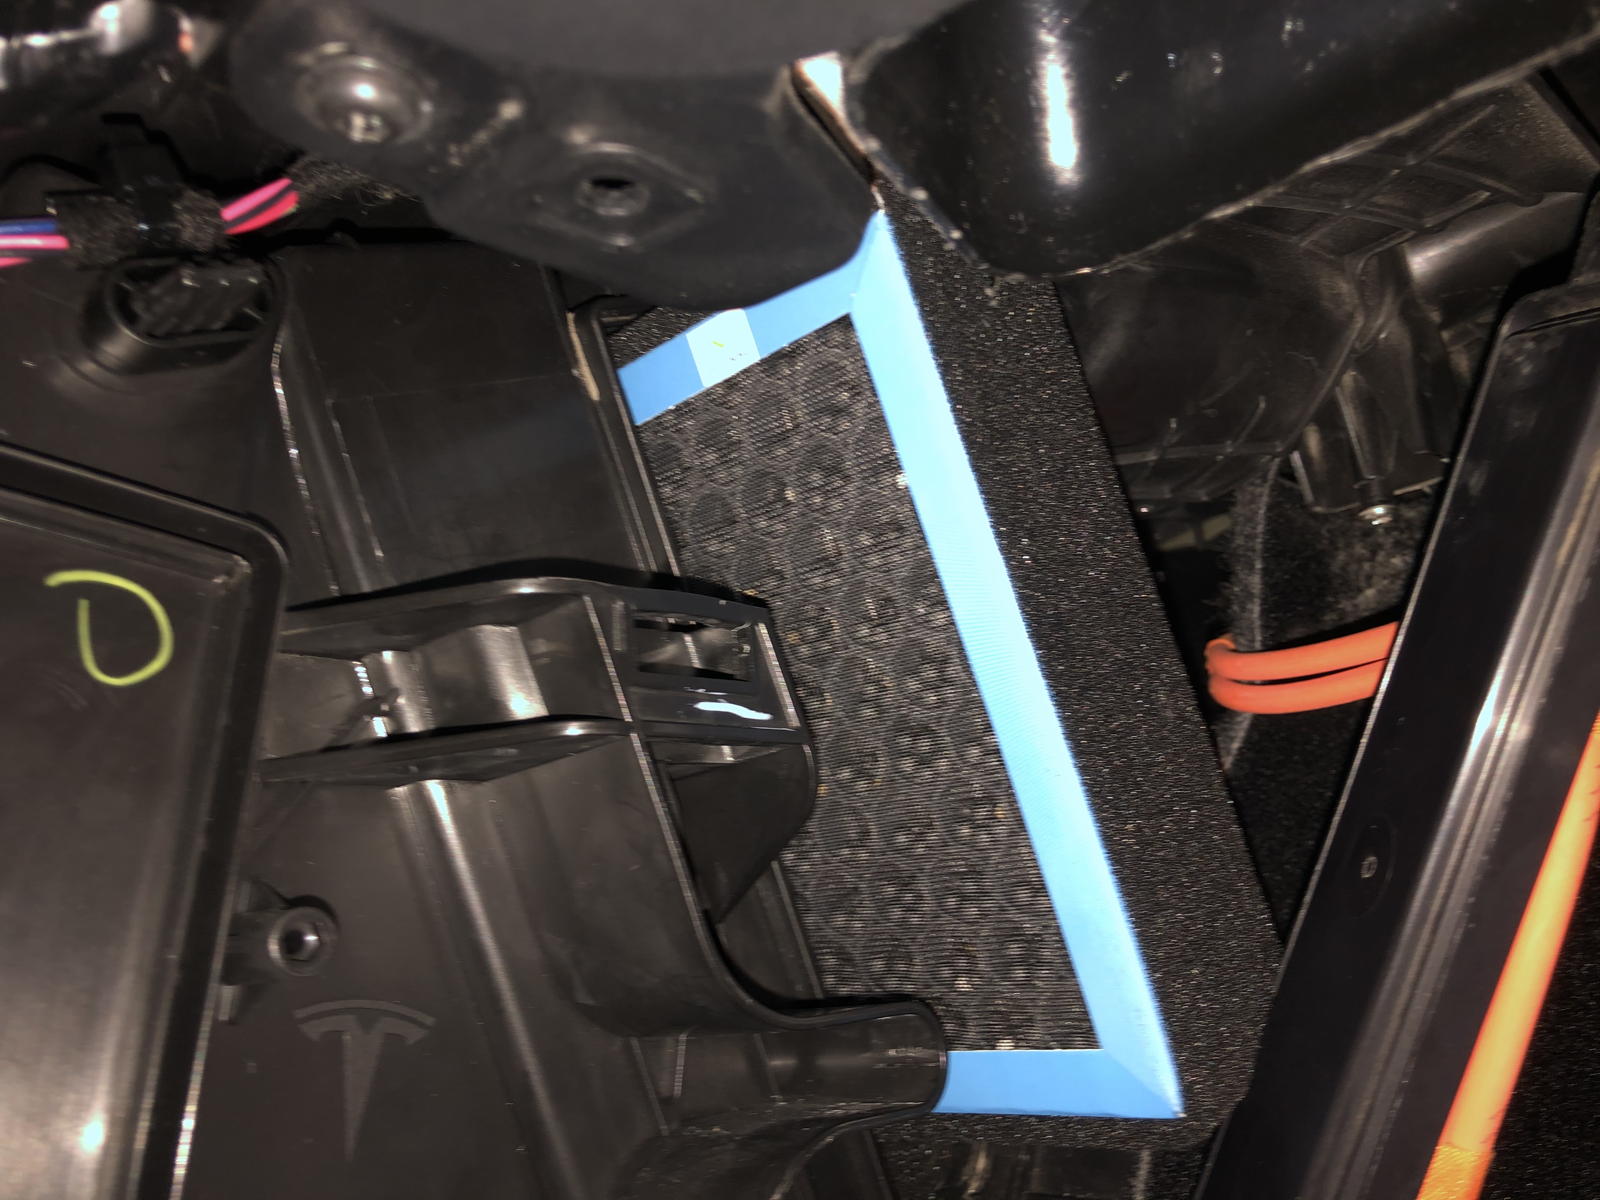
You can then tip the top of the door out and remove it from its notched base. You have to push and hold it to the side to then pull out the stacked filters by their tabs. First the top one, then the one on the bottom.

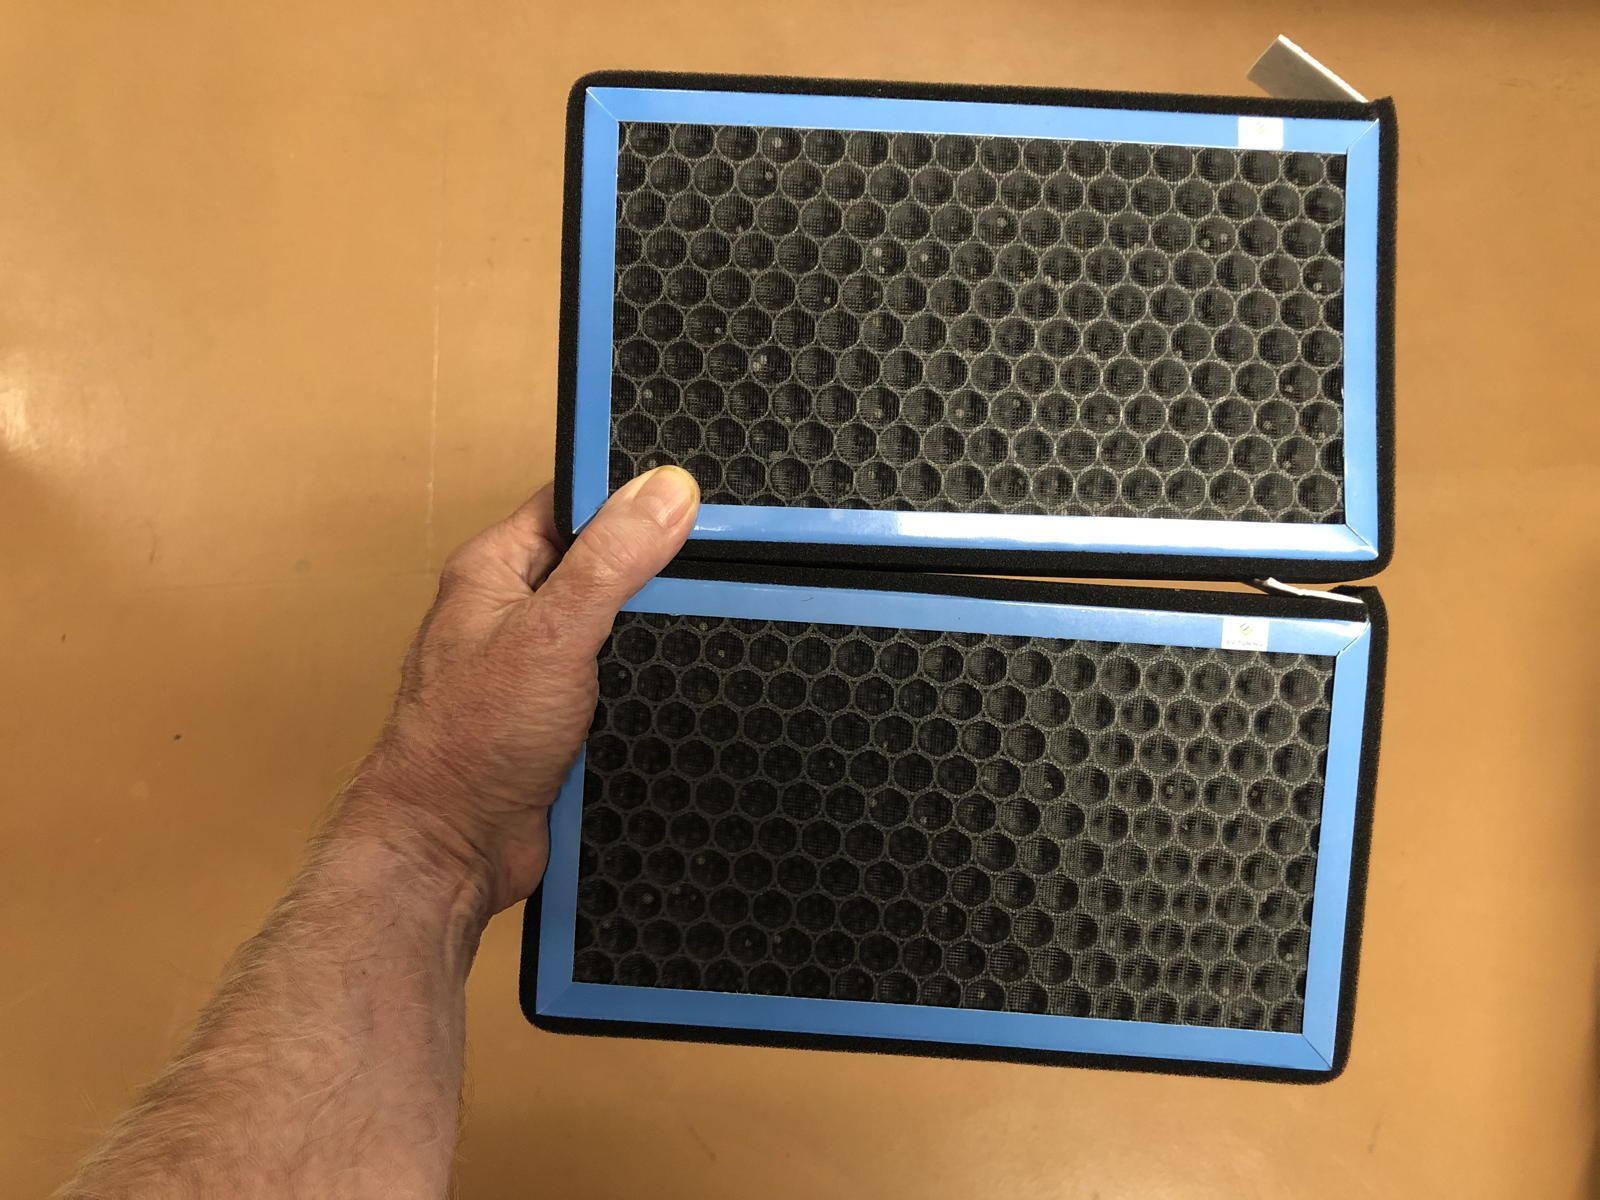
Here are the filters removed, next to the new HEPA filters.j

The back sides of the removed filters were looking grayer than I remembered, which suggests that they had, indeed, been getting dirty from all the smoke.

I then installed the HEPA filters and replaced the door —being extra careful not to drop the tiny screw this time! I put the cover back on with its push clips, snapped the panel back onto the side of the console, and crawled out of the footwell.

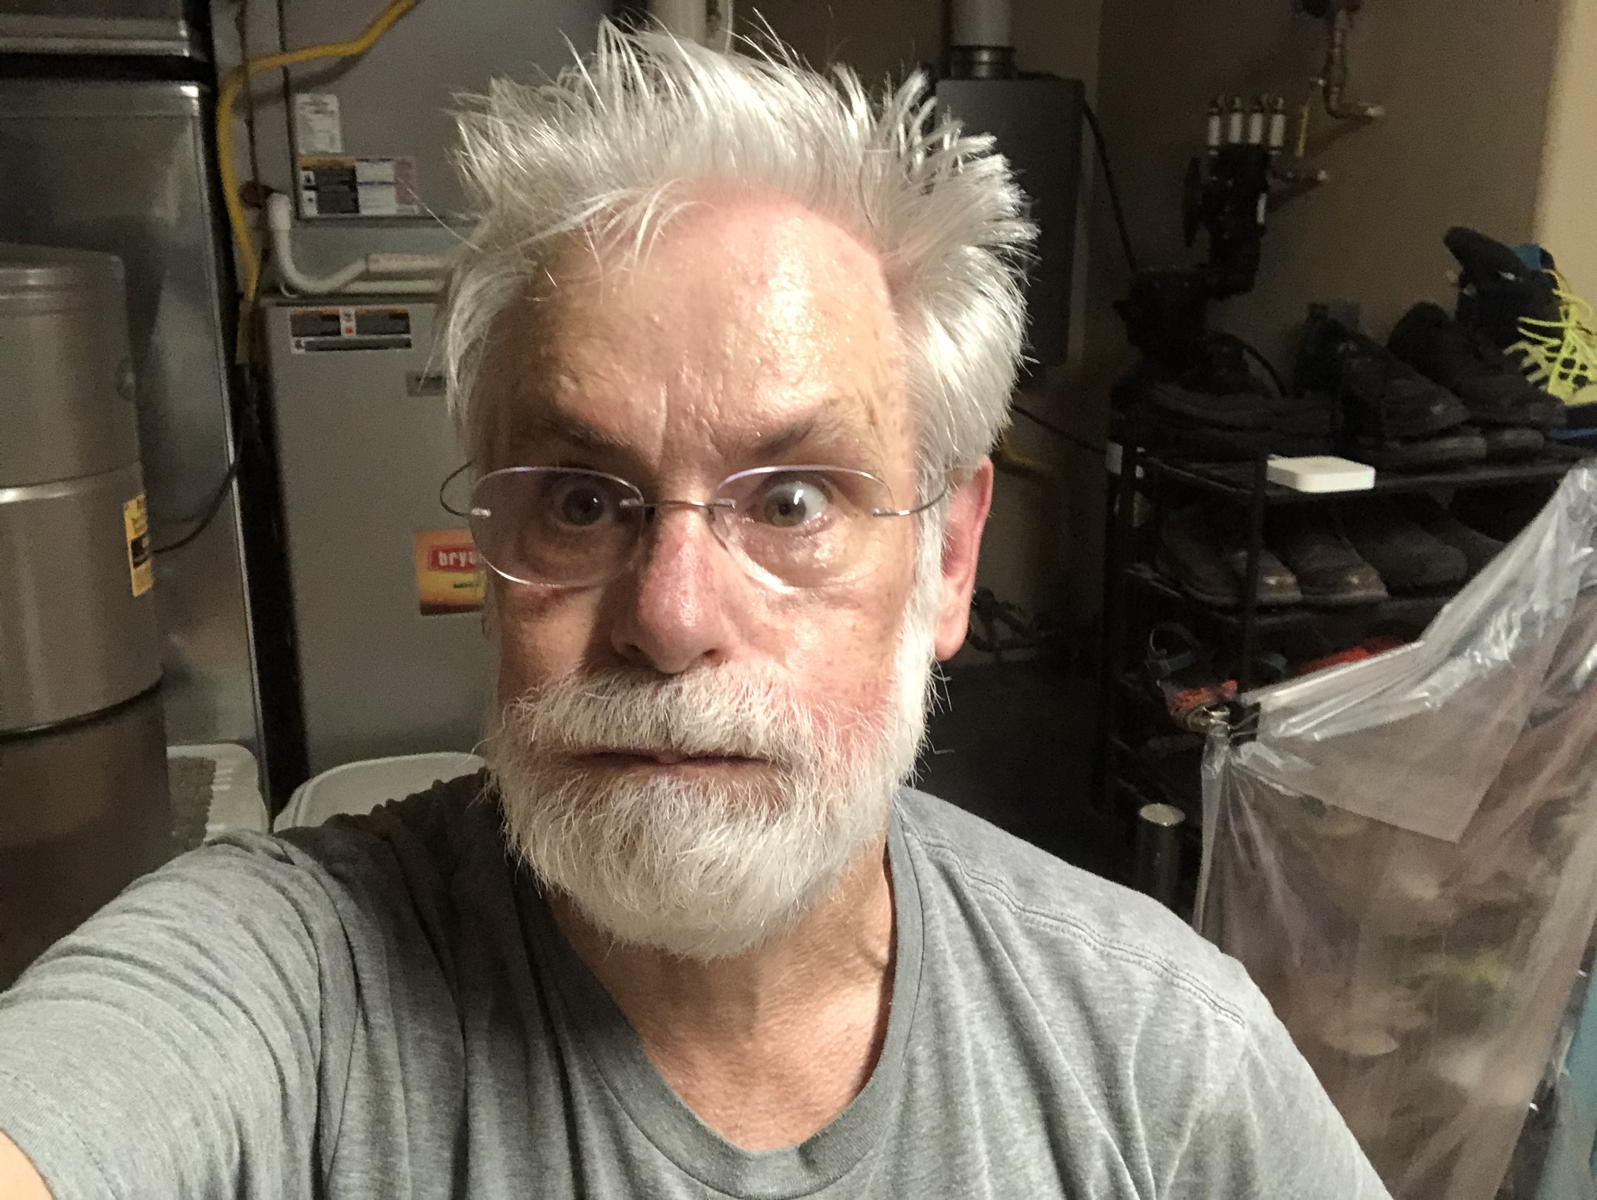
Tamara couldn’t help but howl with laughter upon seeing me emerge, red faced, dripping sweat, puffing, with my hair looking like I’d been standing on my head —which I had!
Again… it’s not an easy task to change the cabin air filters in a Model 3. I really do think that Tesla needs to rethink the design to make it much easier. One should be able to open the filter access door without dealing with clips, panels, covers, wires, screws, cables —in my humbled opinion. I can at least say that we’re much happier to now have these more effective HEPA filters in the car, for we foresee that it is inevitable that the climate crisis will continue to affect our air quality in the coming years. Having them in Correcaminos when on the road will help us… breathe easier.