High Power Wall Connector
Mark D Larsen

Mount Up
(Click to enlarge)
| Installing a Tesla
High Power Wall Connector Mark D Larsen |
Mount Up (Click to enlarge) |
After placing the order for our Model 3, I knew that the next decision I had to make was how to charge it in our garage. I had been mulling over the possibilities for several weeks, and now decided to just go for broke and replace our LEAF’s EVSE with a dedicated Tesla High Power Wall Connector (HPWC). Call me silly and sentimental, but I just felt like I should include the EVSE when I sold the LEAF. In my mind they are a “package,” partners, a matching pair that should be kept together.
I therefore ordered the HPWC that same night, and it arrived six days later. I contacted the electrician who had installed the EVSE originally, and he sent two of his workers to make the swap a few days after that. Below are annotated photos of the installation.
NOTE: You can click on any of the following photos to enlarge them.
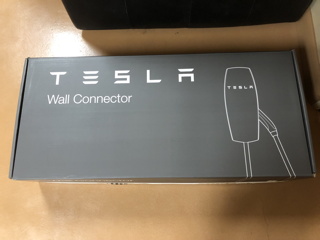
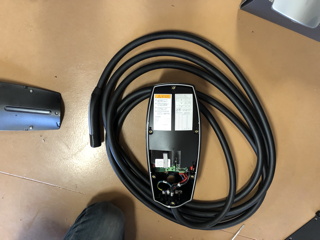
The HPWC arrived in a large, tall box. I opened one end, tipped it upright, and slid the box up and off the package. Voilá!
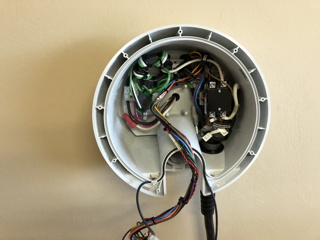
The first step, of course, was to unmount the EVSE by removing its front cover to access the two bolts securing it to the wall stud. I then packed it up in its original box to include with the LEAF when sold.
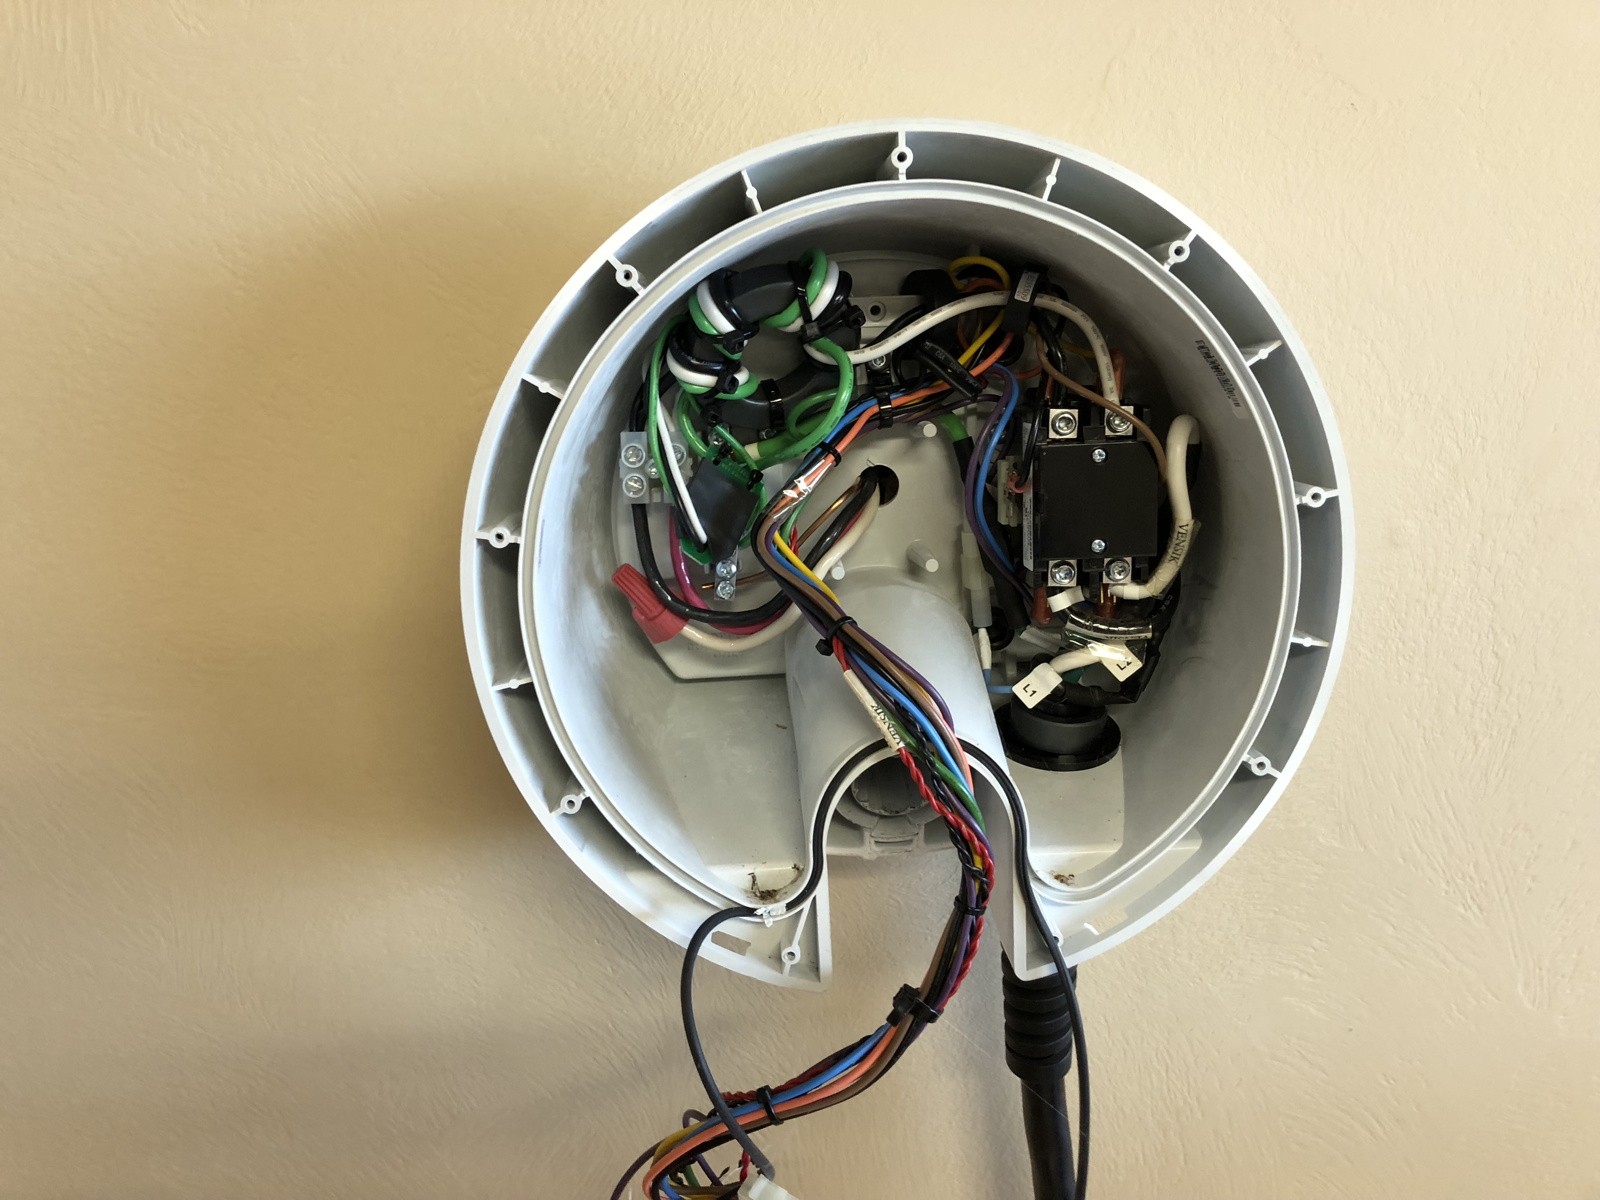
The electrician likewise removed the HPWC's front cover to gain access to its own bolt holes.
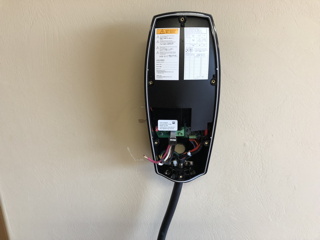
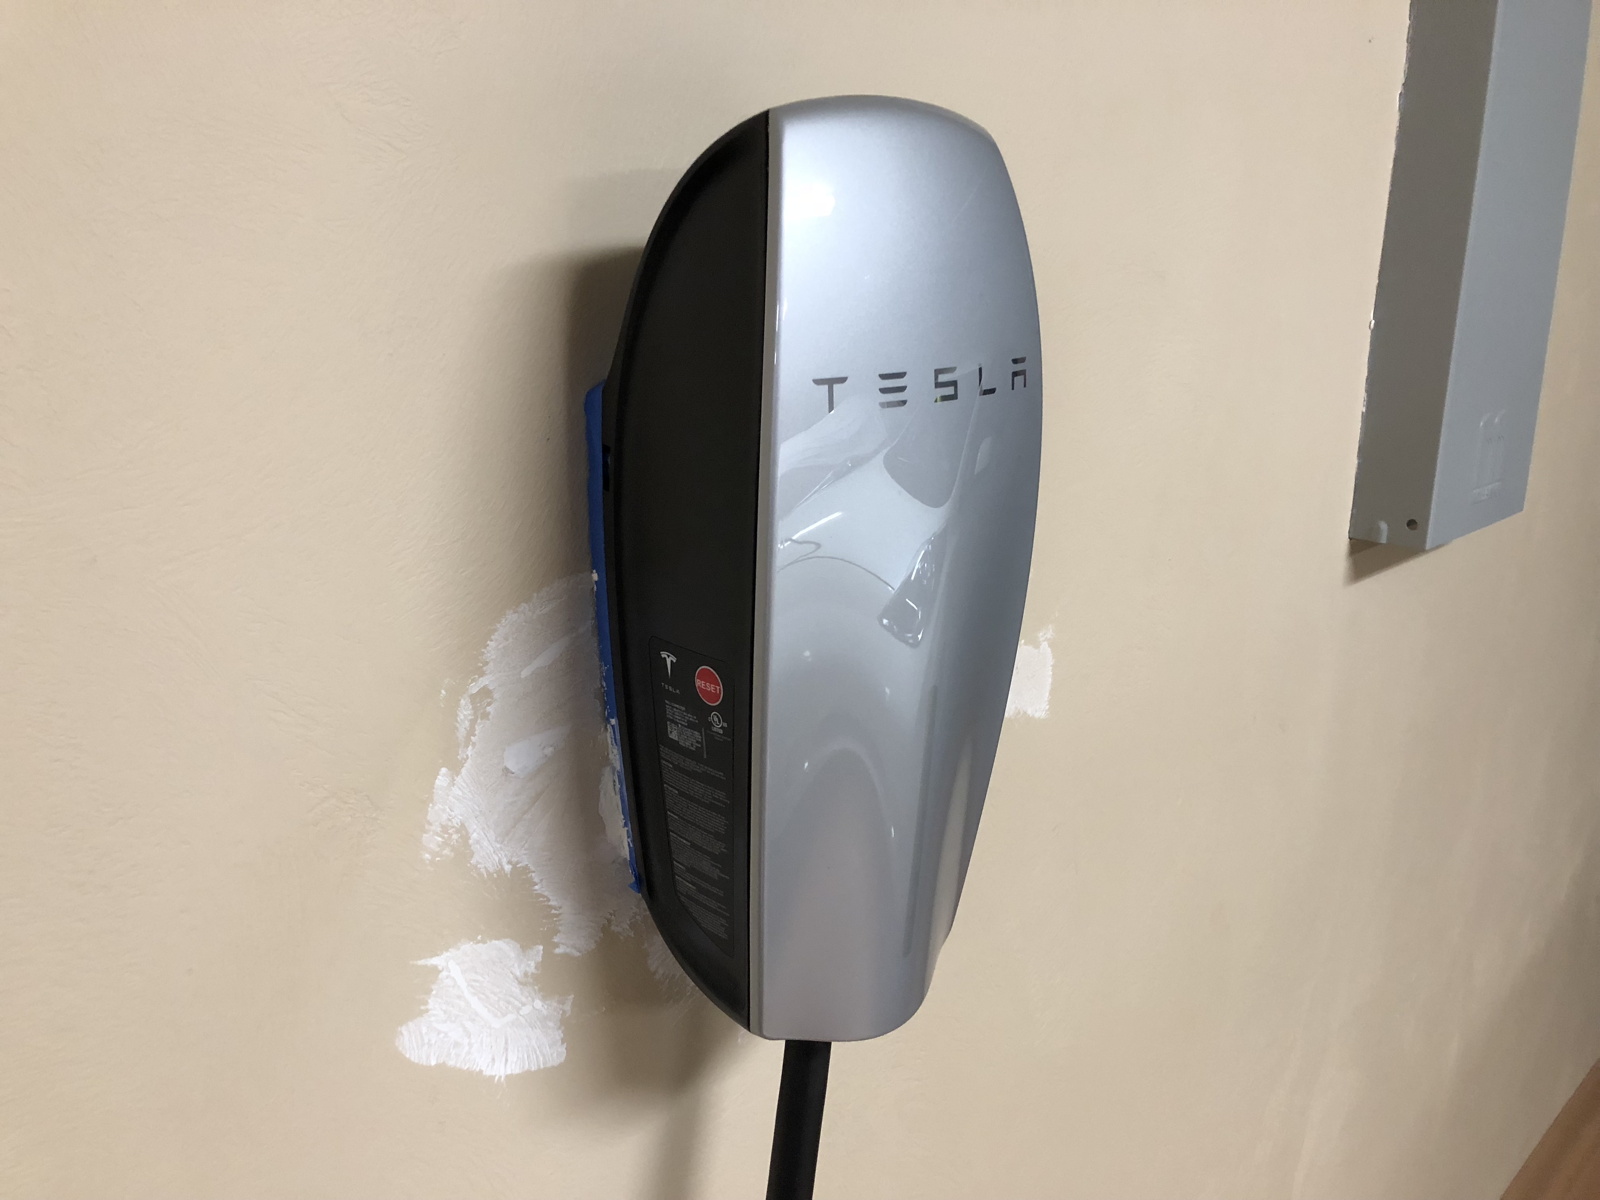
Here it is mounted to the wall stud. If you look closely you'll see that removing the round EVSE left some gouges, scrapes, and holes in the paint around the HPWC.
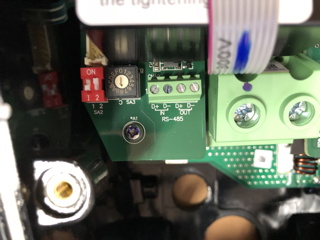
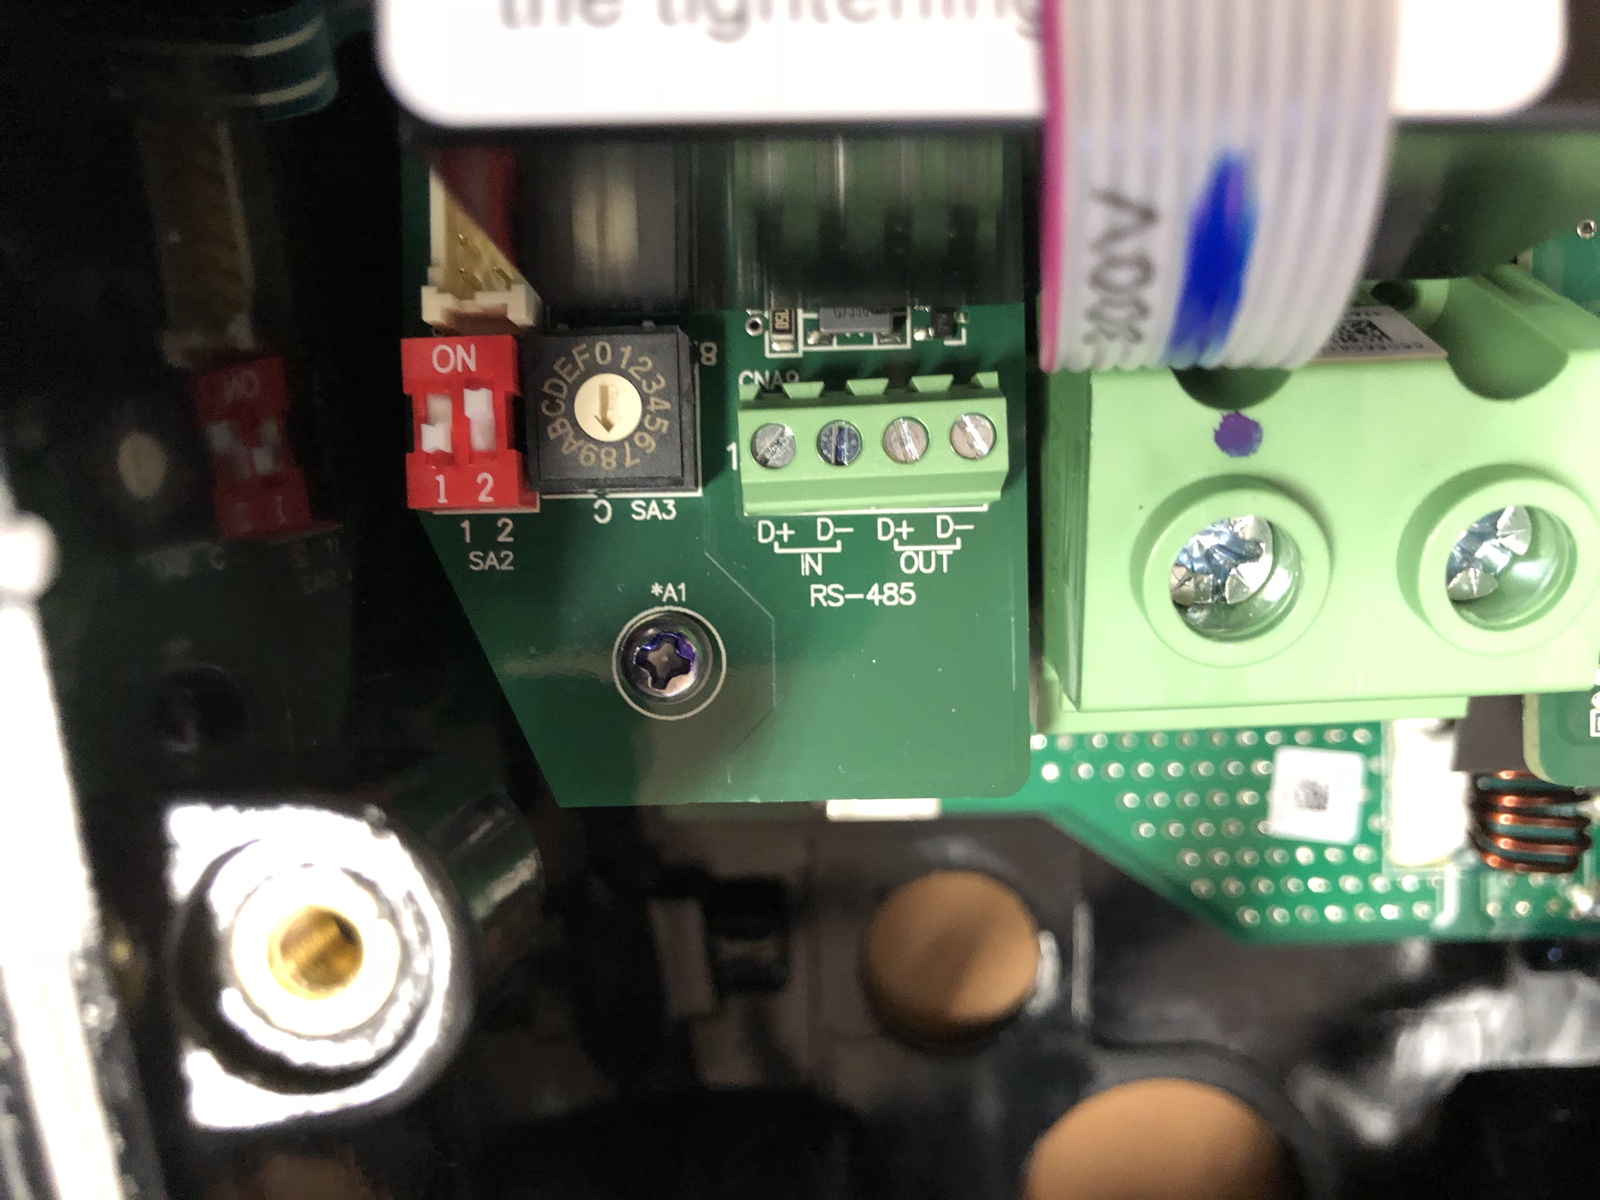
Because the breaker is 50A, the installation manual specified that the HPWC needed to be set for 40A output by turning the arrow to ”8” on the tiny DIP dial.

Swapping the EVSE with the HPWC was quick and simple, taking no more than 15 minutes. I then spackled the dinged spots on the wall around the HPWC.
After the spackle dried, I touched up those spots with leftover paint from when we built the home, and everything looked as good as new, as you can see in the photo at the top of the page. In the following video, I then turn on the breaker in the RV panel, and you’ll see the HPWC blink through its startup routine. All that was needed now was... our Model 3.