I’m consoled again
(Click to enlarge)
in our Model 3
Mark D Larsen
|
I’m consoled again (Click to enlarge) | Console Fail & Fix
in our Model 3 Mark D Larsen |
Readers will remember that, shortly after taking delivery of our Model 3, I decided to apply a brushed titanium wrap on its piano black console. I really liked its appearance, as it matched the metallic trim in Correcaminos’ interior so well that many people thought that it came like that from the factory. I remember thinking at the time that perhaps a faux wood wrap to match the wooden dashboard might look good too, but there were no such wraps available at the time.
A few months ago I happened to find on the web that Hills in Germany was offering real walnut overlays for the Model 3 console. This intrigued me, but the overlays were much more expensive than wraps, so I waited and pondered for several weeks before making the decision to take the plunge and purchase a set. This proved to be a disastrous mistake, as I will describe below.
NOTE: You can click on any of the following photos to enlarge them.

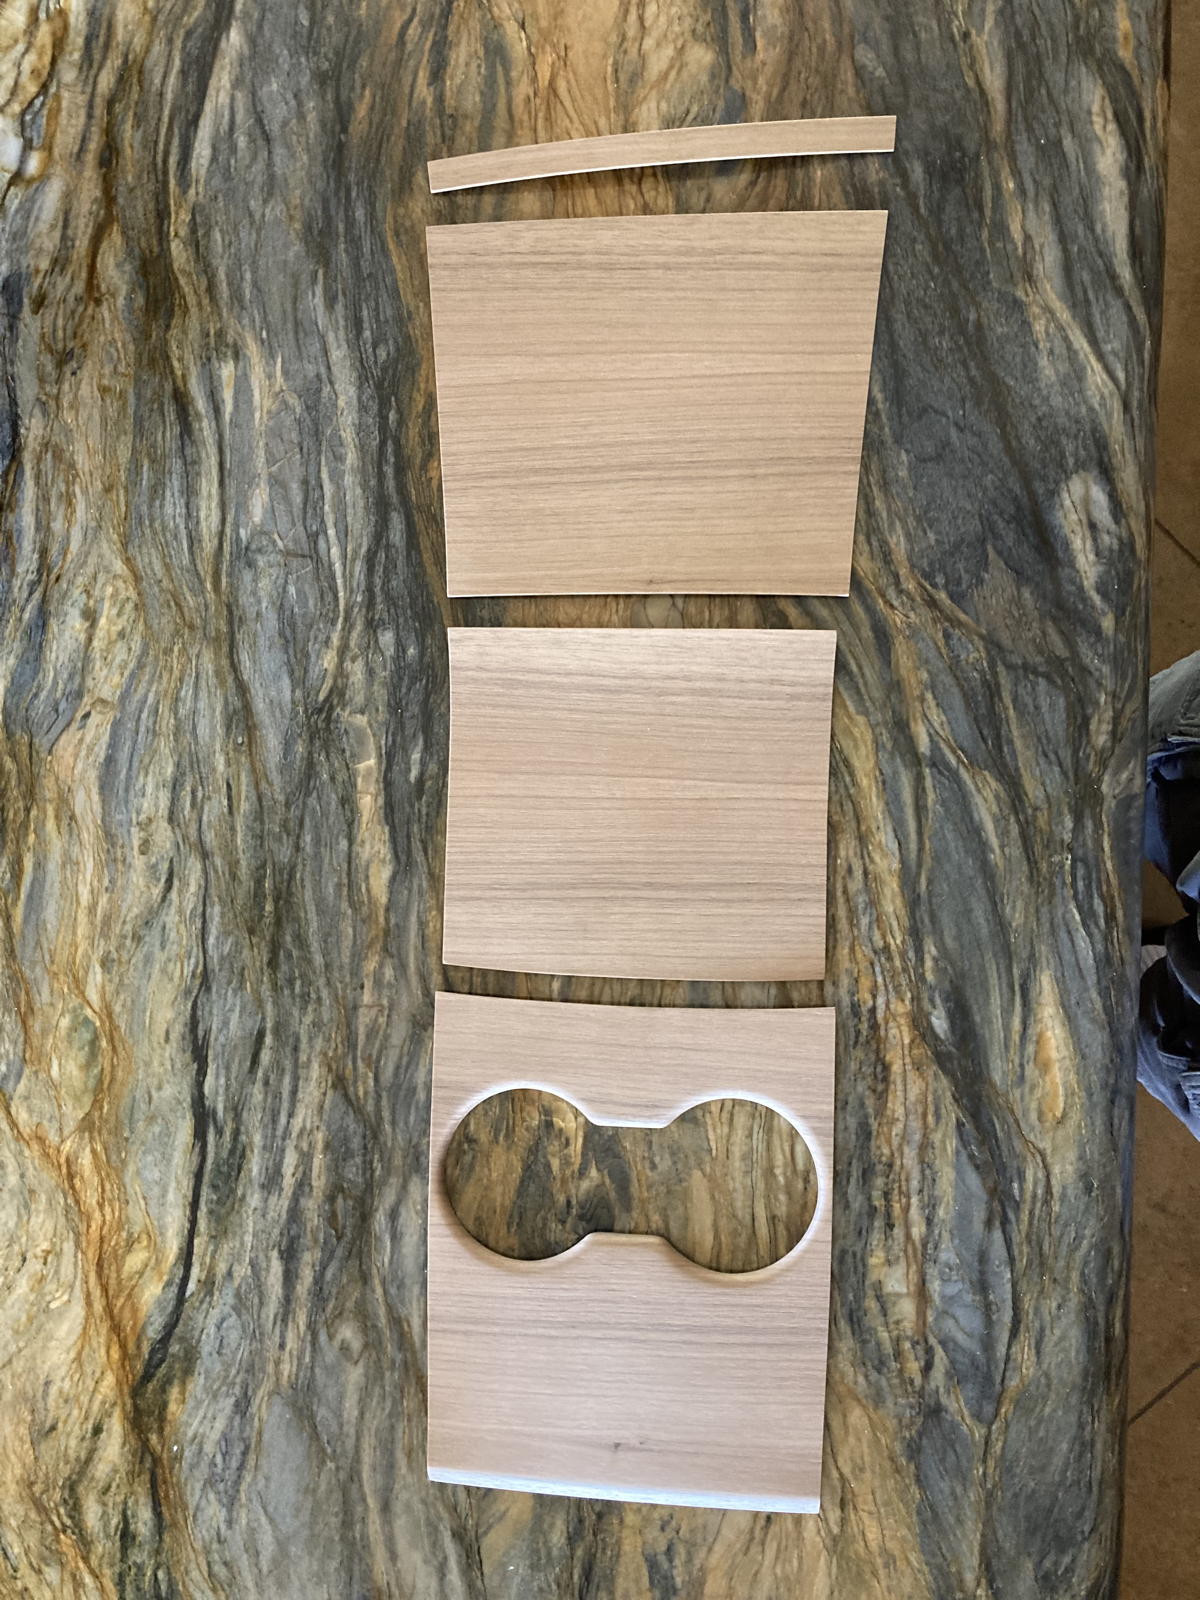
It took two months before the overlays finally arrived. Upon opening the box, I found that the set consisted of four pieces to fit the console’s different compartments.

I placed the pieces on the console to see how they fit, and noticed that it would be necessary to remove the brushed titanium wrap so that its silver wouldn't shine through any gaps. I had to wince upon ripping off that wrap, as I had really liked it.

Hill has an instructional video on YouTube to install the wood overlays, and I watched it several times before tackling the project. Oddly enough, however, I noticed that the glue strips in the video were different that the ones that were on my set.

Instead of tan strips only around the edges, my pieces had red 3M strips all over the back, up-and-down and side-to-side.

The hardest part of the installation was removing all those glue strips, not only because of the number of them, but also because it was so difficult to get a fingernail under the red tape to expose the sticky foam underneath.

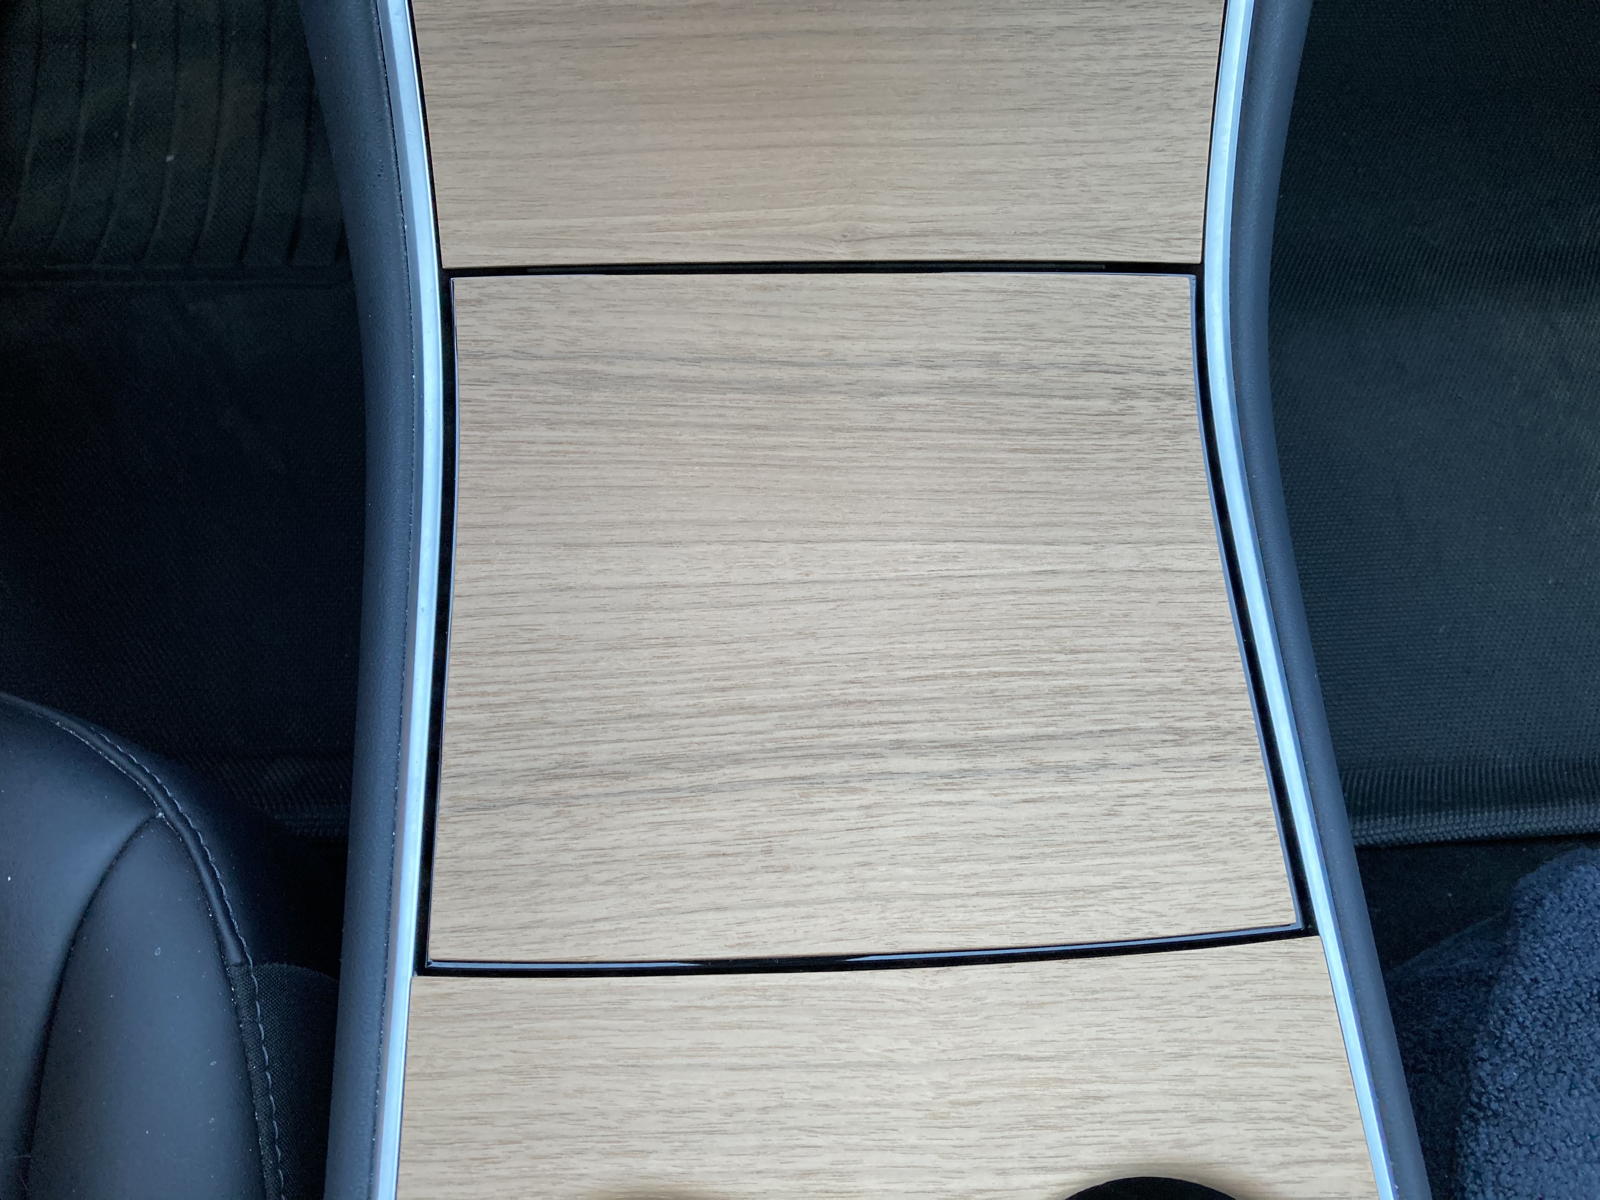
Once I was done, I was taken aback to see that the middle piece had sizeable gaps all around the piece, rather than fitting nicely up against the sides. I didn’t say anything about those gaps, but asked Tamara to come and take a look at the results. She stated in all honesty without me asking that… she didn’t like those gaps. And I had to admit that she was right. They made that middle overlay look tacky, not as sophisticated and professional as the titanium wrap. Certainly nobody would think that this was how the car had come from the factory. Still, we waited a few days to see if the new look would grow on us. It didn’t. I contacted Hill, and they responded that they were aware of the problem: “Please know that we are working hard to improve this point - it is at the top of our list of adjustments. In the next version of the products which will be released in about 1 month, we will have taken this into consideration and limited the space on the sides as much as possible.”

Now that we knew that a better fitting piece was in the works, we decided to remove the overlays for the time being. After all, the Hill website stated explicitly that they were "non-permanent." This, as it turned out, was false advertising!

The overlays were practically impossible to remove, undoubtedly because of the numerous glue strips all over their backs. Indeed, the only way I could remove them was by prying underneath with a plastic putty knife, which broke the wood in the process.

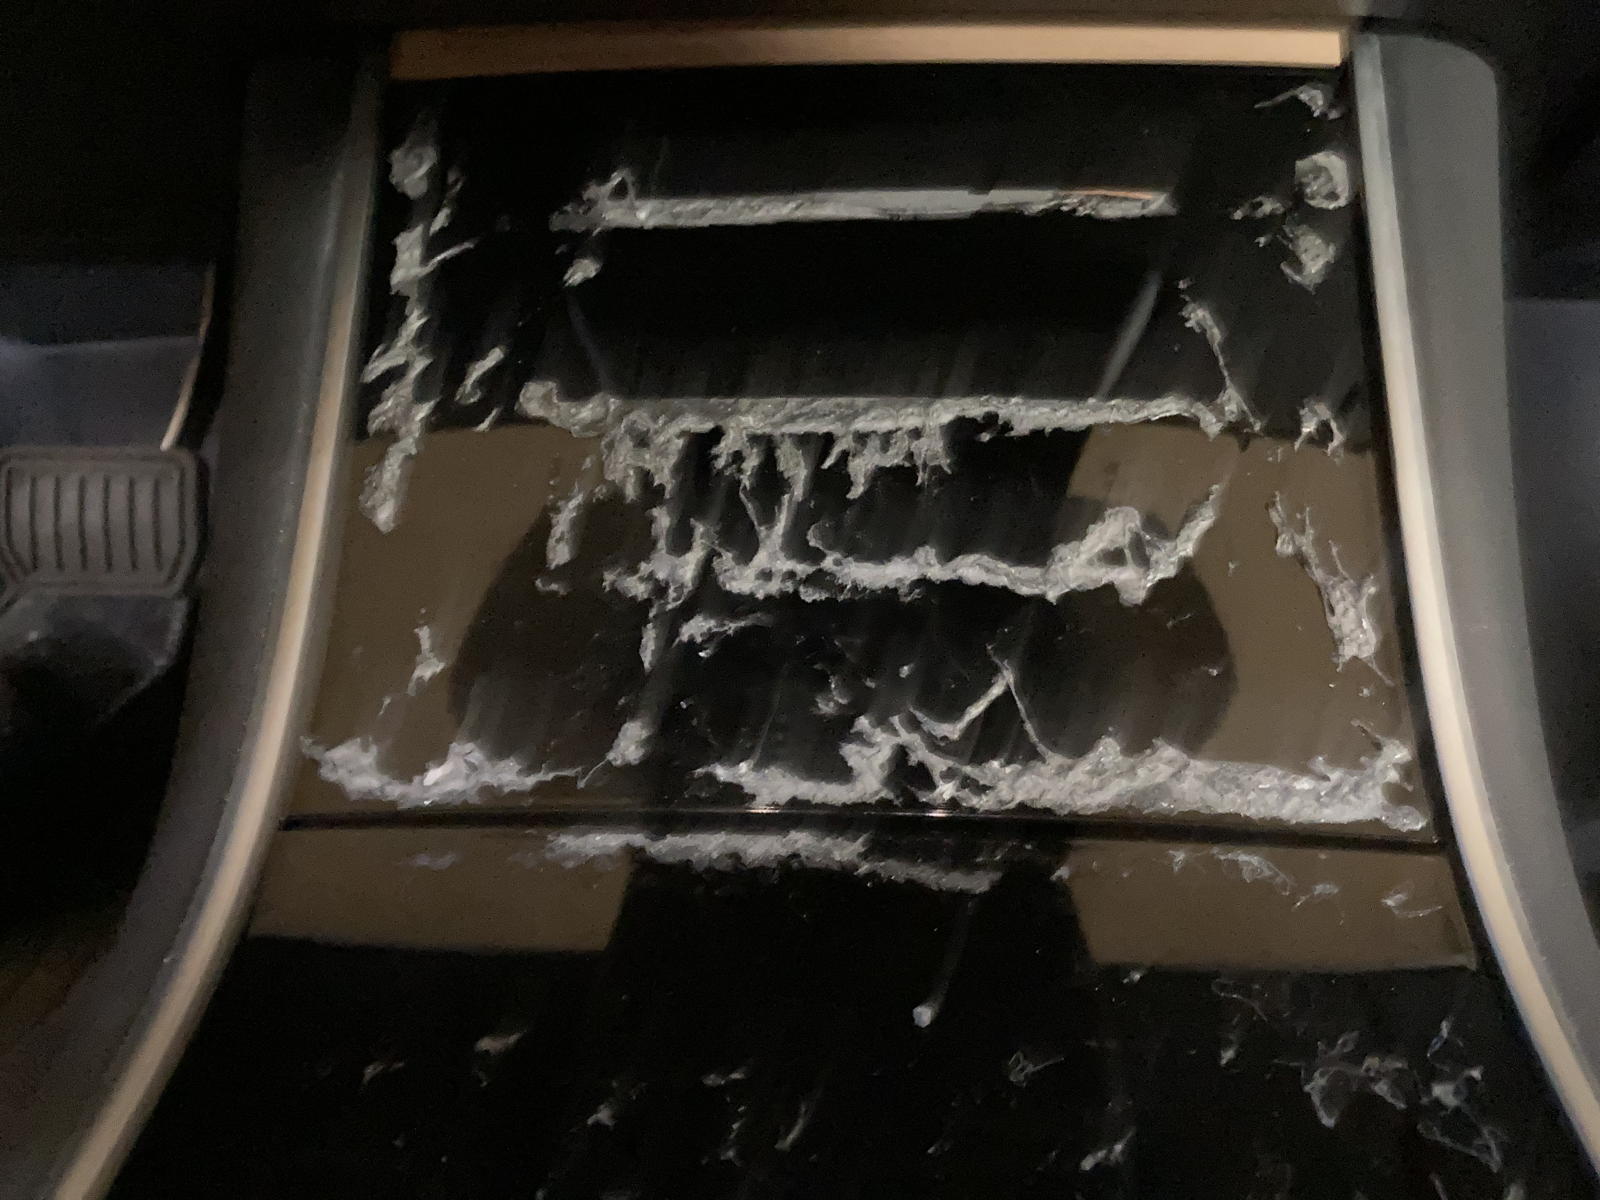
Here you can see all the glue that was stuck to the console under the middle piece.

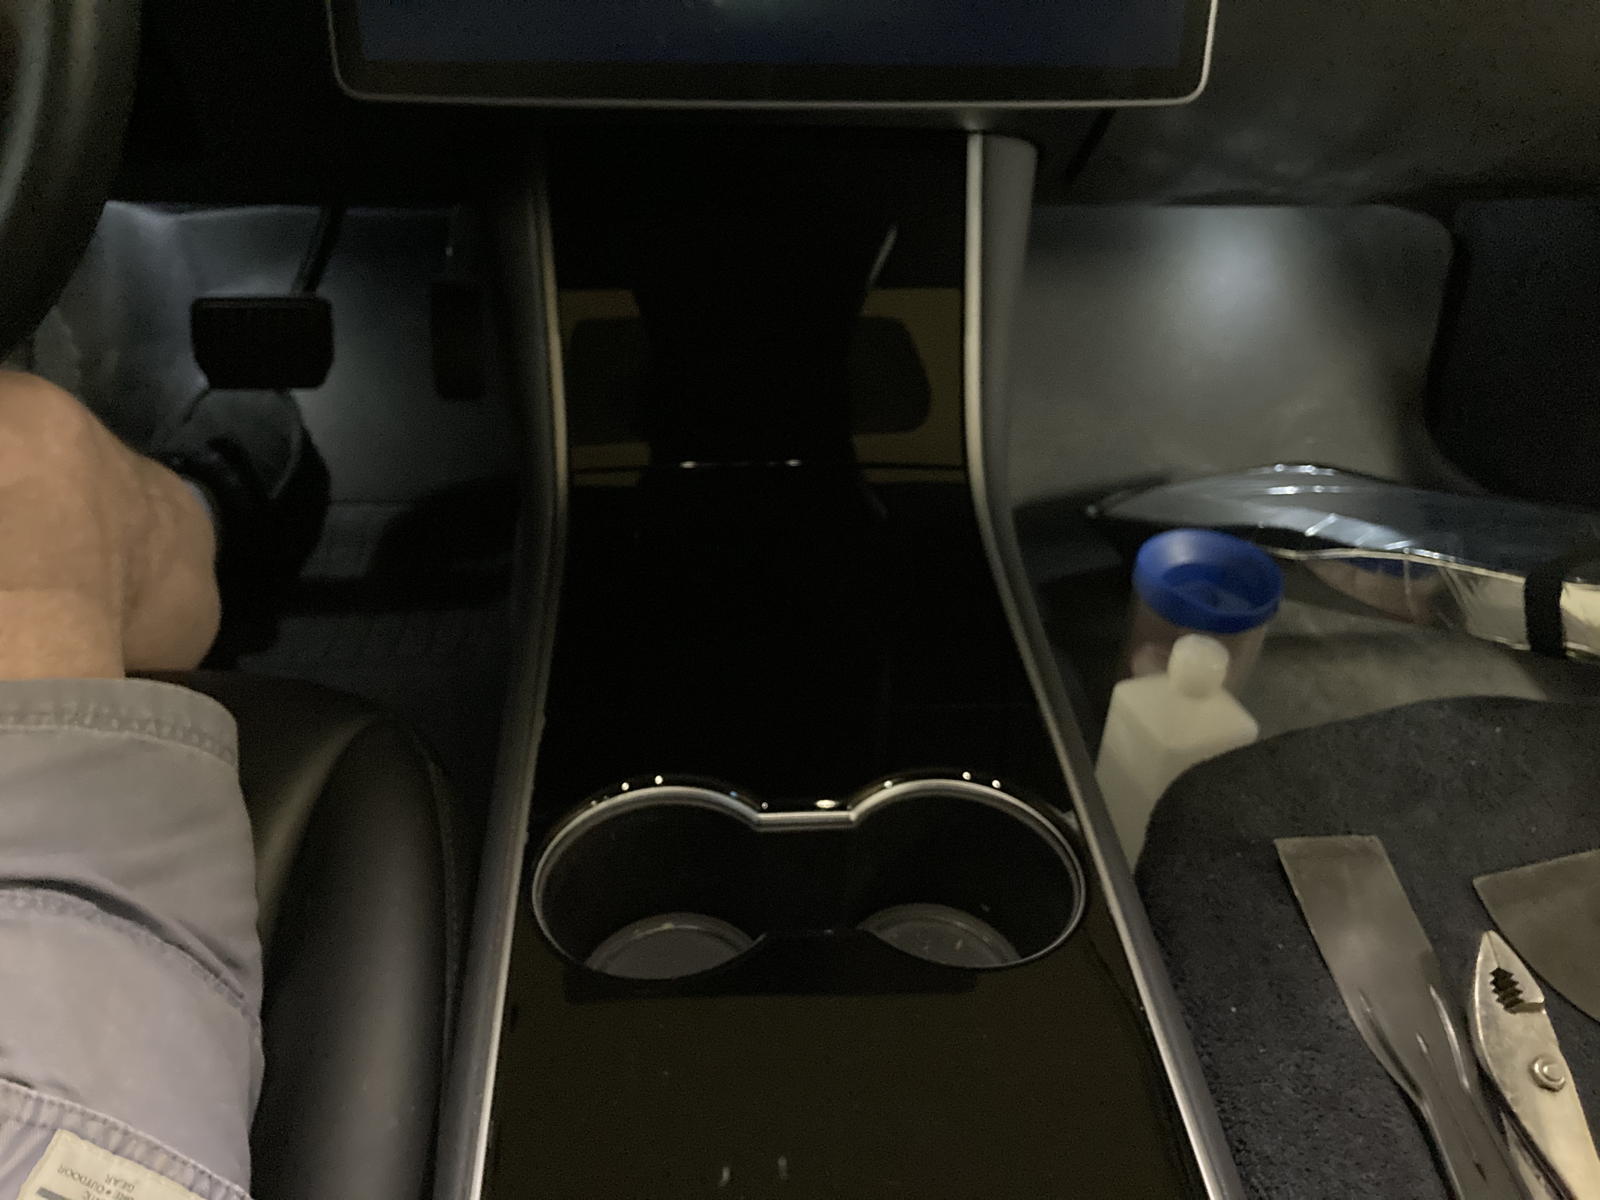
And here are more gobs of it all over the door for the phone shelf. Getting that glue off took many hours, as the suggestion to wipe it with alcohol was useless. I had to pry and scrape every strip. By pushing and prying some of it off with my nails, I could then use it as a small, sticky ball to dab at other pieces, little by little. I then decided to use the sticky side of some duct tape to press and dab on them, and this seemed to do the trick even better, albeit very slowly.

Eventually, after more than a half day of work, I managed to get the glue off, and could wipe off any remaining smears on the piano black console with alcohol. Unfortunately, there were some nicks and scratches in the consoles plastic from trying to remove the overlays and offending glue.

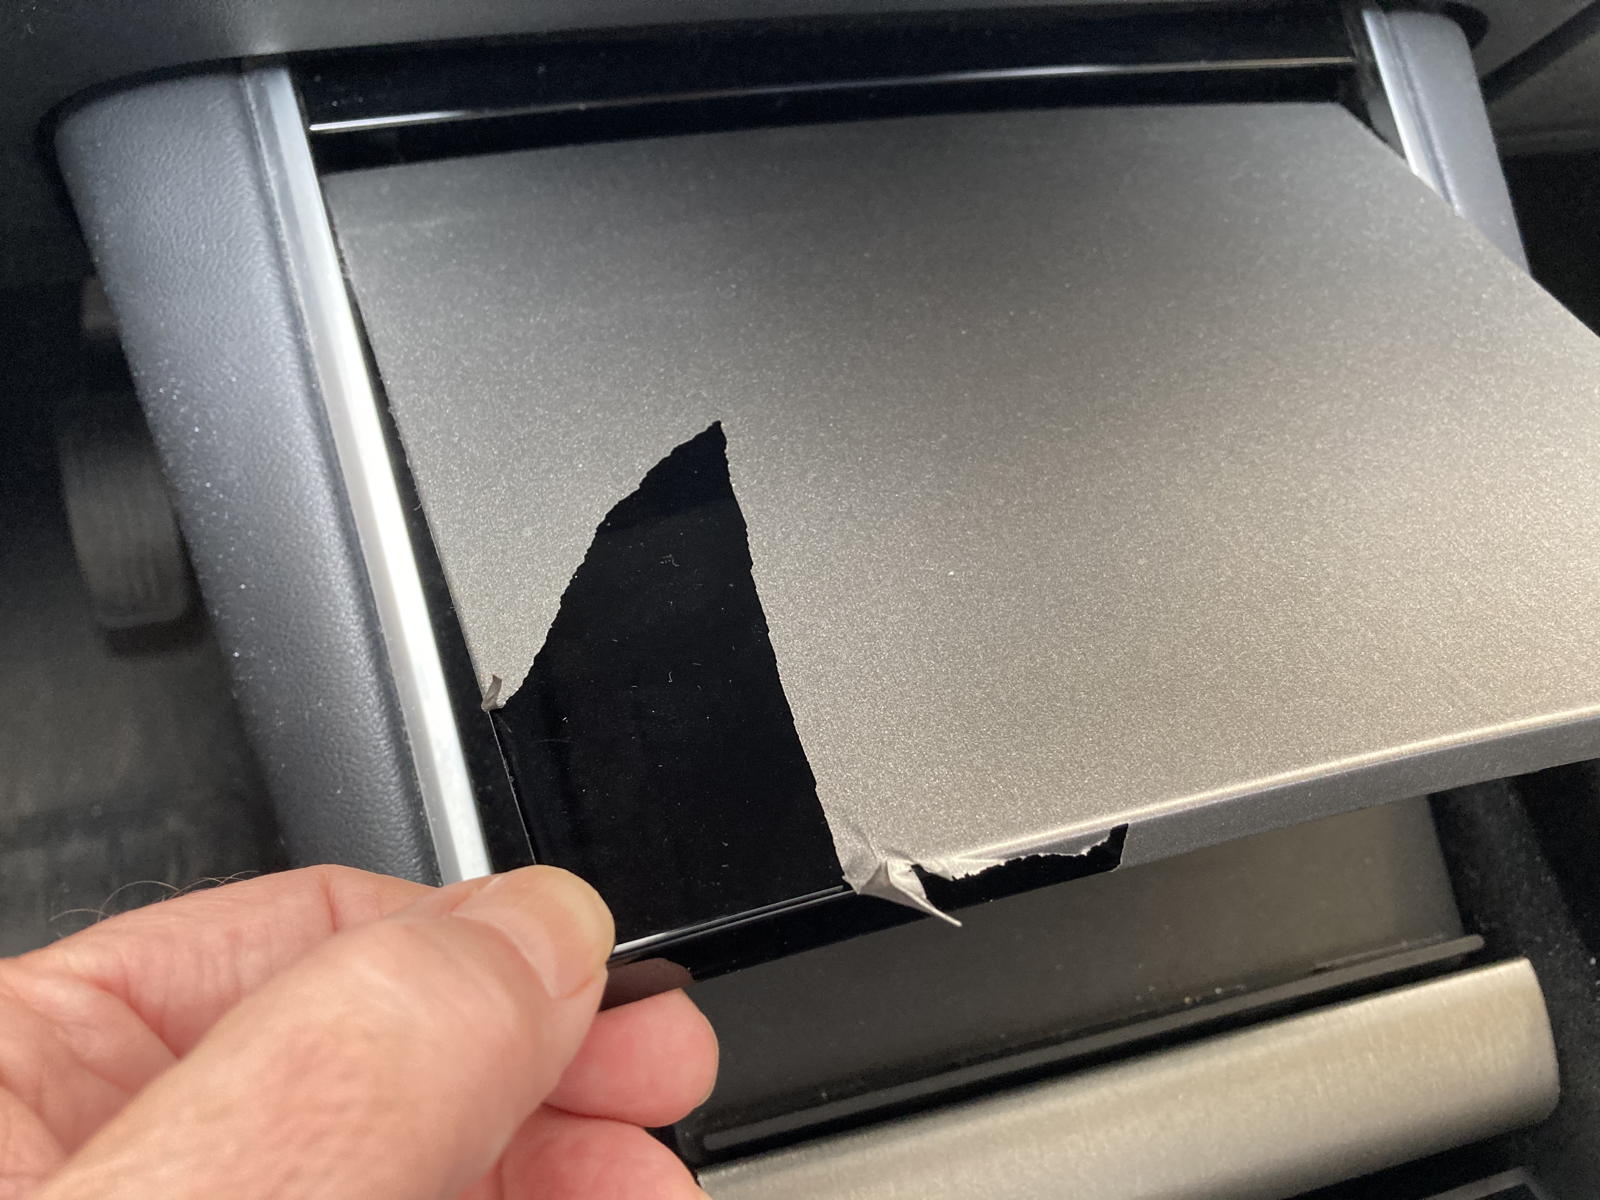
I ordered another set of brushed titanium from Abstract Ocean to restore the console to its previous appearance. To get any dust particles off of the sections, I used the duct tape trick, but this time with less sticky painter's tape.

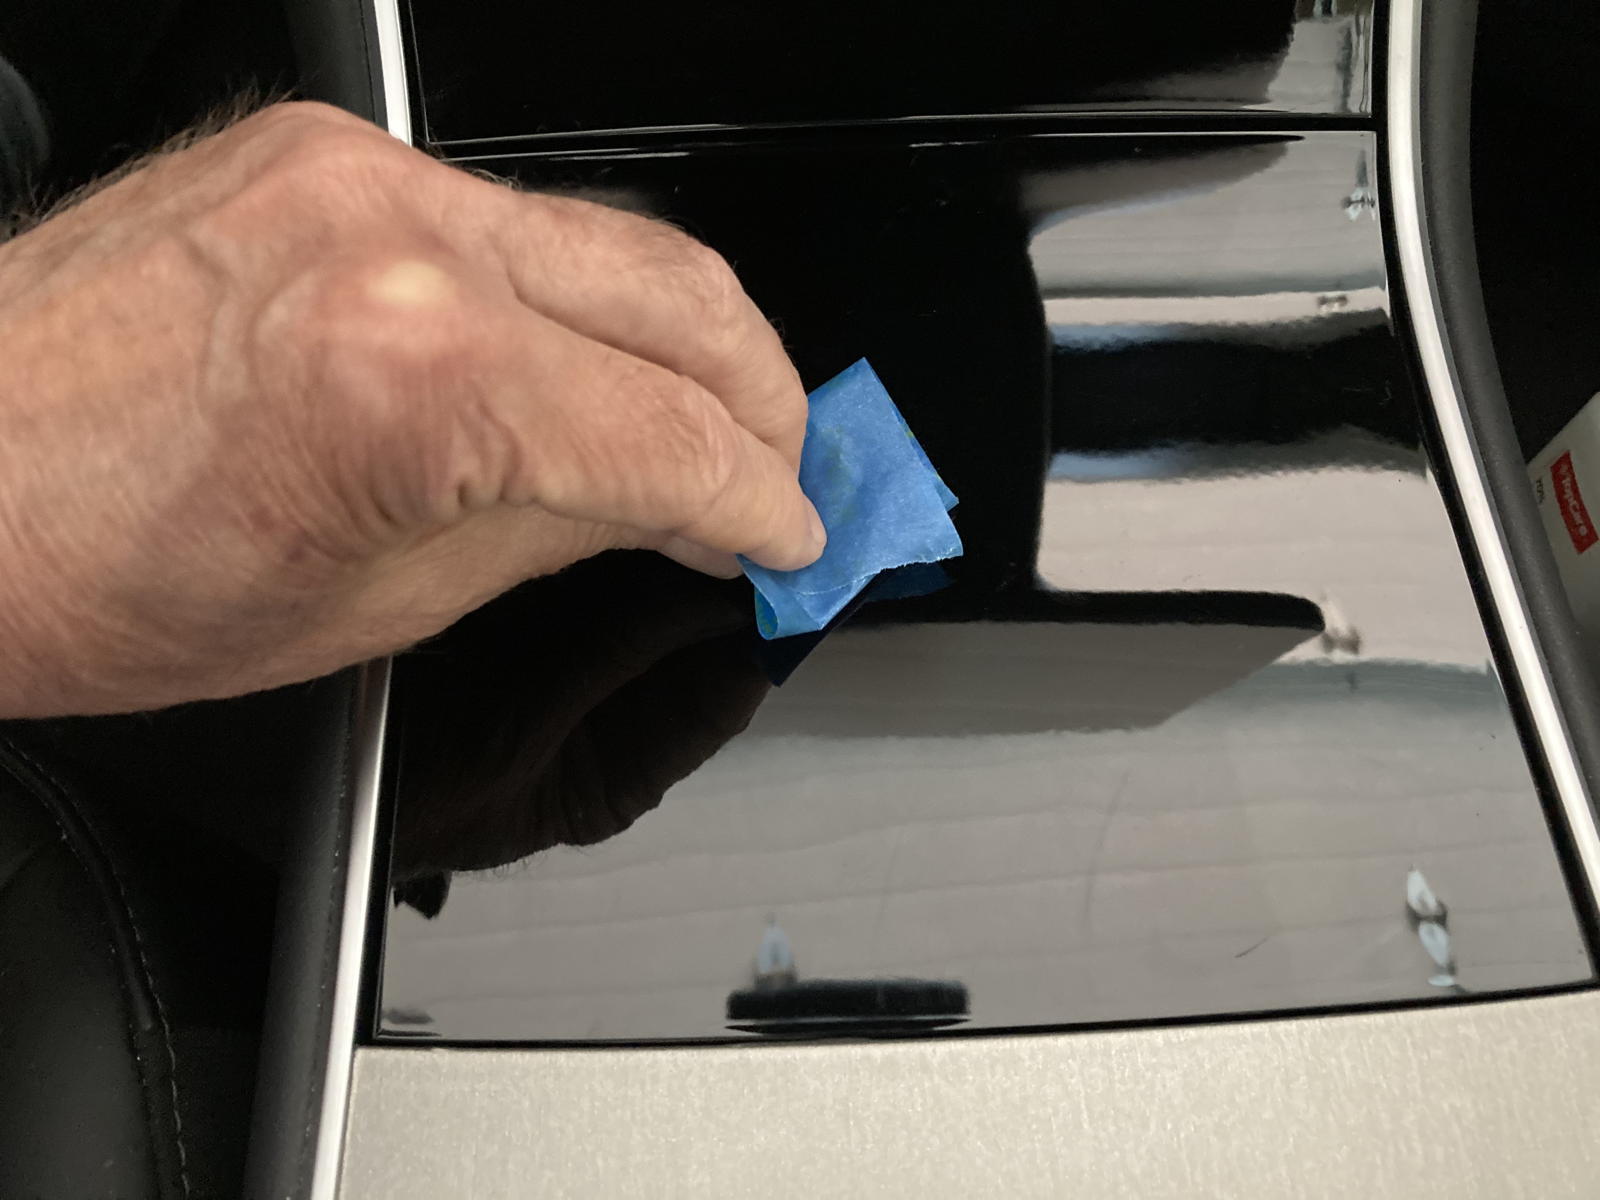
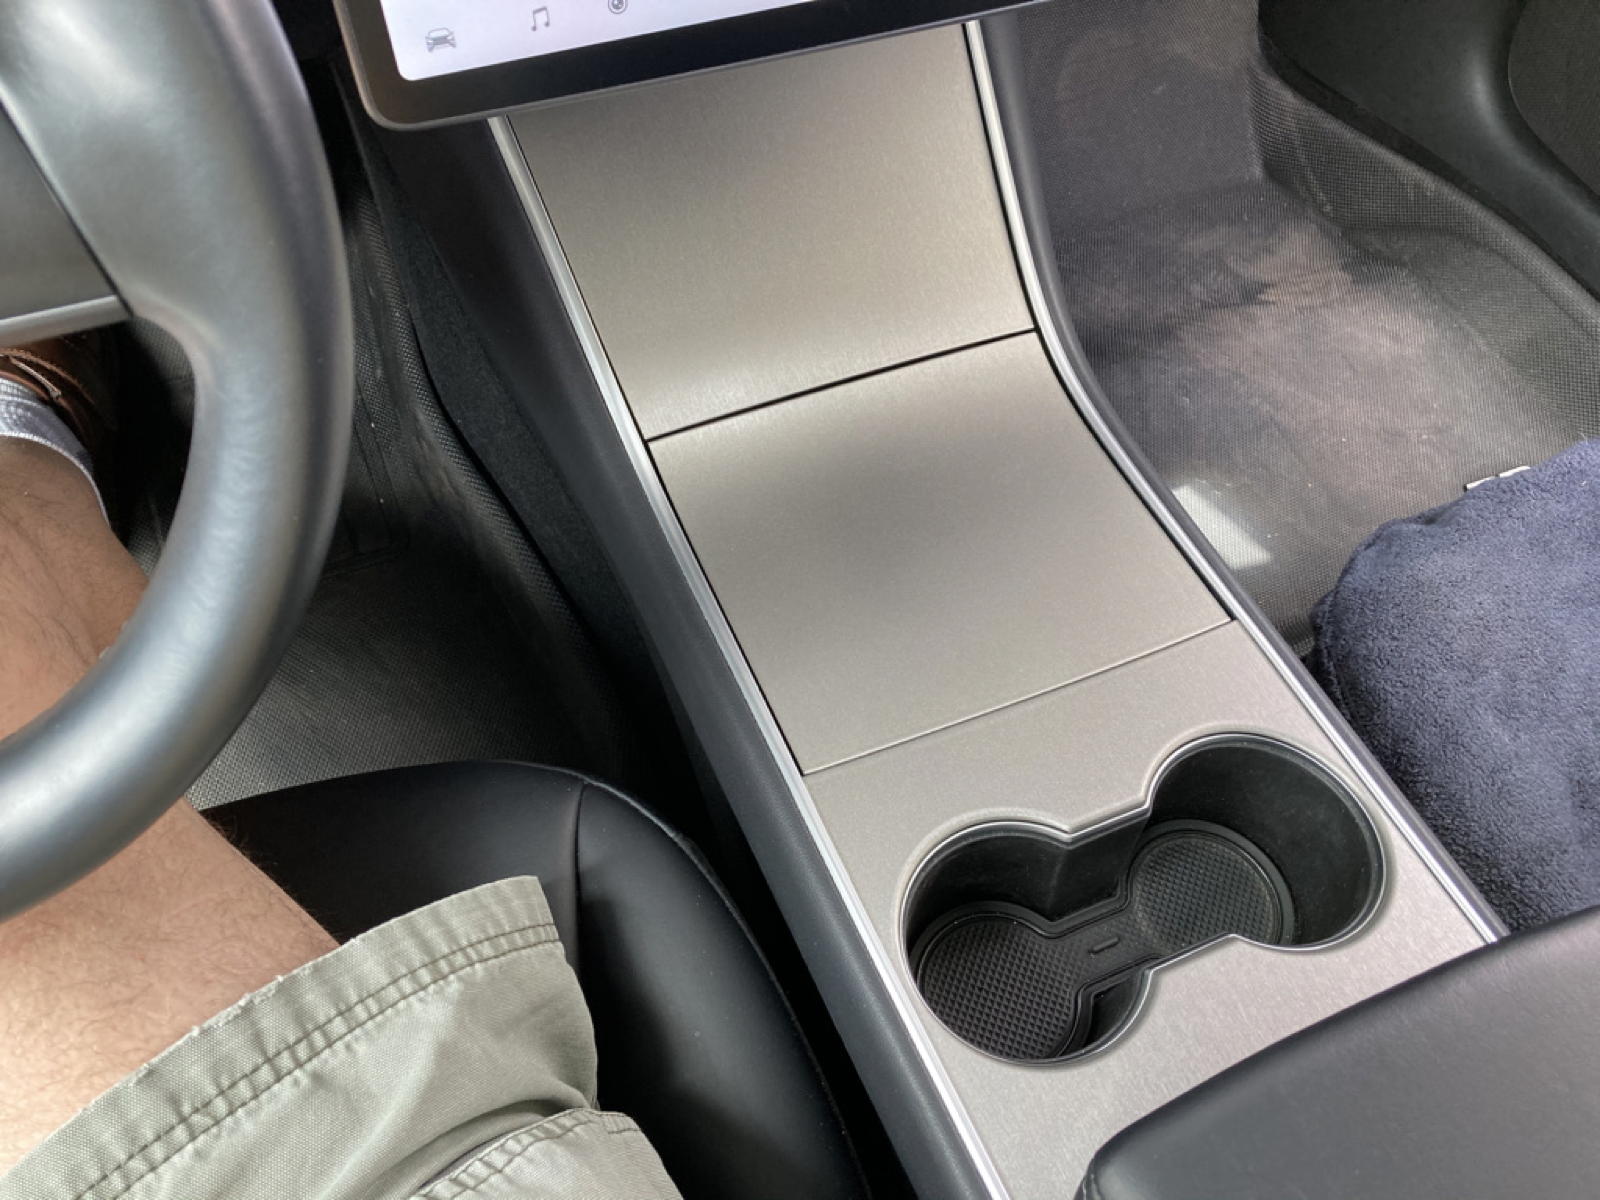
Here I am applying the wrap for the cup holder section, which has a nice semi-transparent guide to facilitate positioning it.

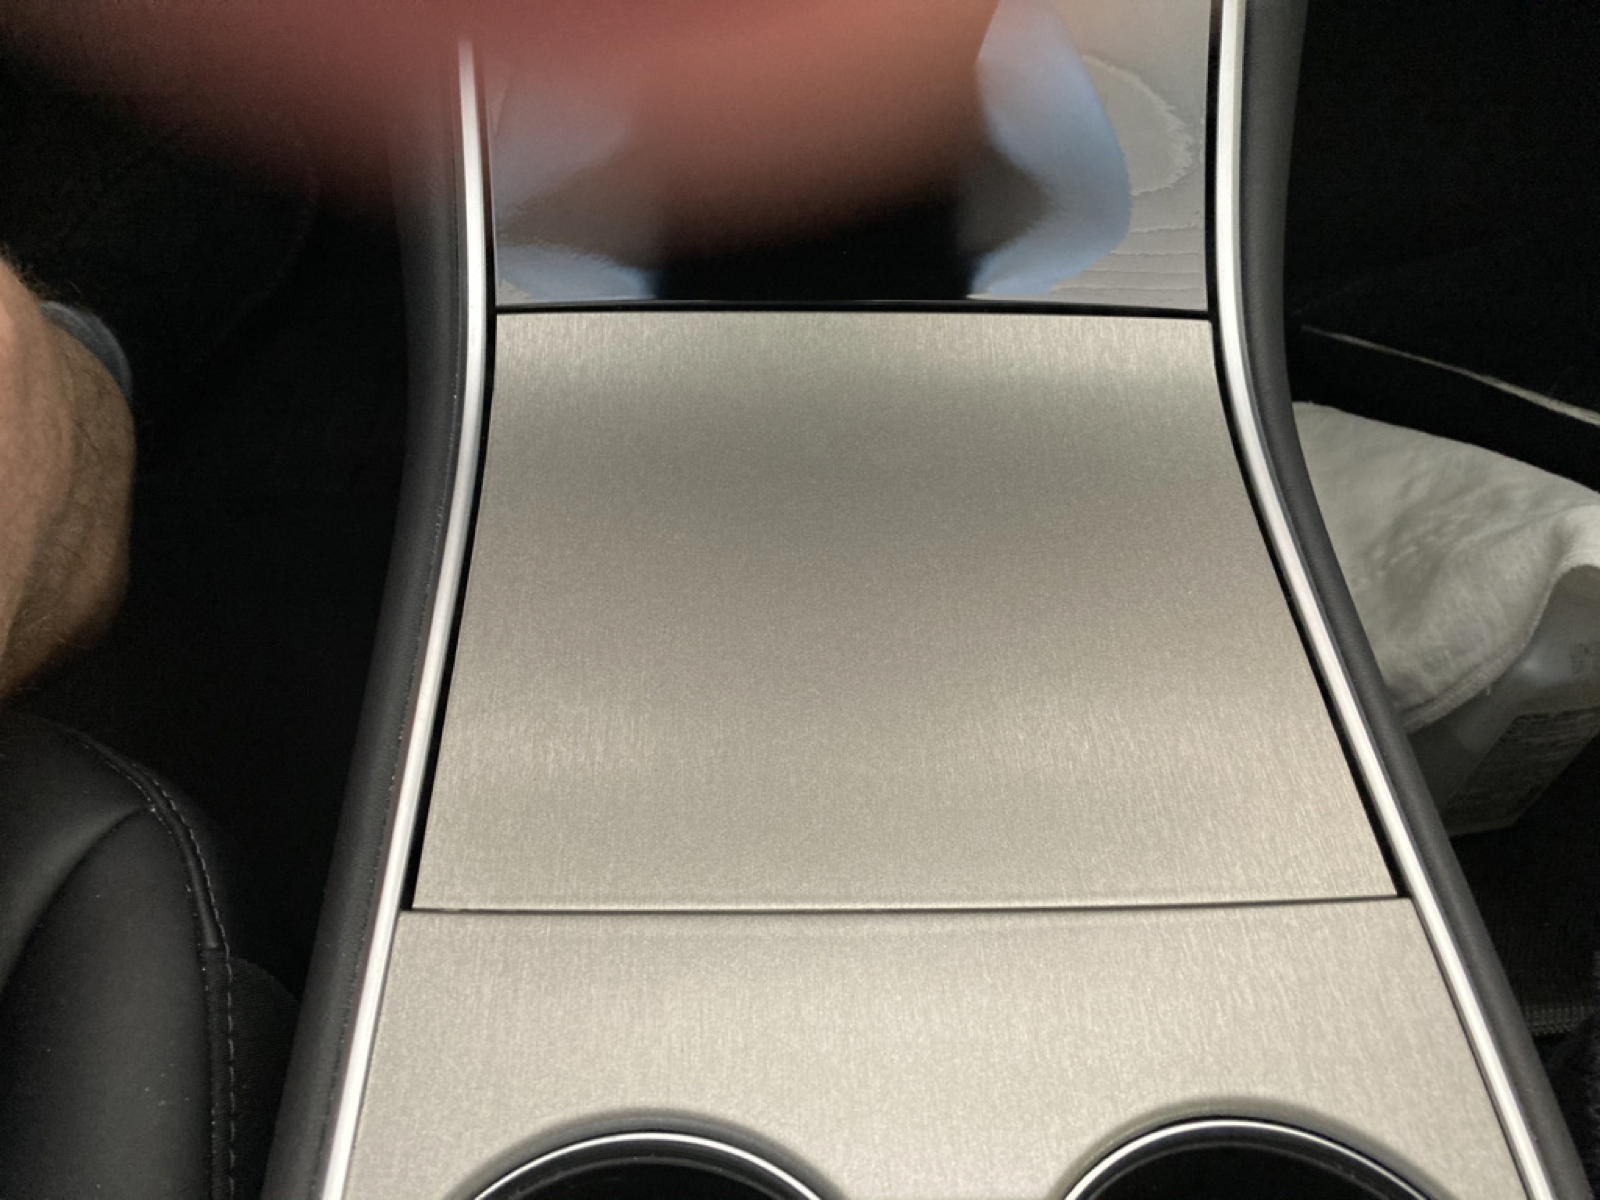
After the cup holder section, I moved on to the middle door, and was reminded how much more professional it looks along its side edges.

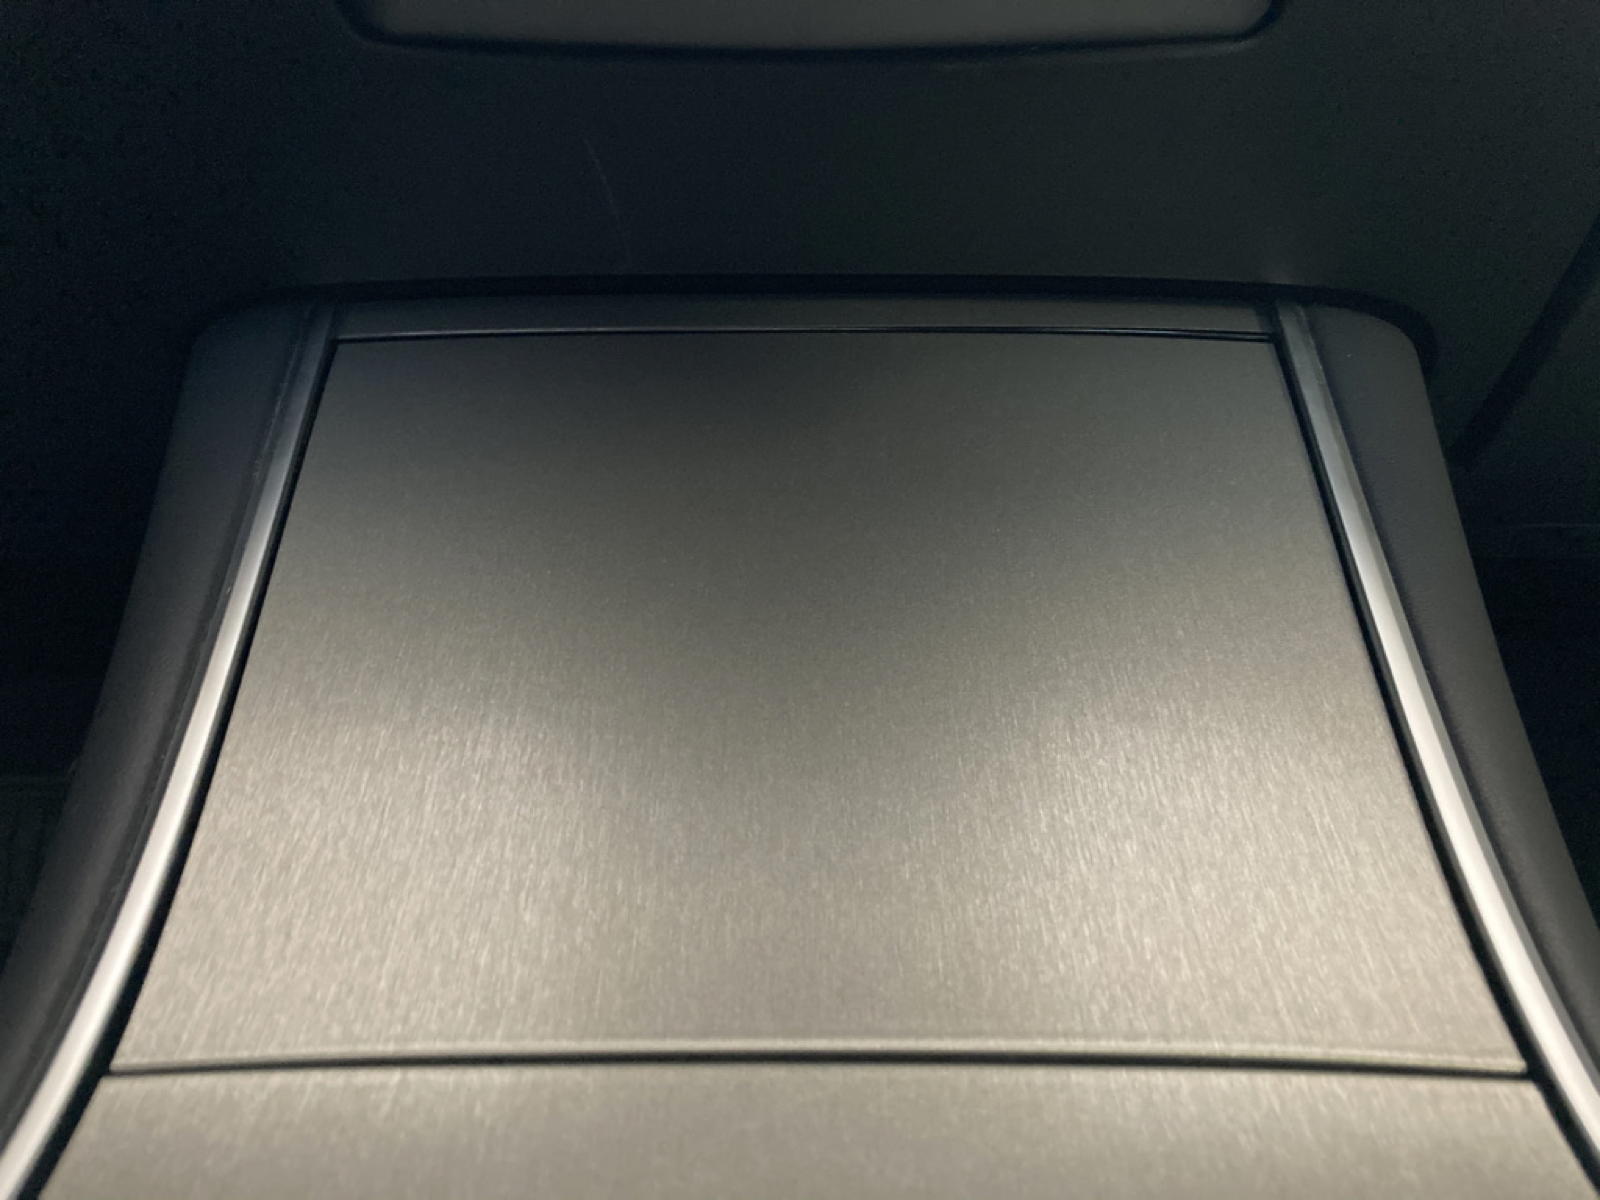
Finally, I tackled the door over the phone shelf, which was the most challenging. It's difficult to see up under the touchscreen to position it in the right place, but I managed it. The hardest part of all, however, was placing the small strip that now comes with these newer sets for the small piece above the door's top edge. My original wrap didn’t come with such a strip. As you can likely see, I didn't get it quite right, but… good enough, as I doubt anybody is going to be looking very closely up underneath the dash.

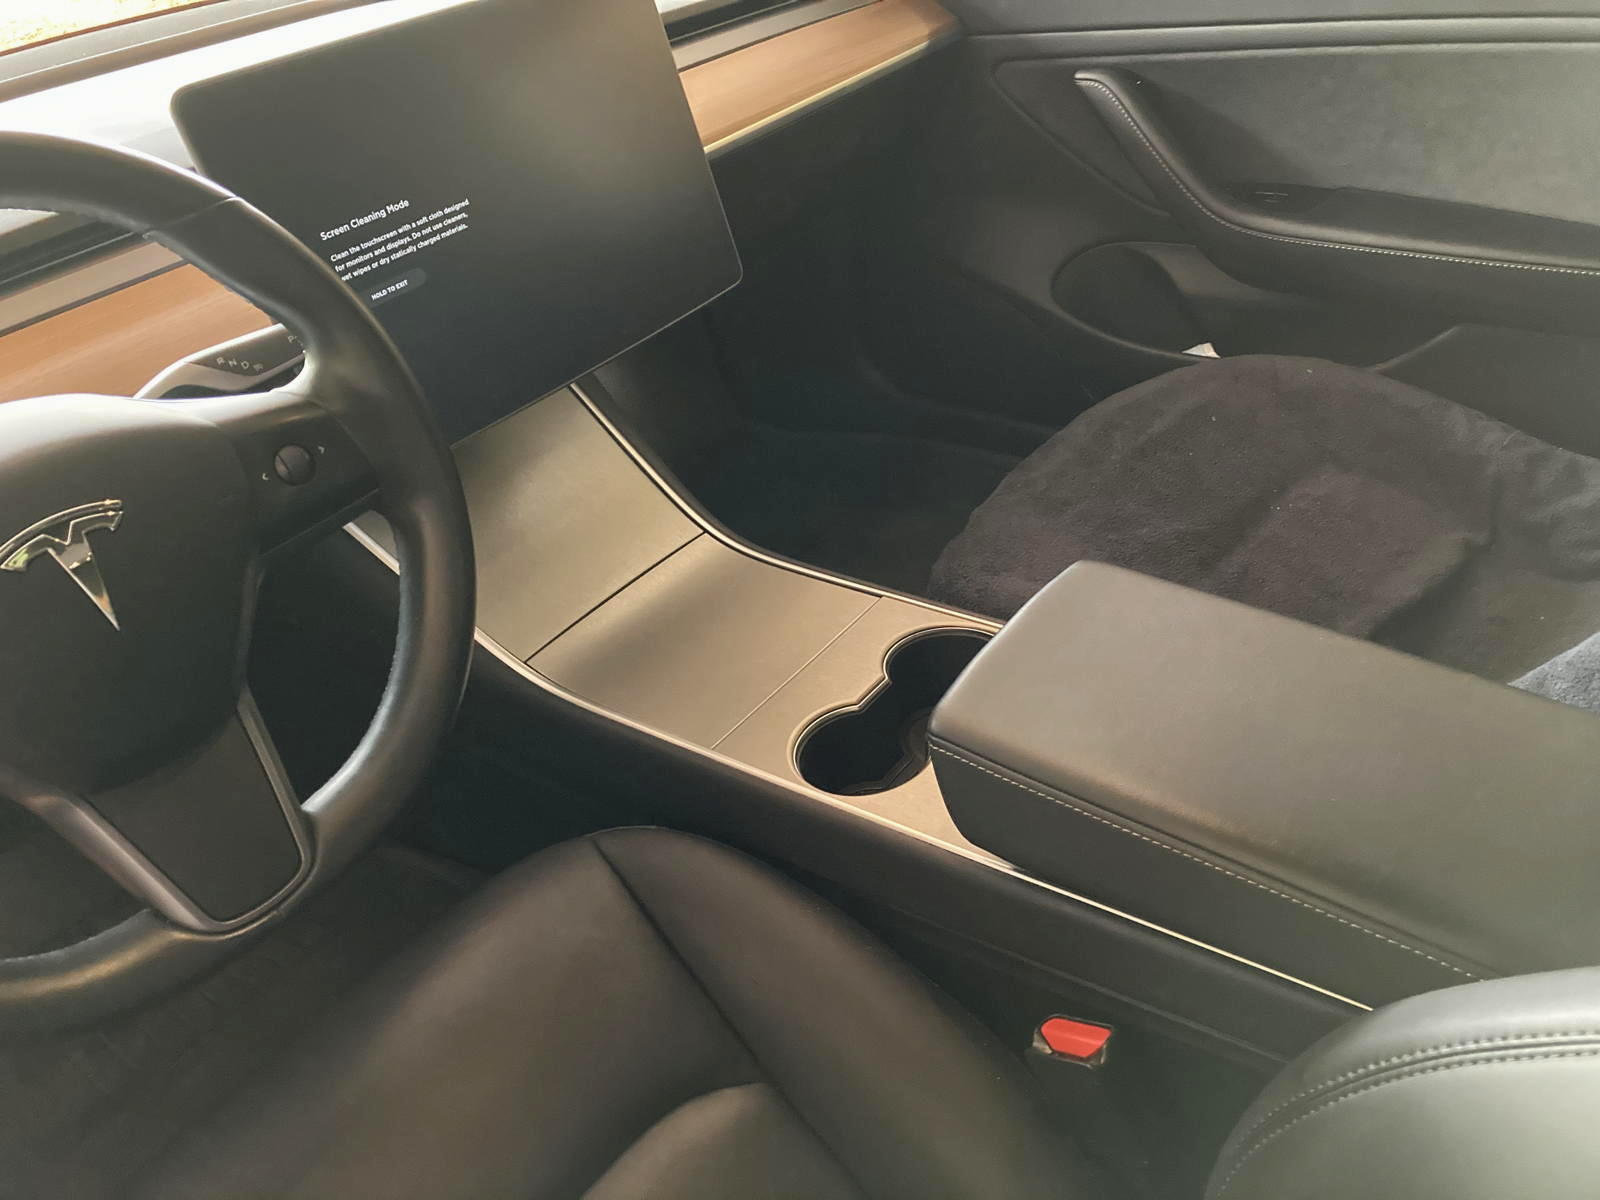
Job done! This photo and the one at the top of the page shows how the rewrap turned out. I am much happier to have the brushed titanium wrap back again. And so is Tamara! She really didn’t like the wood.

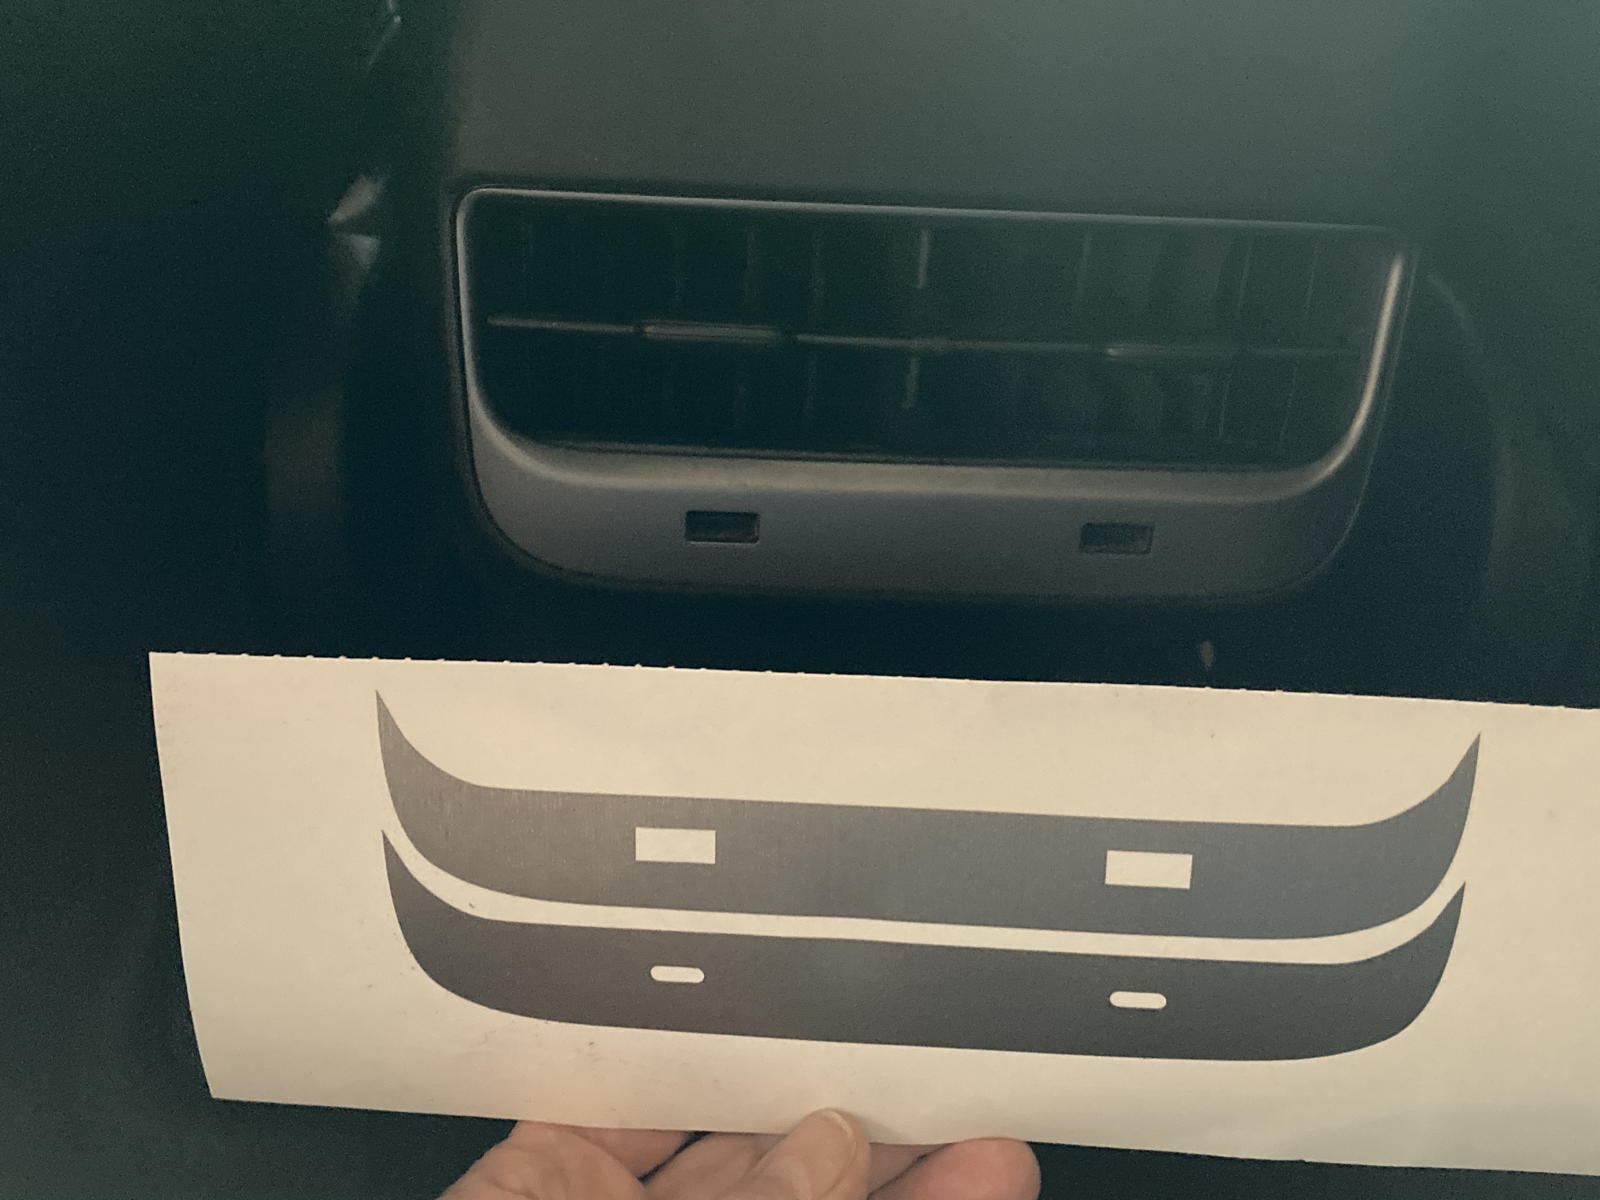
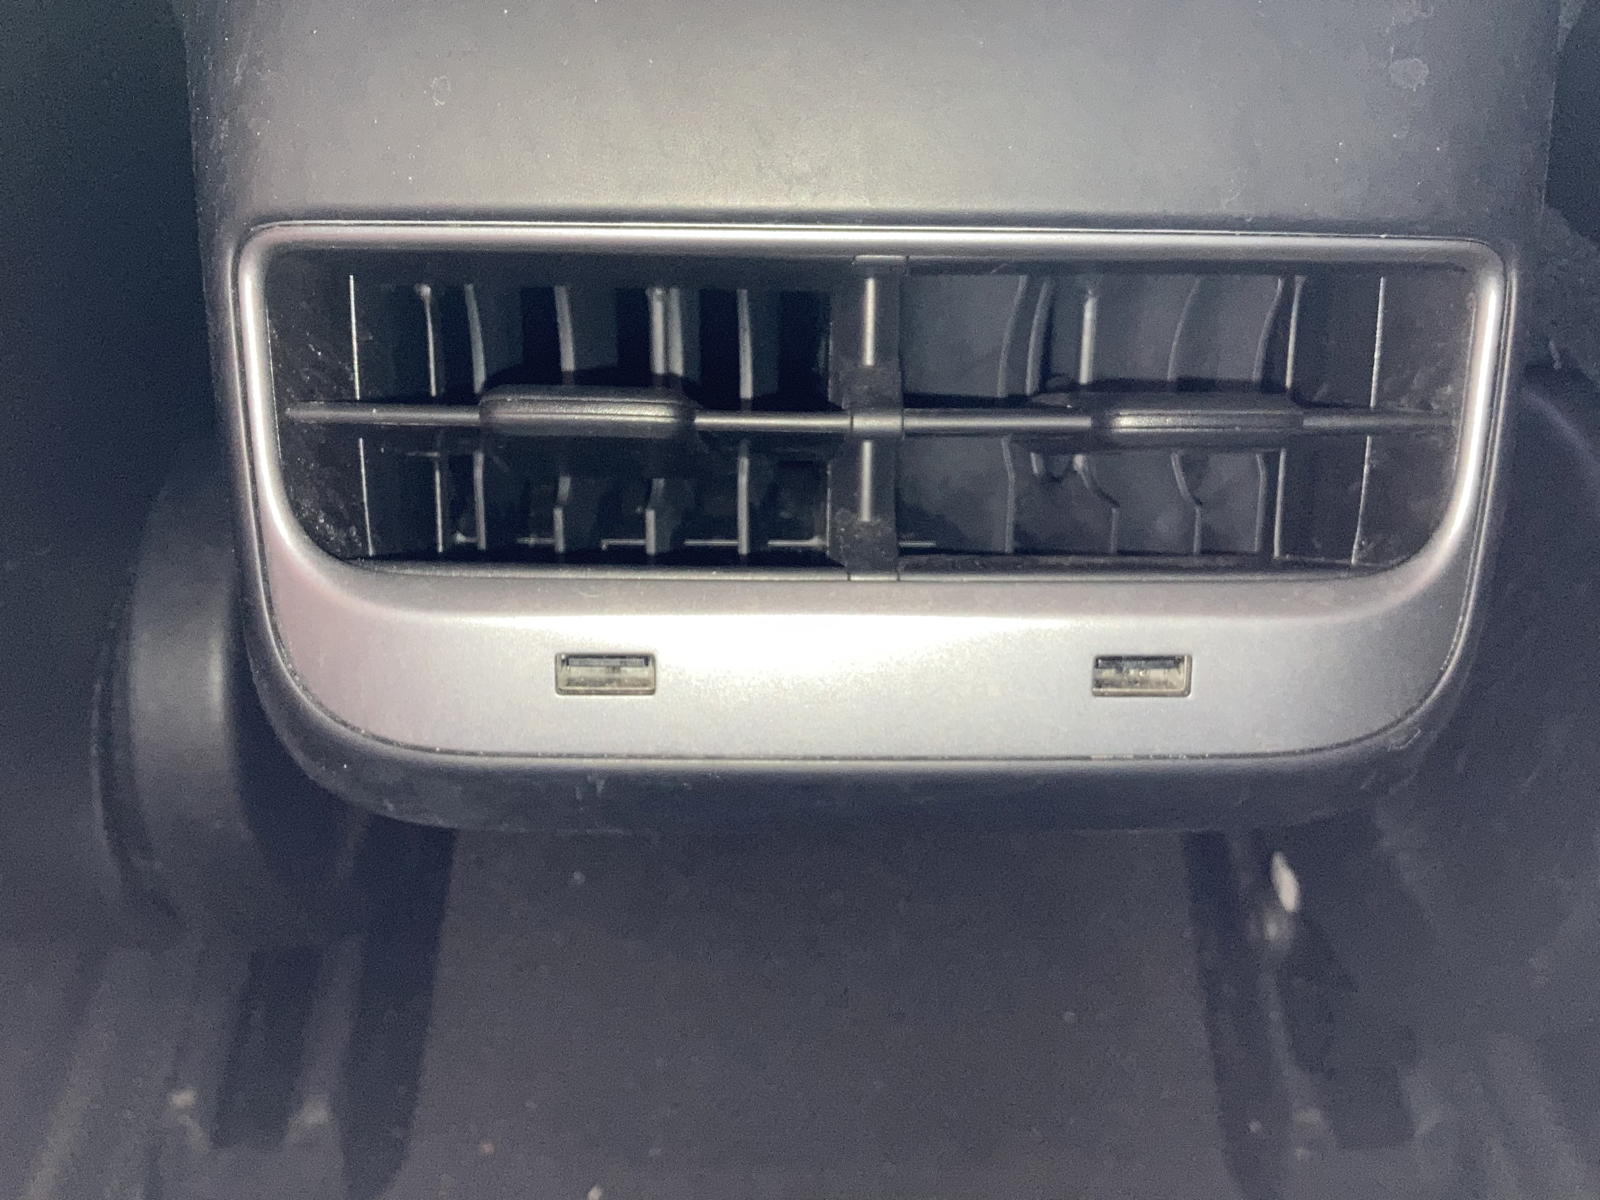
Besides the small strip for above the rear of the phone shelf door, Abstract Ocean now also provides strips for the rear of the console with either USB-A or USB-C outlets.

I decided not to install that strip, however, as the section already has a metallic silver color rather than piano black plastic, so to me it seems unnecessary. Maybe with other tints and textures of wraps it would make more sense. As for the bracket for the phone shelf, I hadn’t removed the original wrap on mine, so I didn't need that piece either.
This fiasco was a definite case of… live and learn. And I have certainly learned a lesson here. Frustrated with how extremely difficult it was to remove the wood overlays and keep them intact, in contradiction to what Hill claims on its webpage, I contacted them to report the misinformation and request a refund. I have yet to hear back from them and suspect I never will.