for my Model 3
Mark D Larsen
Wheel of Fortune
(Click to enlarge)
| Wheel Bands
for my Model 3 Mark D Larsen |
Wheel of Fortune (Click to enlarge) |
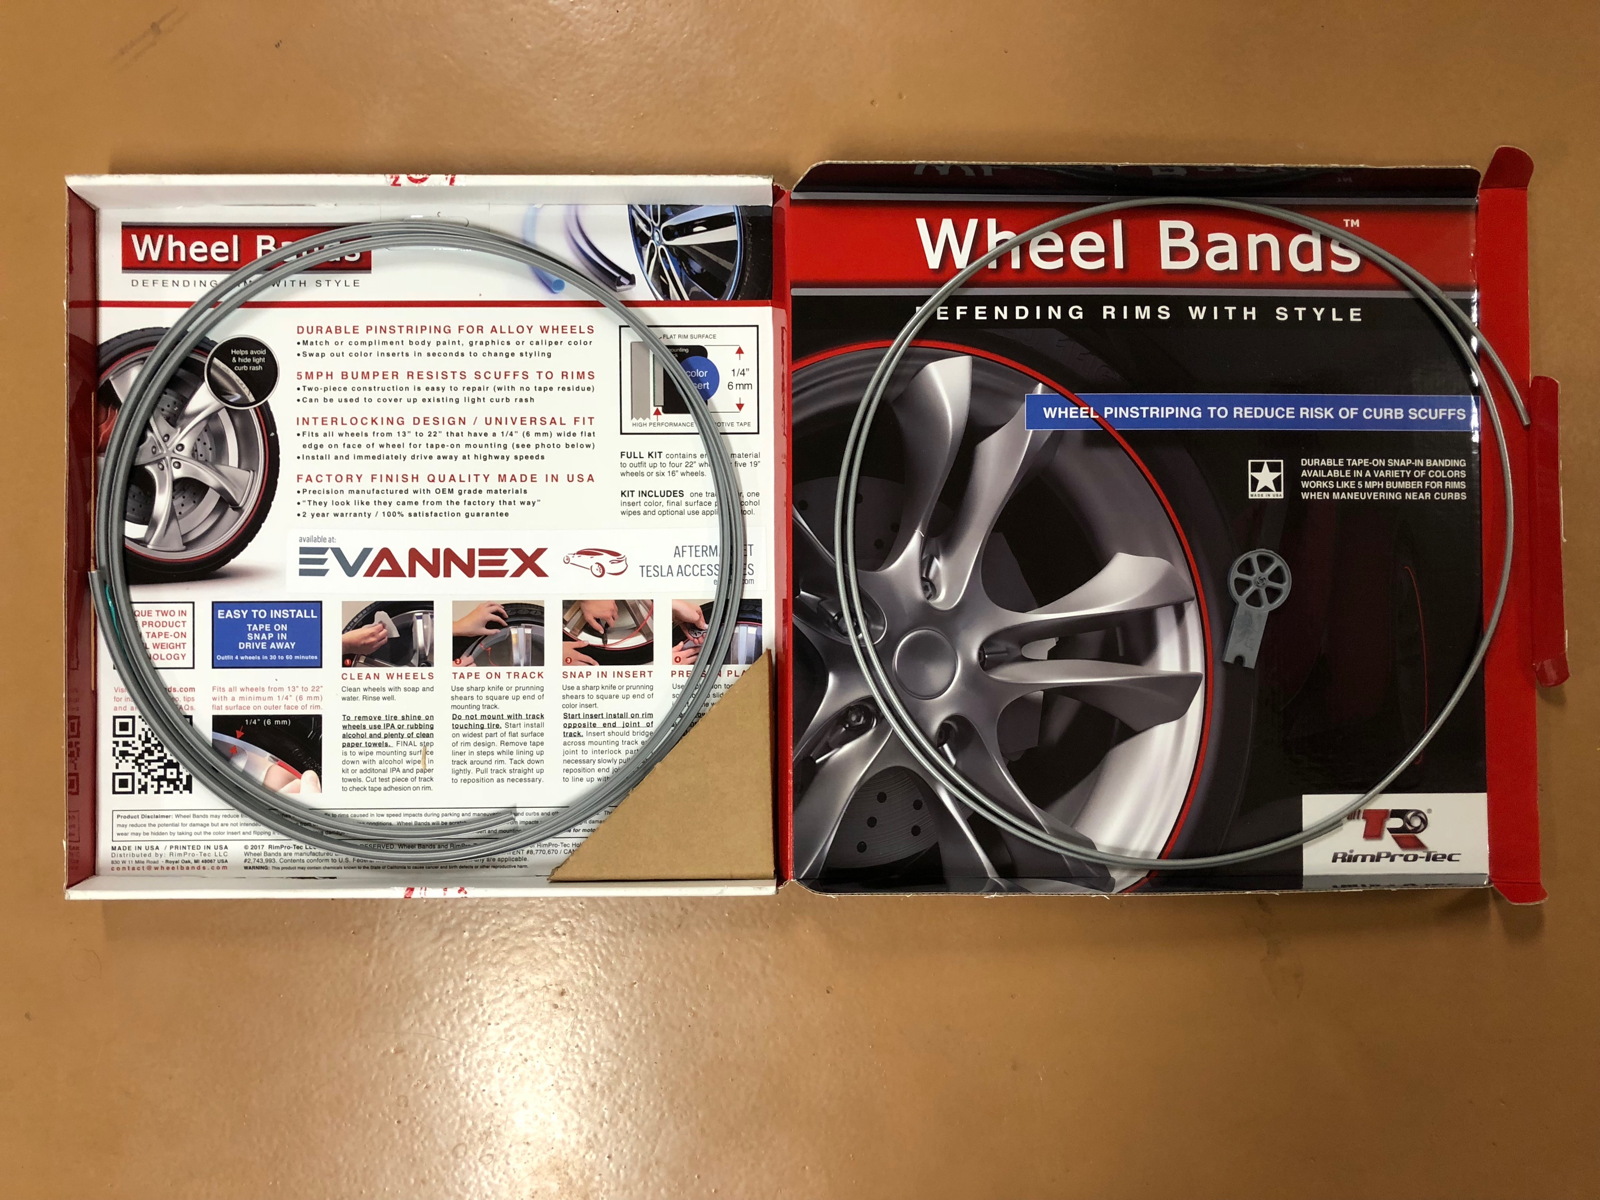
I have @ElectricJen to thank for this accessory from EVAnnex. She installed one of these kits on her own Model 3, and I could immediately see that it was a prudent investment to avoid rim rash from voracious curbs. Not long after taking delivery, I therefore ordered a set. I confess that I tend to focus on function more than appearance, so I opted for plain silver instead of the sportier colors, hoping that the tracks and inserts would just blend in and be barely noticeable on my rims.
Installing the wheel bands was actually easier than I had anticipated, but I will post below a few suggestions that might help others who are interested in tackling the project.
NOTE: You can click on any of the following photos to enlarge them.

The wheel bands arrived in a flat, square box, with the tracks and rims coiled up inside. EVAnnex also thoughtfully included two alcohol wipes for cleaning the rims, and a tool to press the inserts into the tracks. I didn’t use the tool, however, as I found that it was fairly easy to snap the inserts into the tracks with my fingers.

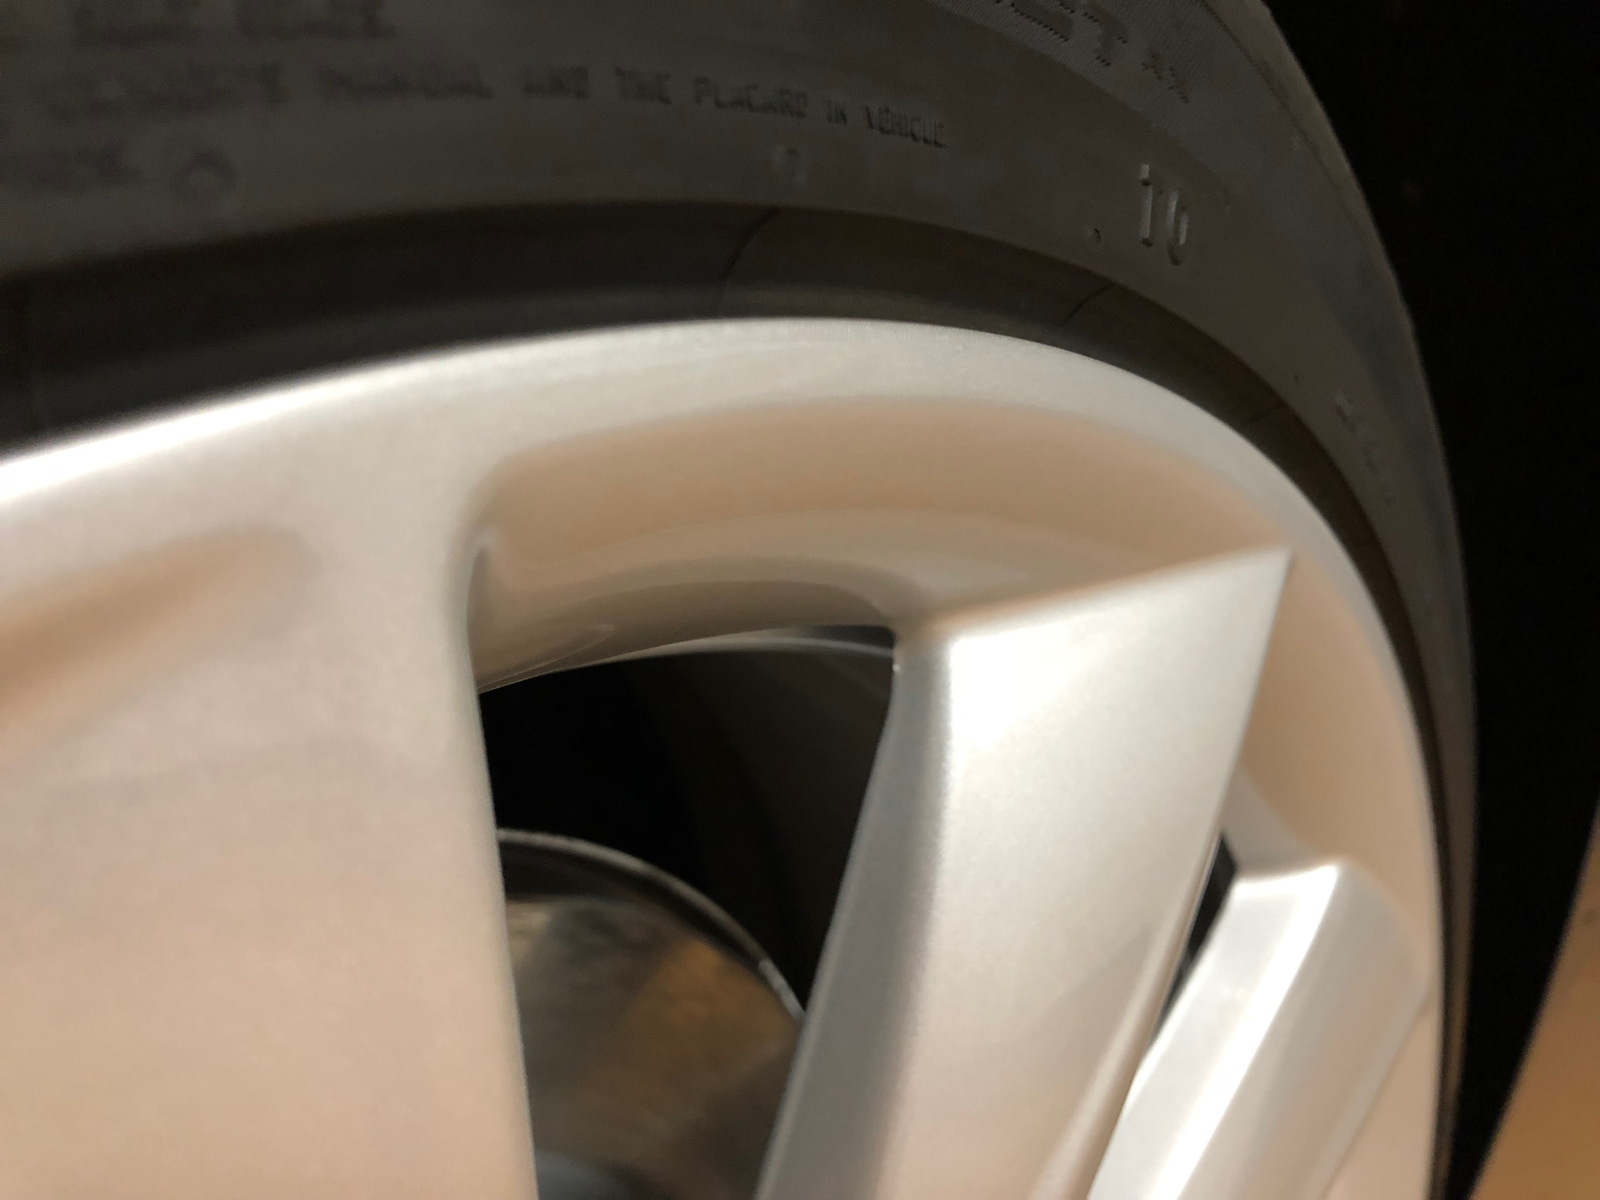
The kit is designed to adhere to the outer edges of a wheel’s parameter. The edges on my 19" wheels are not consistently flat all the way around, but they nonetheless had sufficient space to accommodate the tracks.

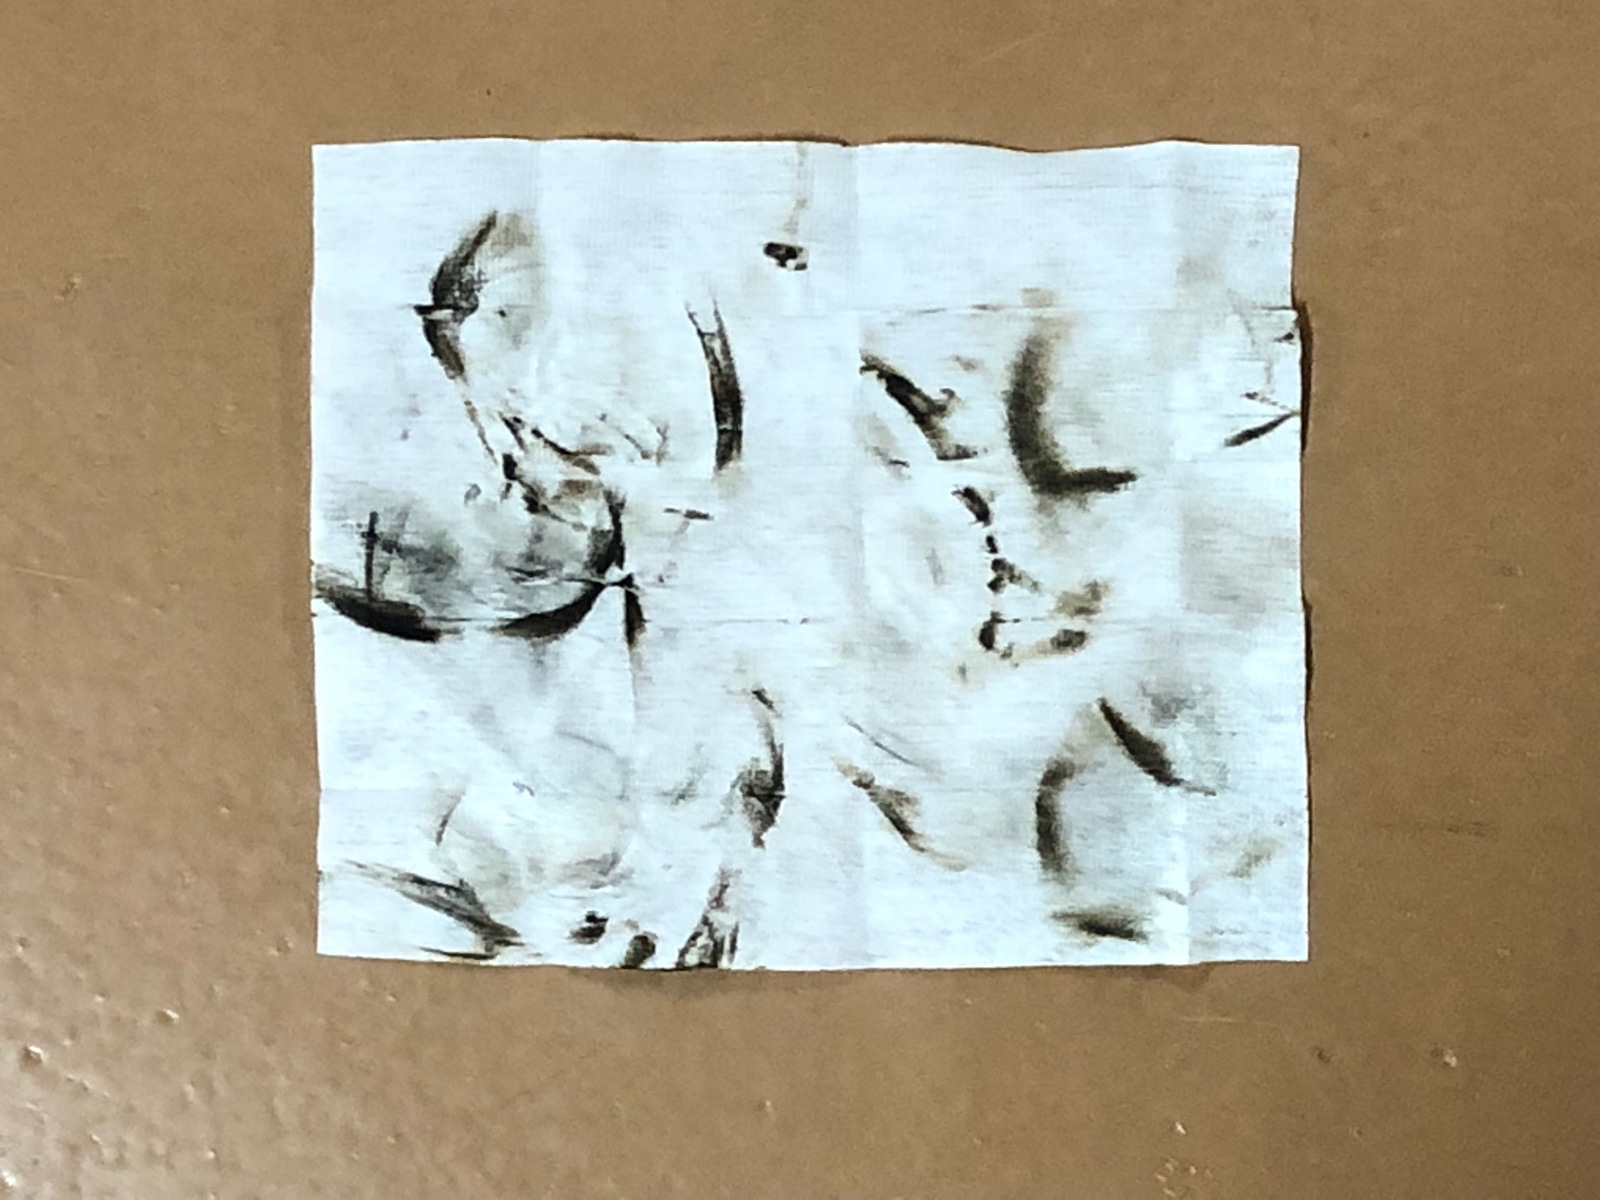
EVAnnex admonishes customers to thoroughly clean the rim edges, because the tracks’ adhesive won’t stick to waxes or polishes. I’d had a ceramic coating applied to Correcaminos, so I used the provided alcohol wipes to clean those edges. I was amused to see that, if the wipe even touched the tire in the process, it ended up looking like an ultra-abstract painting.

Suggestion #1: Determine what tools you’ll need. I used a box cutter with a new titanium blade to trim the tracks and inserts. I also used a file to smooth and flatten the cut off ends so that they’d fit better end-to-end with minimal gaps.

Suggestion #2: To avoid having the tracks and inserts become twisted and tangled while installing them, just hang their coils around your neck. As you work, you can rotate the coil and flip over your head only the length needed a section at a time.

Suggestion #3: Rather than start by applying the very end of a track, make a shallow slice in the tape about 6" to 8" farther along, and start peeling it back from there. Why? Well, the ends tend to want to curl inwards because the coil has a smaller circumference than the wheel itself. This way, you can apply the track systematically in a nice round shape on most of the wheel, and then remove the tape from the first end to join it to the finished end so that they press against each other to minimize their curling.

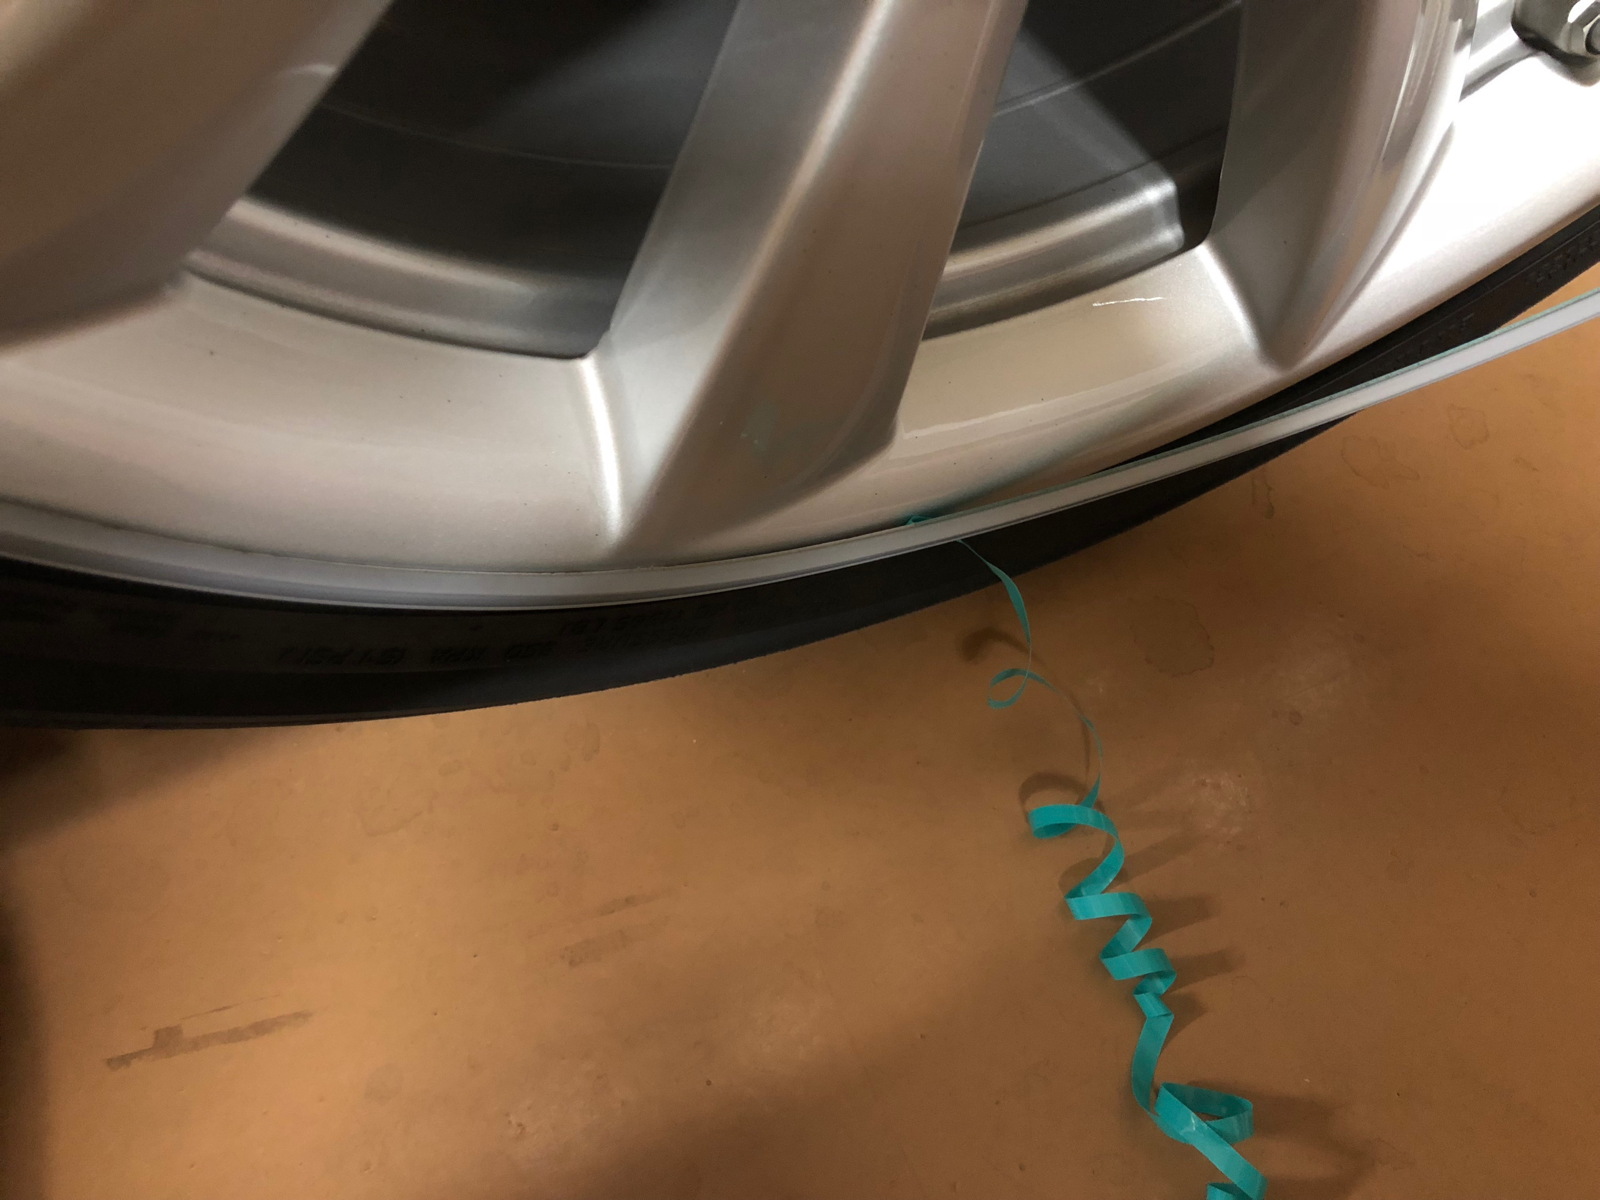
Suggestion #4: Do not remove all the tape at once, but simply peel off about 6" to 8" inches of it as you apply that much of the track around the rim, step by step.

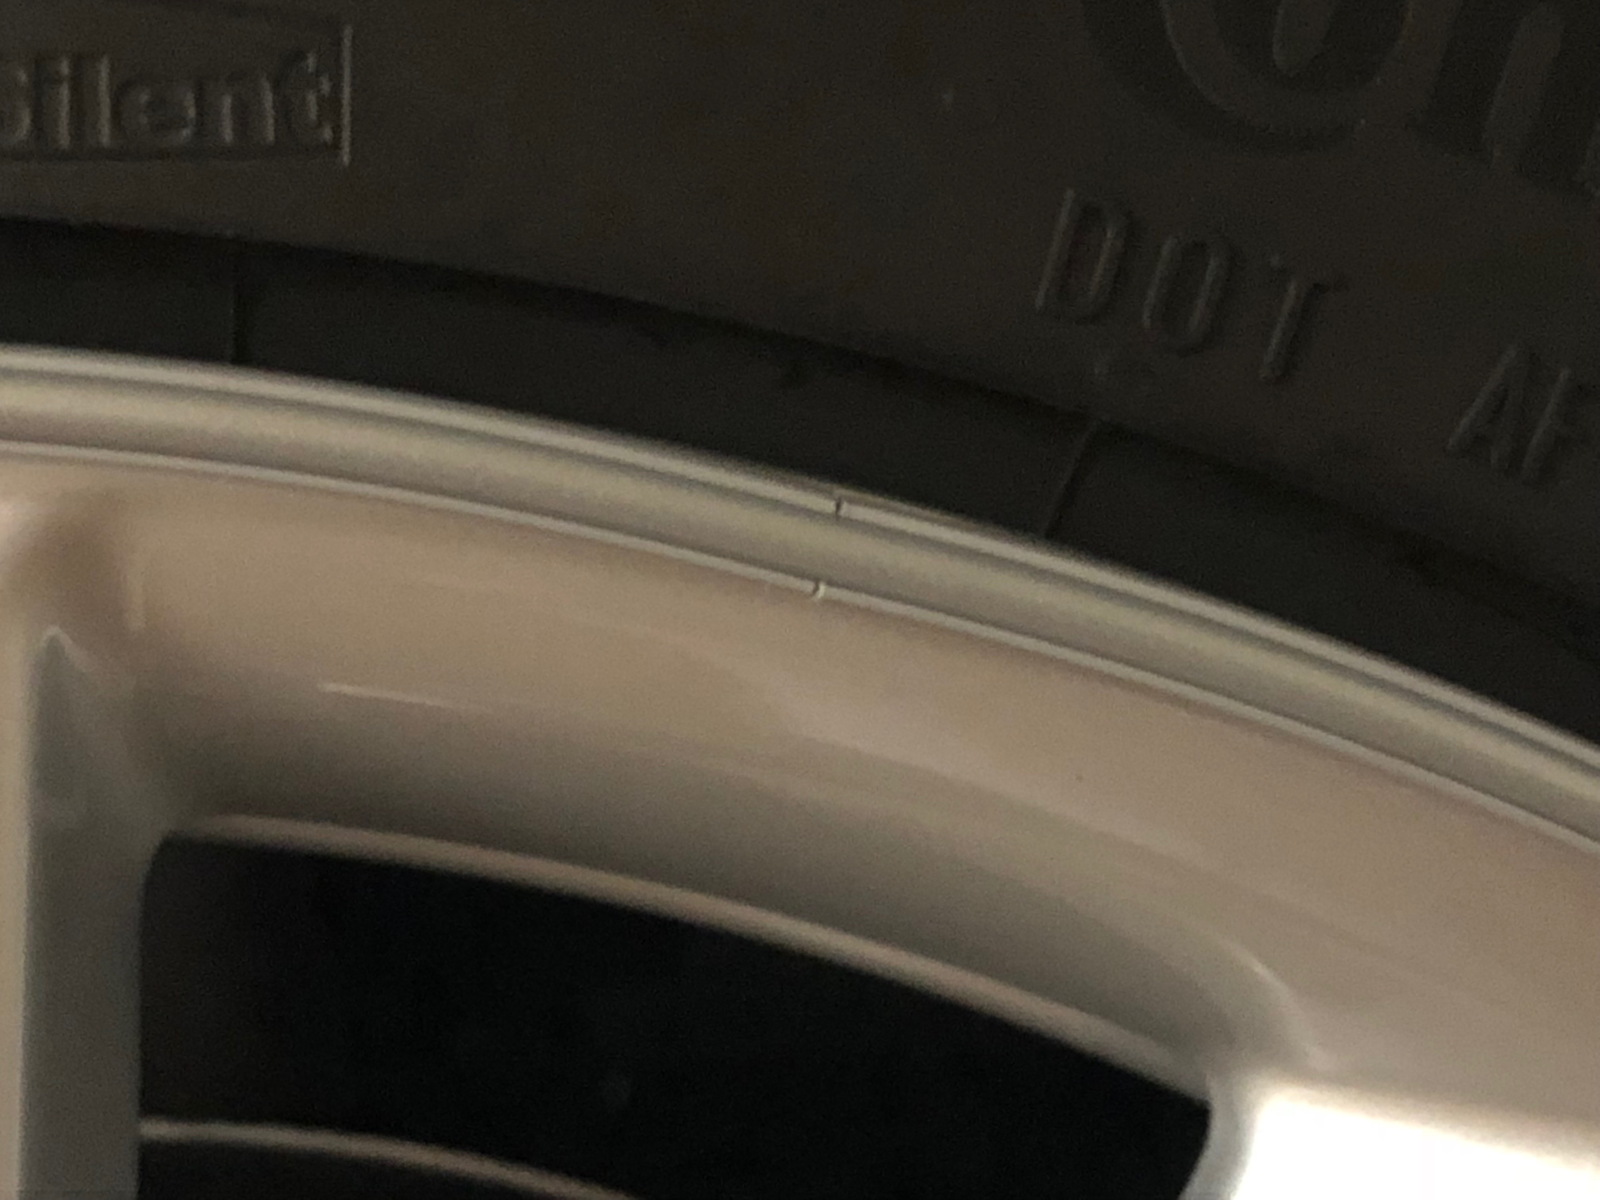
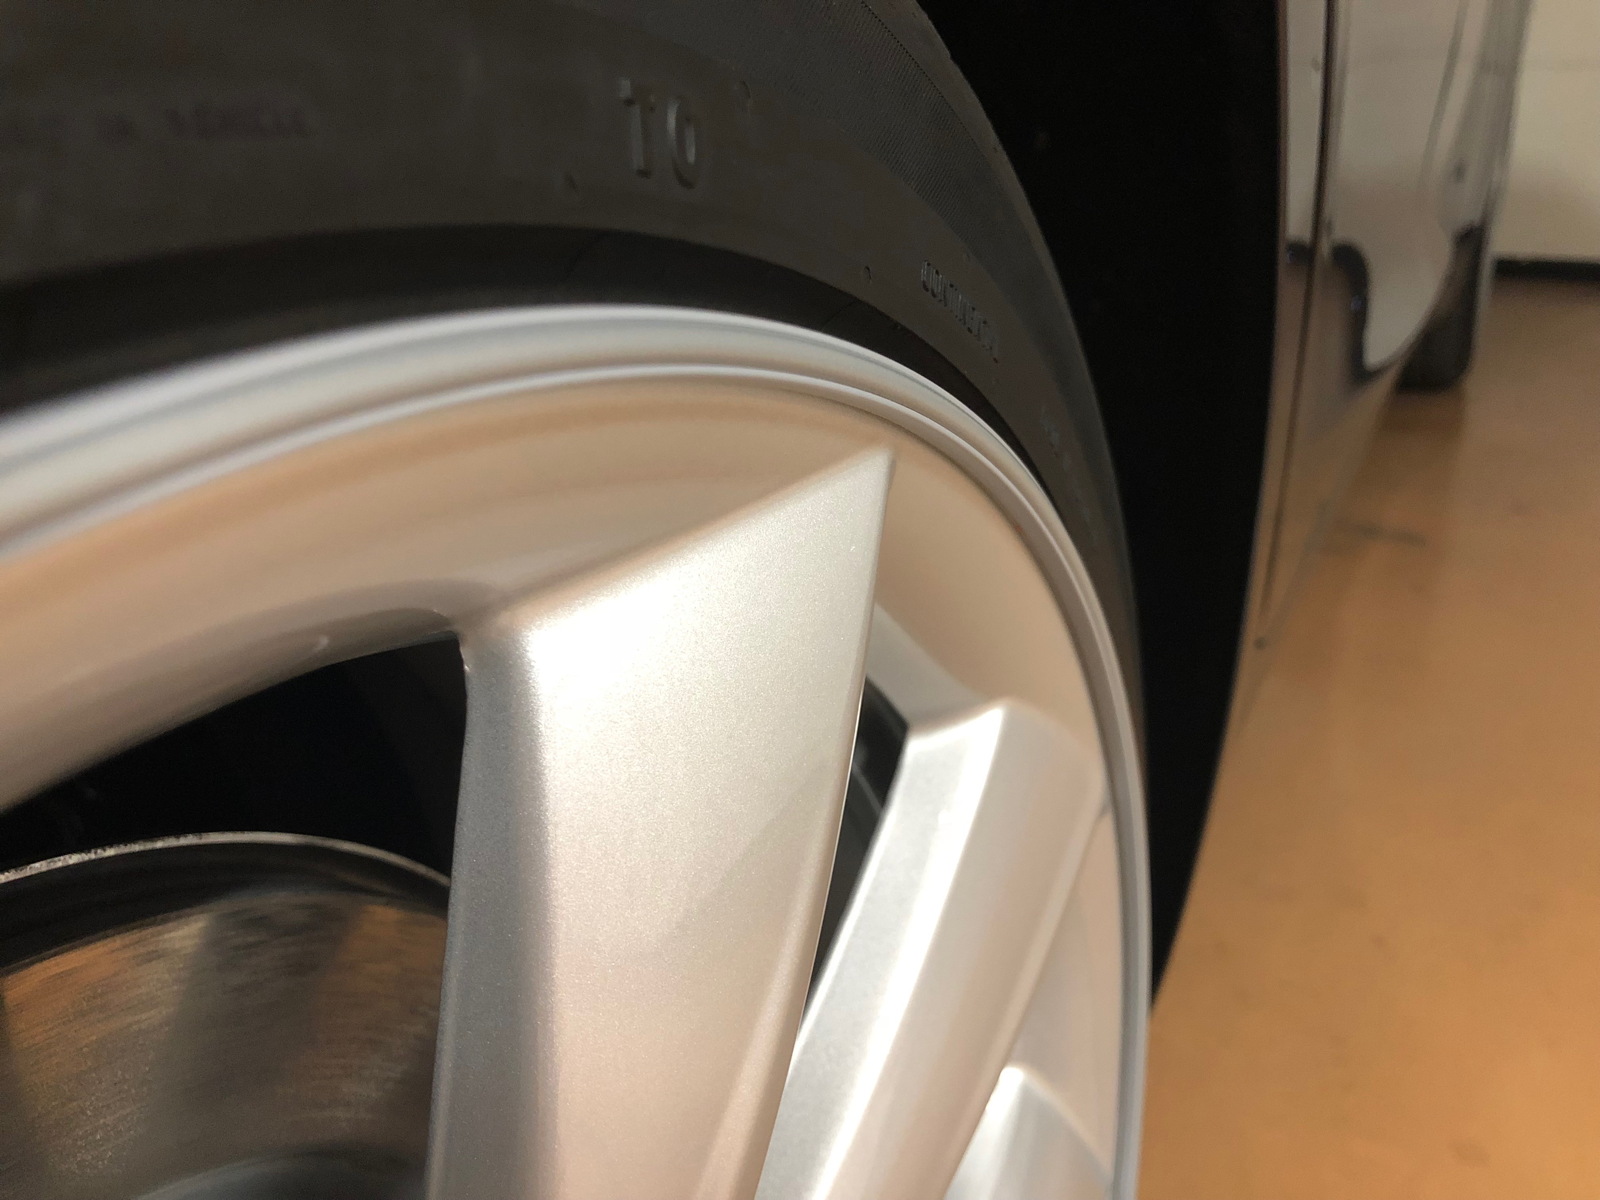
Suggestion #5: Don’t position the ends of the tracks and inserts at the very same spot. In this photo you can see that the track ends meet together, but the insert extends through their joint.

And in this photo you can see that the insert ends meet together, but in an uninterrupted section of the track. Having the two joints in different spots around the rim will also help minimize the curling tendency of the track ends.

After I had installed the wheel bands on all four rims, I still had slightly more than 8' of tracks and inserts left over. It’s generous and helpful of EVAnnex to supply the extra length! If and when a curb chews into one of these bands, I’ll have enough to replace it.

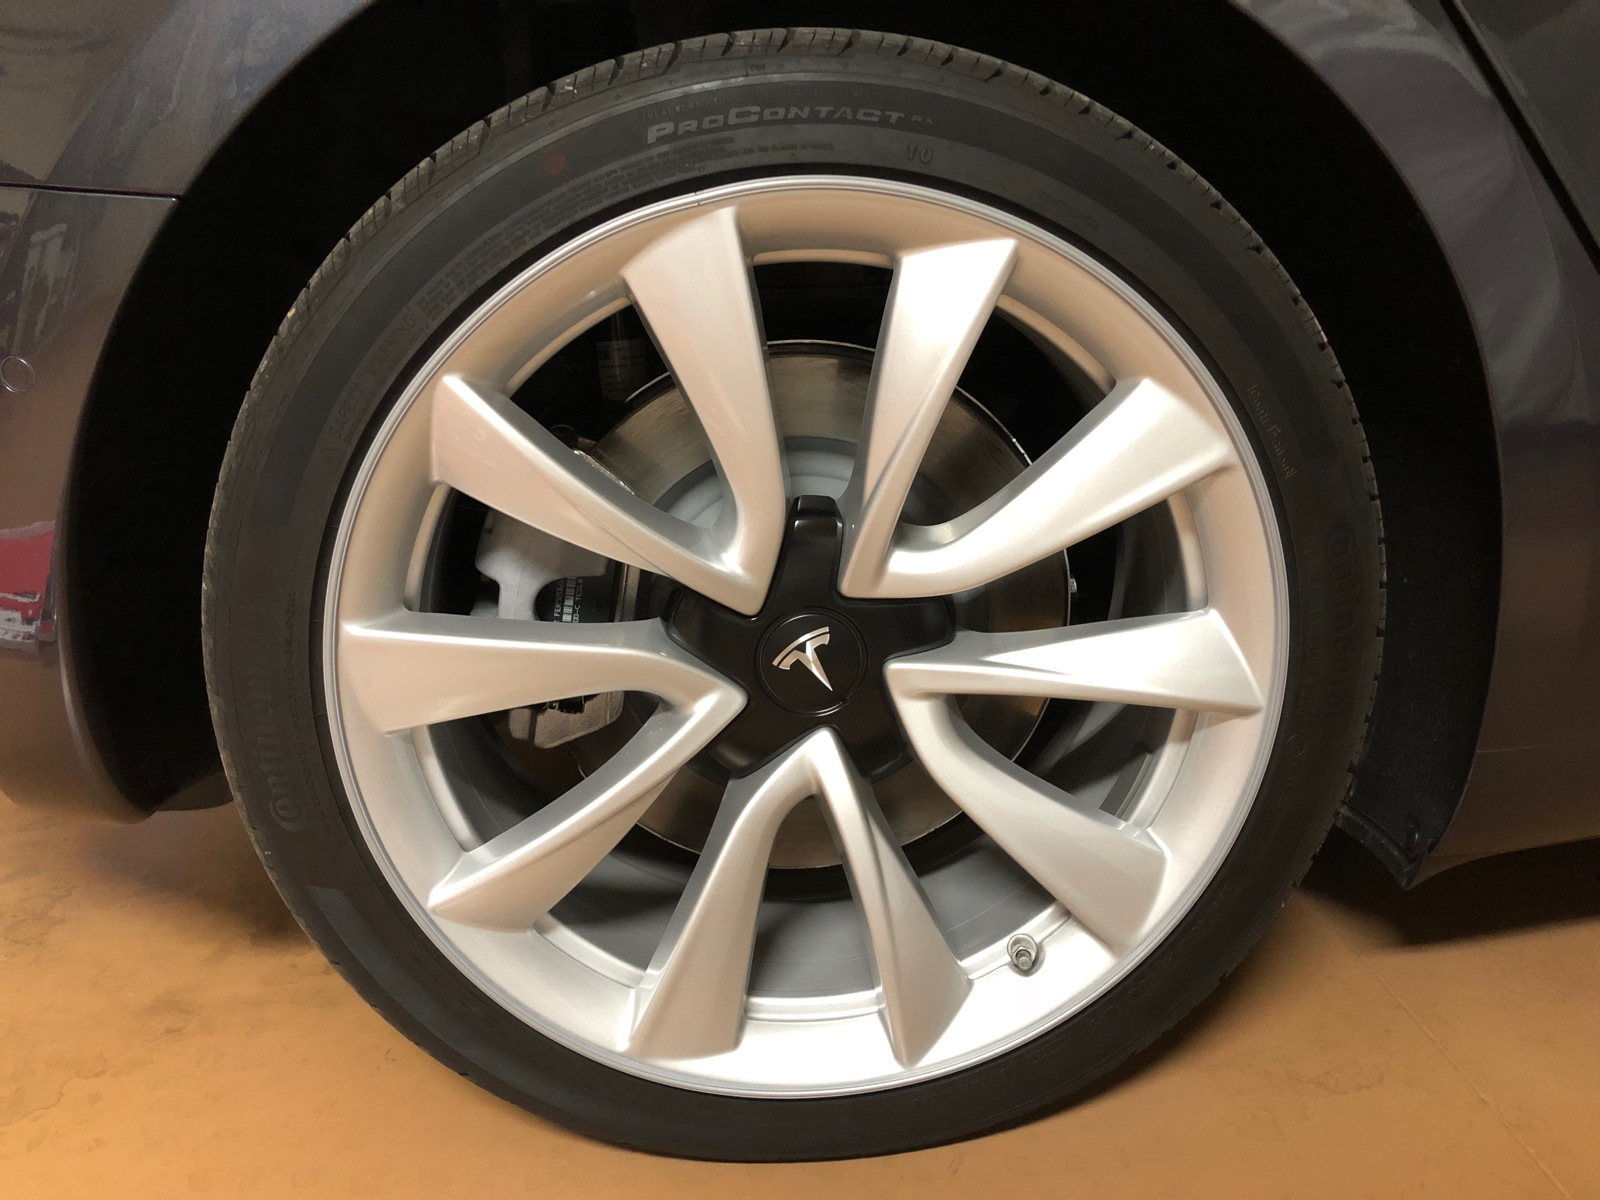
To see how much of a difference in appearance the wheel band makes, compare this photo to the second one up above.

From a distance, as I had hoped, the silver bands are hardly noticeable. This is particularly true when looking at the wheel straight on, as you can see in the photo at the top of the page.
I am pleased with how this project turned out, and hope it proves to be preventative medicine for Correcaminos’ rims. Although a bit pricey, the bands are certainly cheaper than replacing a chewed up wheel. Thanks, Jen’, for pointing my tires in the right direction!