for our Model 3
Mark D Larsen
Through the Looking Glass
(Click to enlarge)
| Screen Protector
for our Model 3 Mark D Larsen |
Through the Looking Glass (Click to enlarge) |
When we first took delivery of our Model 3, we were concerned to see that there were some small, barely noticeable swirls and scratches on the touchscreen. Upon inquiring about it, I was relieved to find that the flaws were not in the glass, but in the thin plastic film that Tesla applies to the screen to protect it during shipping, preparation, and delivery.
Wiping fingerprints and smudges off that film for the last several months has added more streaks and marks, so I decided it was time to replace it with a more durable protective cover, like those on our iPhones. After weighing several alternatives, I decided to order Abstract Ocean’s 9H Tempered Glass Protector. There are two versions available: Matte Anti-Glare (which is more fingerprint resistent), and HD Clear (which is completely transparent). I opted for the latter, primarily because Tamara doesn’t like to wear her glasses when in the car, and thus needs the display to be as sharp as possible. Besides, I am always cleaning the car (an obsessive trait that comes with owning a spanking new Model 3), so wiping off fingerprints now and then is no big deal.
Abstract Ocean has posted an instructional video on how to install these protectors, and I would encourage anyone considering such an accessory to watch it. I asked Tamara to help me with the installation, so we both viewed the video a few times to make sure we knew what steps to take and what problems to avoid. Below are a few annotated photos of our experience.
NOTE: You can click on any of the following photos to enlarge them.

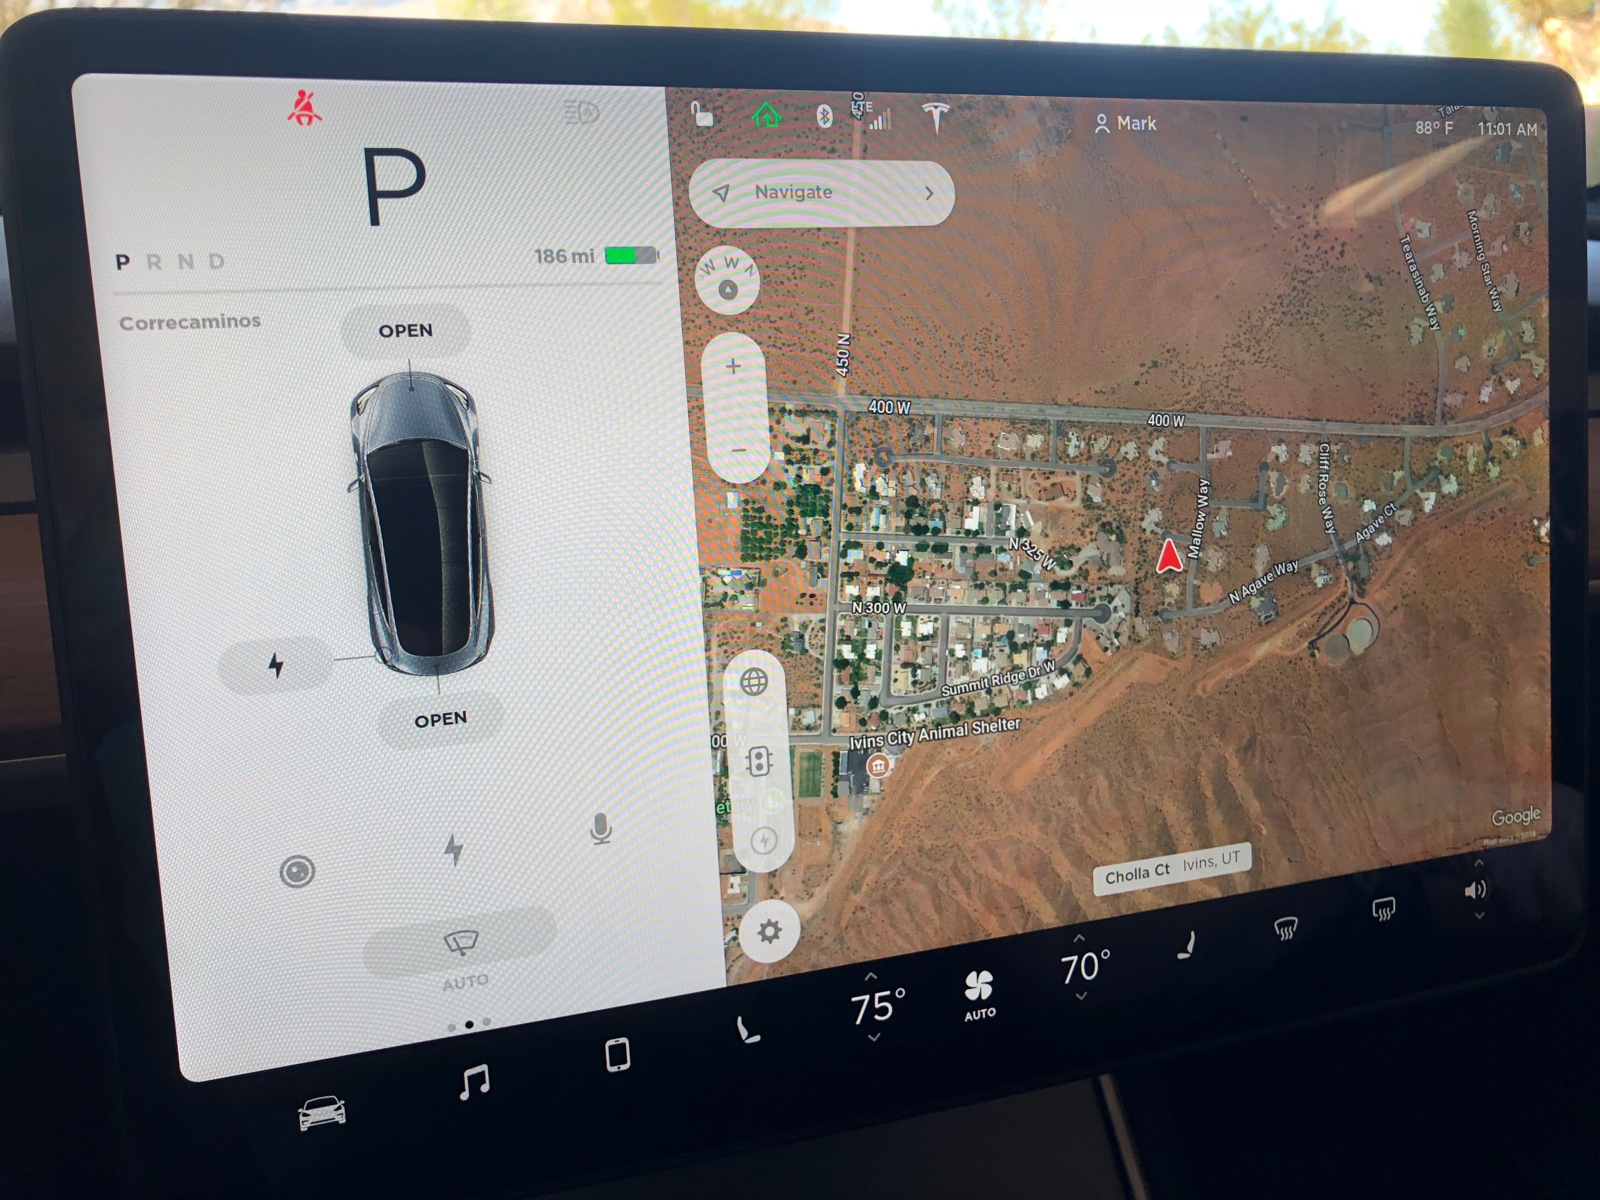
After thoroughly dusting and vacuuming out Correcaminos, we followed the instructions to turn off the climate control to avoid dust swirling around the cabin. We then parked outside so that the bright sunlight would make it easier to see any such particles on the screen.

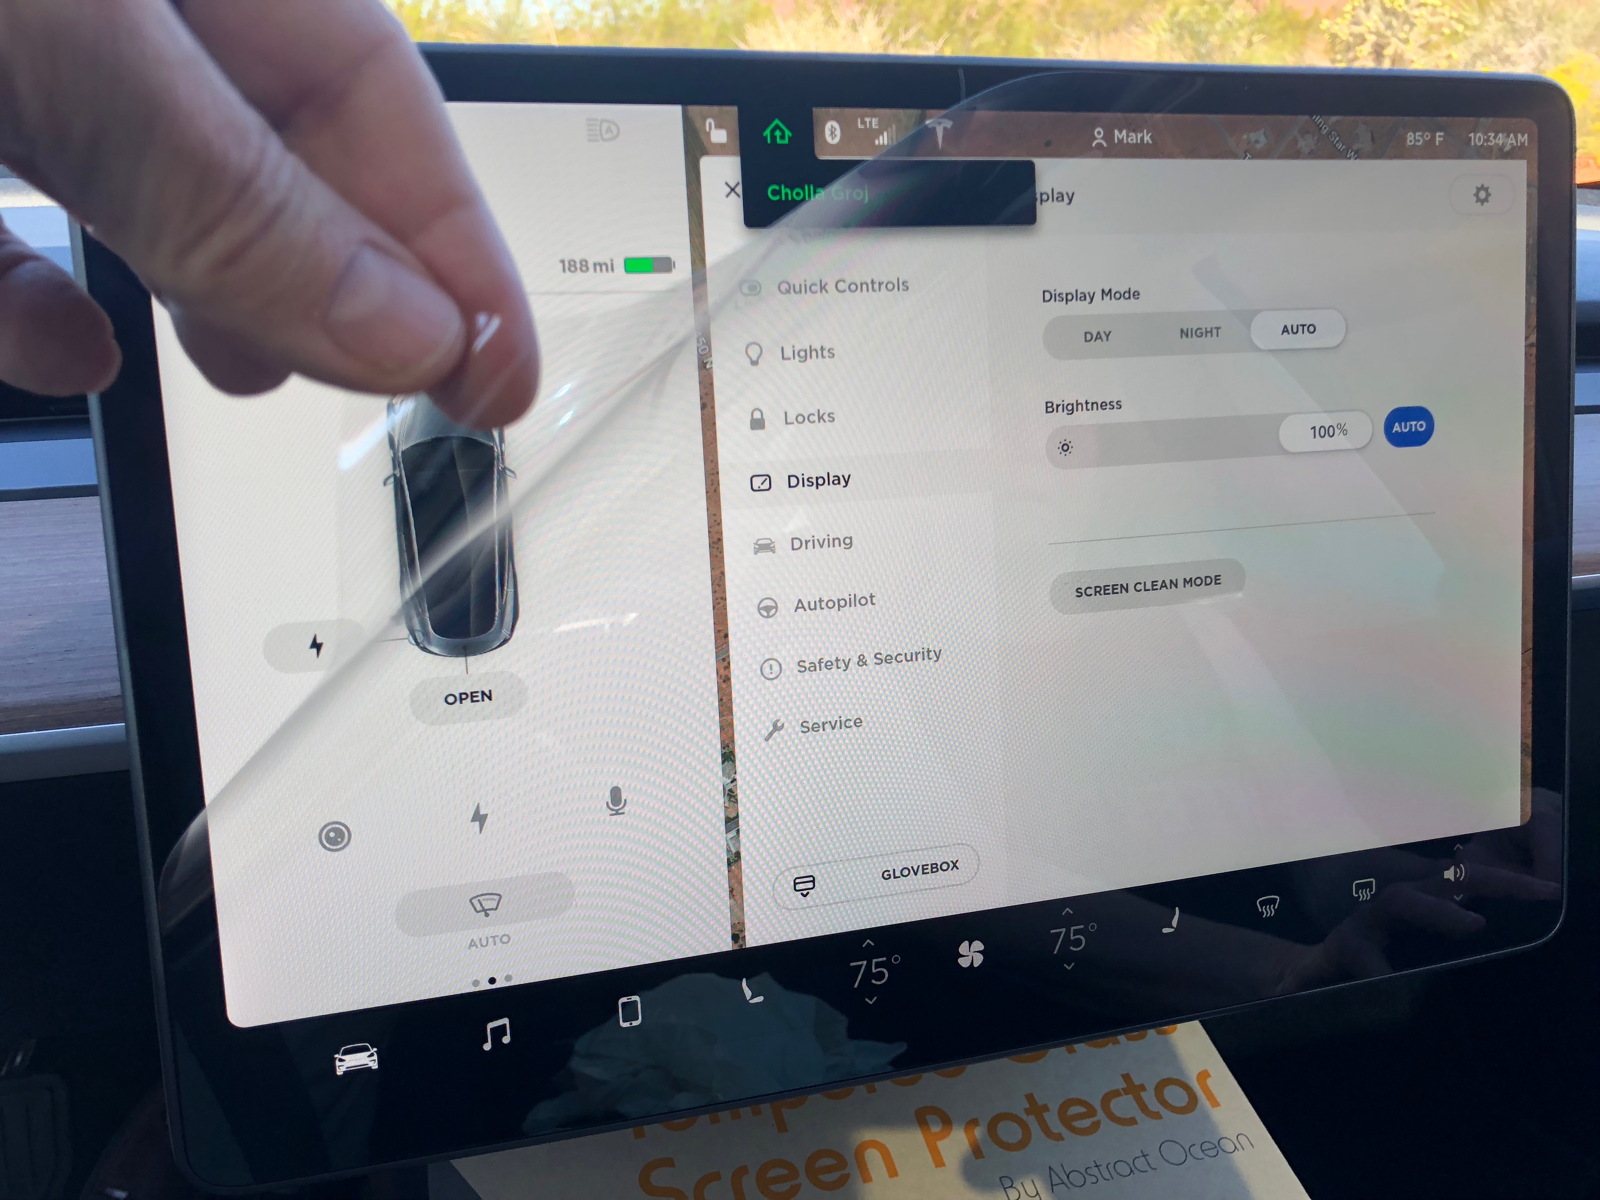
Only then did I peel off the plastic film from the touchscreen. Unless you have already removed your film, I would recommend not doing so until you’re ready to install a screen protector.

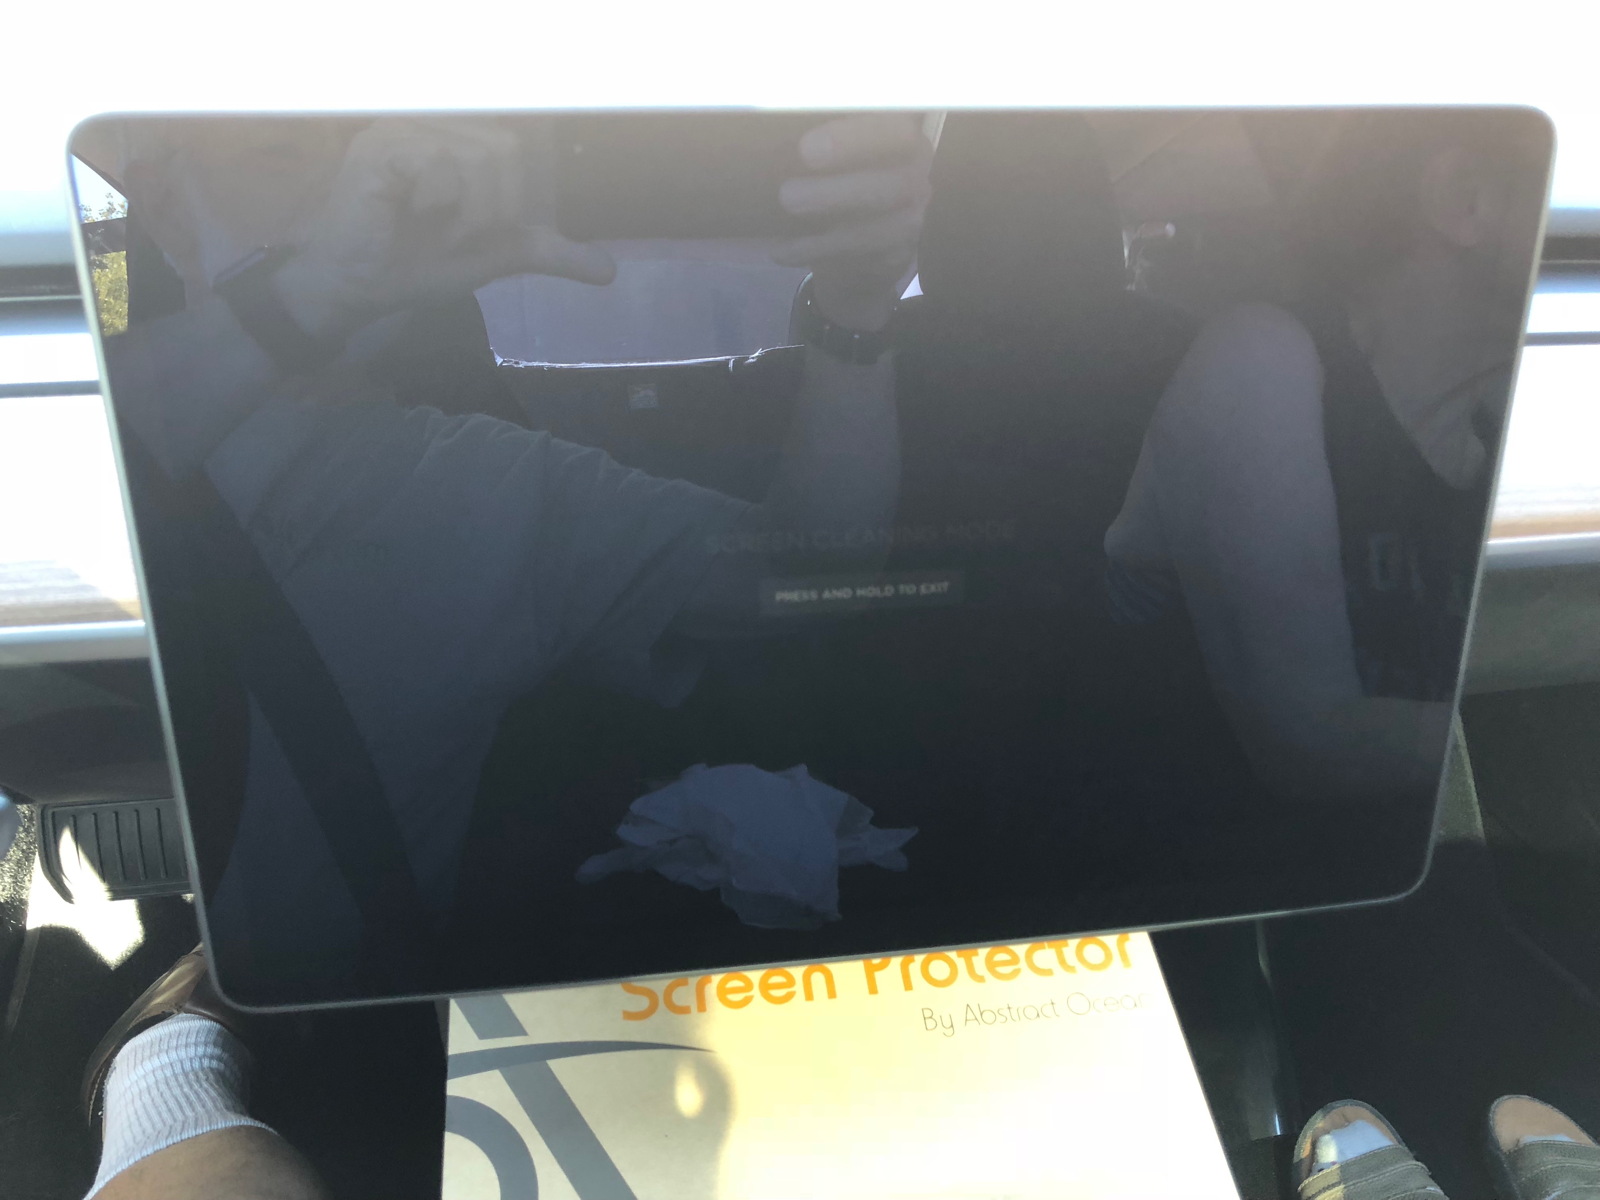
The reason for my recommendation is because there were NO dust particles to deal with after removing the film and setting the touchscreen to “clean mode.” We thus only had to dab with the provided dust remover strip at a few errant particles that managed to light on the screen during the installation process.

Another precaution we took to avoid dust and possibly smudging the screen and/or the protective glass cover with our sweaty hands was to don some plastic gloves. They really helped keep everything clean, but caused one problem. I had to temporarilty remove one glove to peel off the supplied tape strips from their plastic backing to secure the cover along the top edge during installation. As you can imagine, it was impossible to pry up a corner of those strips with the glove on.
The tape strips worked like a charm! While I kept the cover in position by supporting its bottom corners with both hands, Tamara folded the tape strips over the top edge onto the cover to secure it. I could then angle the tempered glass up on its tape hinges so that Tamara could dab at just a couple of dust particles on the screen. We then peeled off the cover’s backing, and gently swung it back down onto the touchscreen.Just like in the video, the protector started to adhere with a “shadow” spreading out over the surface. There were a couple of bubbles that I then needed to push toward the edges using the supplied microfiber cloth. Voilà! The touchscreen is now protected with 9H tempered glass, as you can see in the photo at the top of the page. Uh... well, actually... that’s what you can’t see: the protective glass is so completely clear and transparent that you can only tell it’s there by looking for its fine edges around the perimeter.
And if it ever gets cracked, scratched, broken? Easy enough to replace! Better it than the touchscreen itself, right?