The Glass Sealing
(Click to enlarge)
Wind Noise Seal
in our Model 3
Mark D Larsen
June 14, 2019
|
The Glass Sealing (Click to enlarge) | Glass Roof
Wind Noise Seal in our Model 3 Mark D Larsen
|
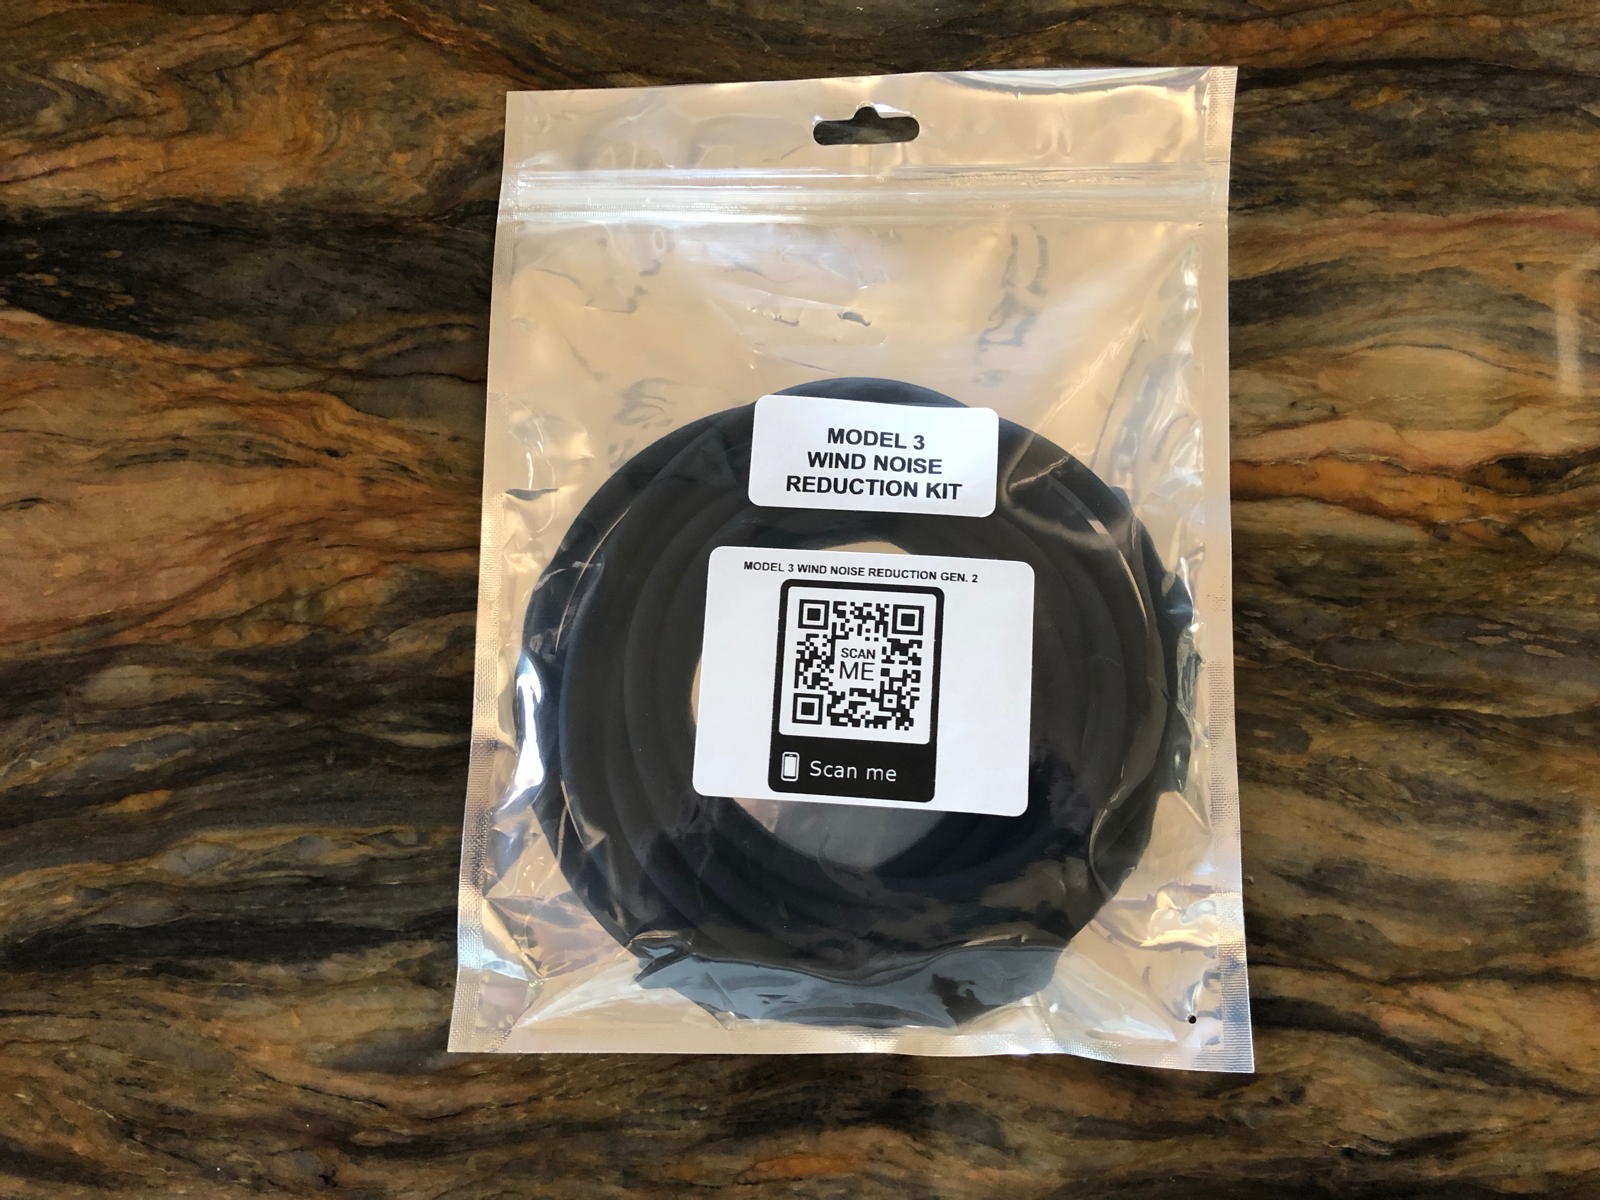
Perusing various Tesla Model 3 accessories online, I happened to run across a rubber seal to help reduce wind noise on the glass roof. In reality, Correcaminos is already the quietest car I’ve ever owned, but it is true that sometimes when driving highway speeds we have noticed some wind noise —probably because there is no engine racket to drown it out! I decided to check out posts and videos about the product, and figured that I might as well give it a try. If nothing else, the seal would help level off the crack lines that my squeegee always snags when wiping water off the glass roof.
NOTE: You can click on any of the following photos to enlarge them.

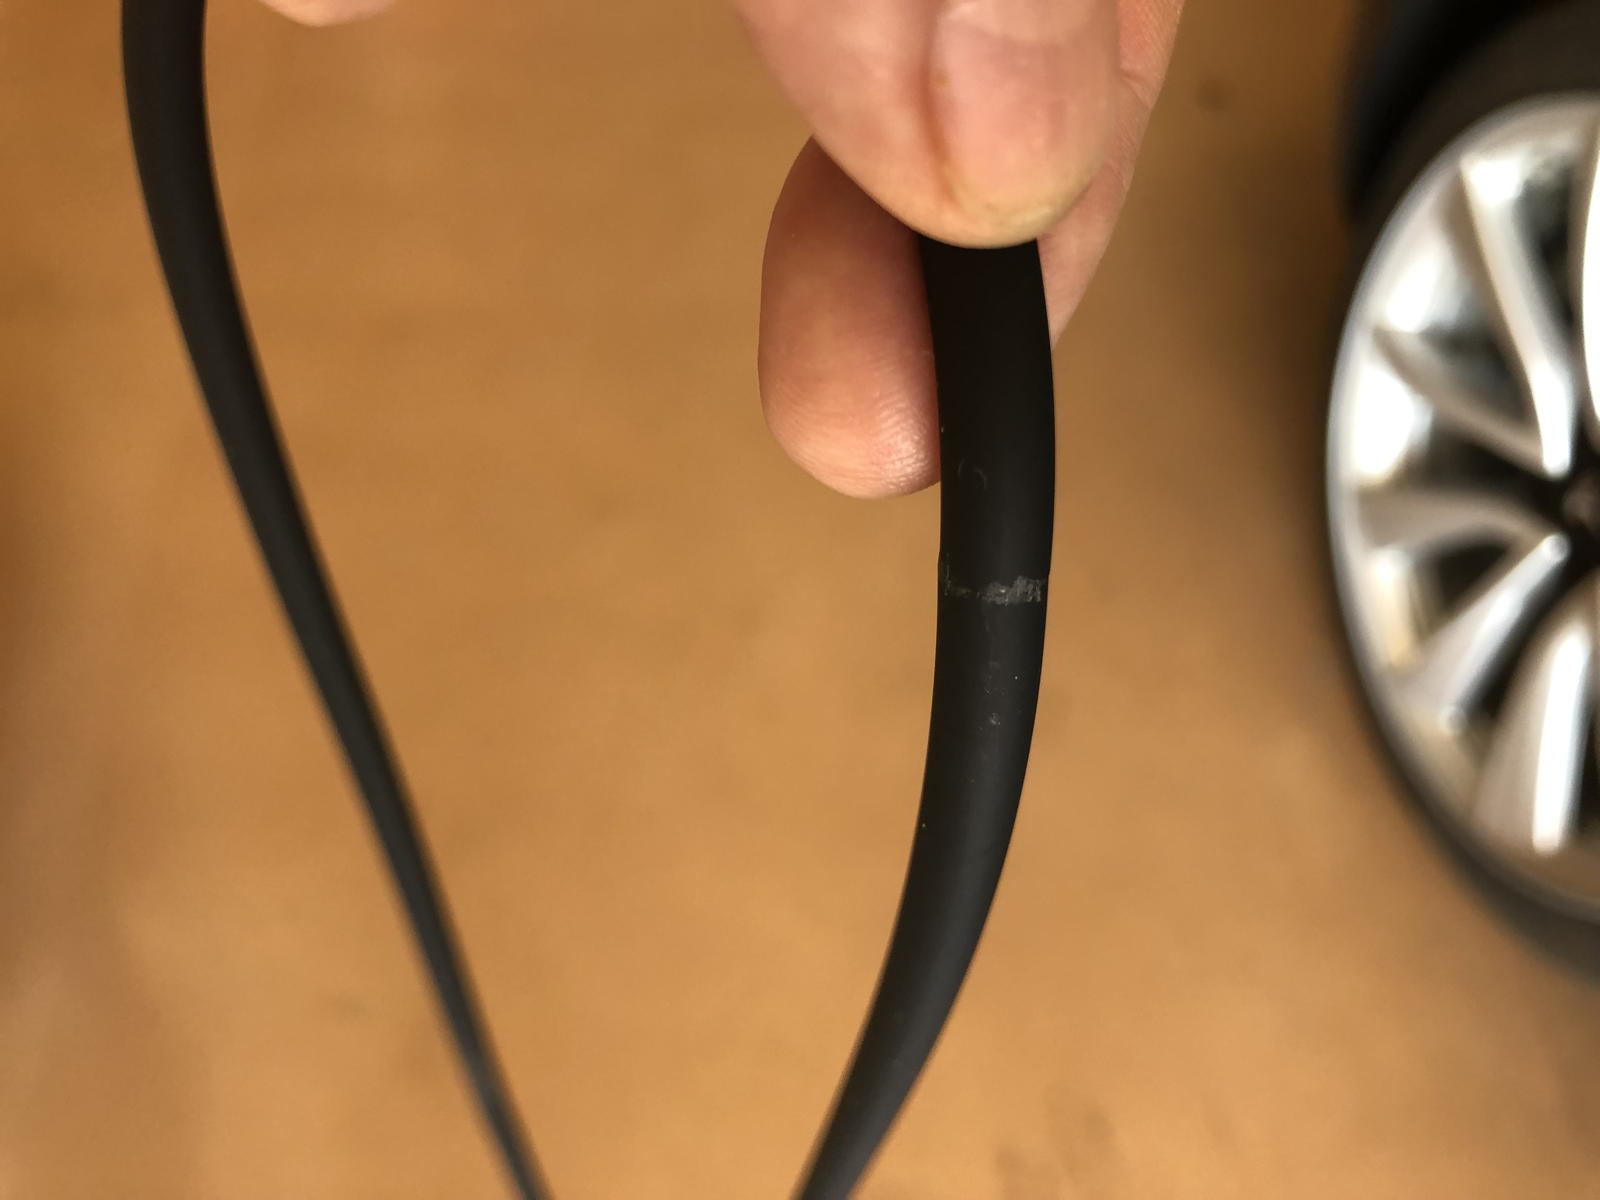
I placed an order, and the package arrived two days later. The seal resembled a large, stretchy “rubber band.” There were no instructions provided, but rather a scancode to open YouTube videos of the installation process.

To start the project, I decided to first clean any grime or dust off of the glass roof and windshield.

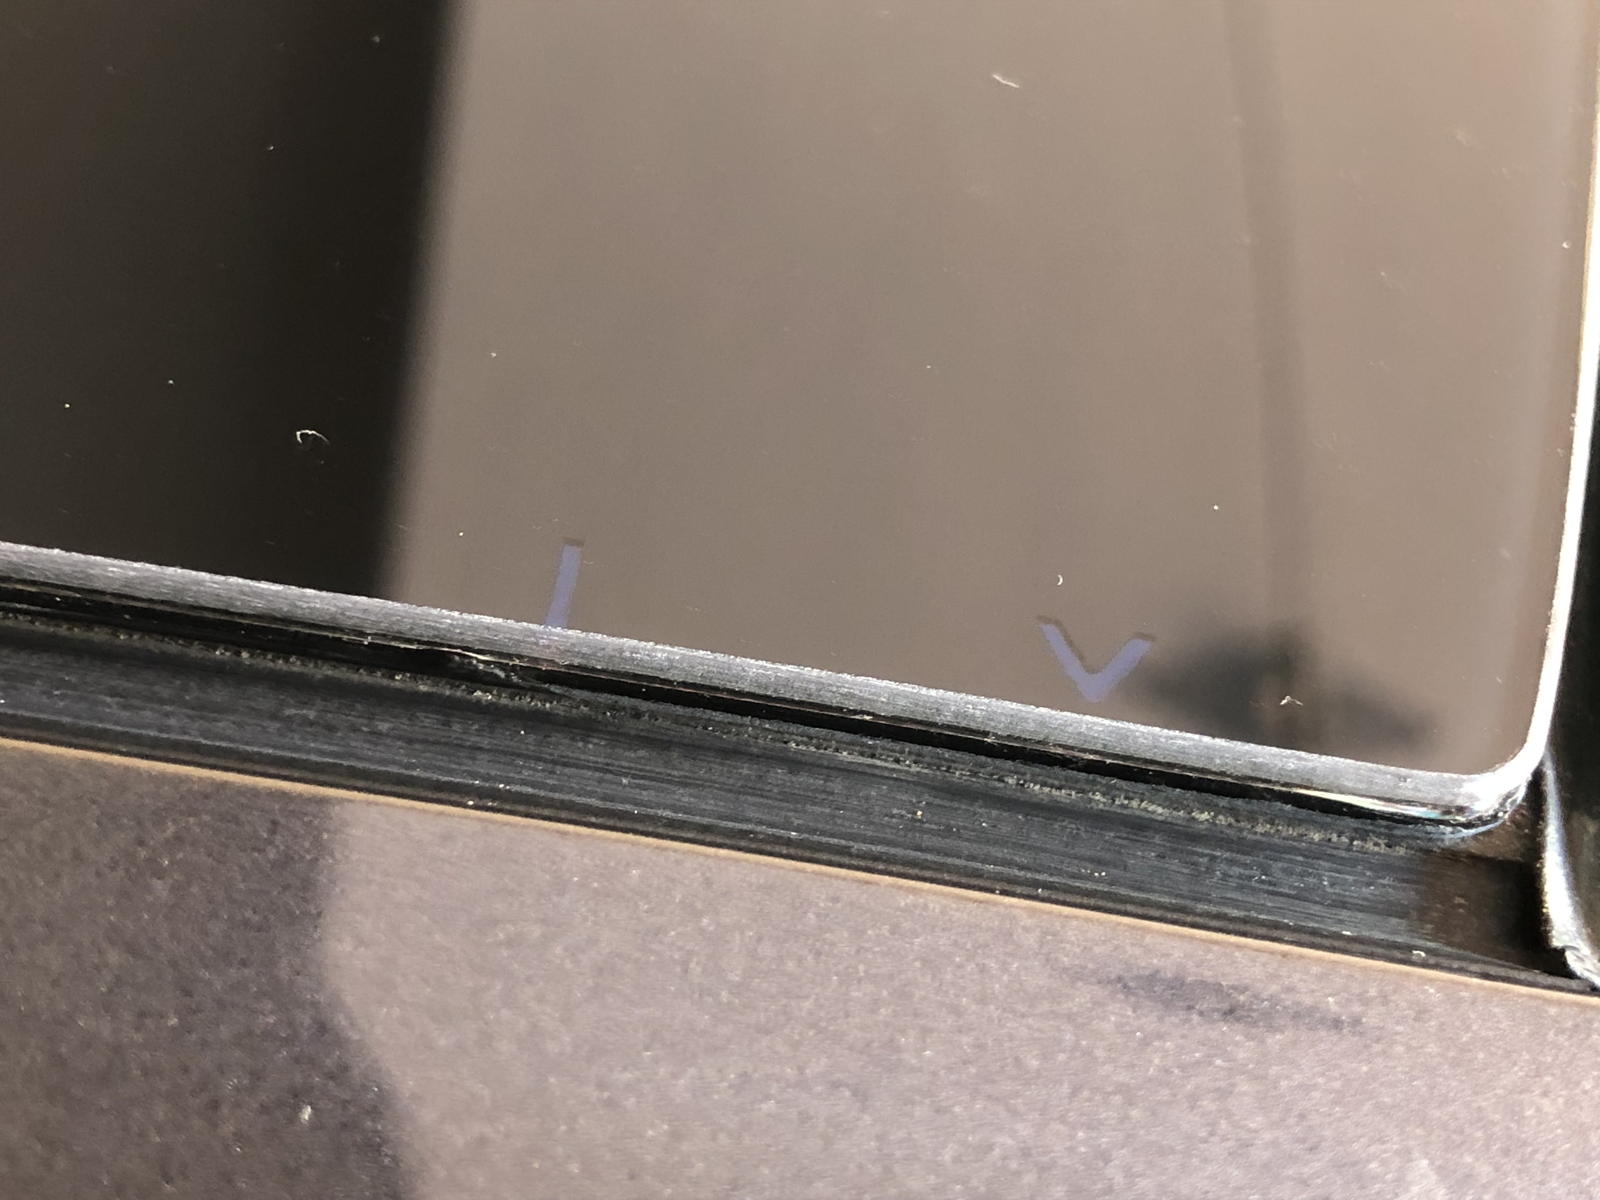
Of course, as Model 3 owners know, cleaning the glass brings out its colorful UV and Infrared protective coatings.

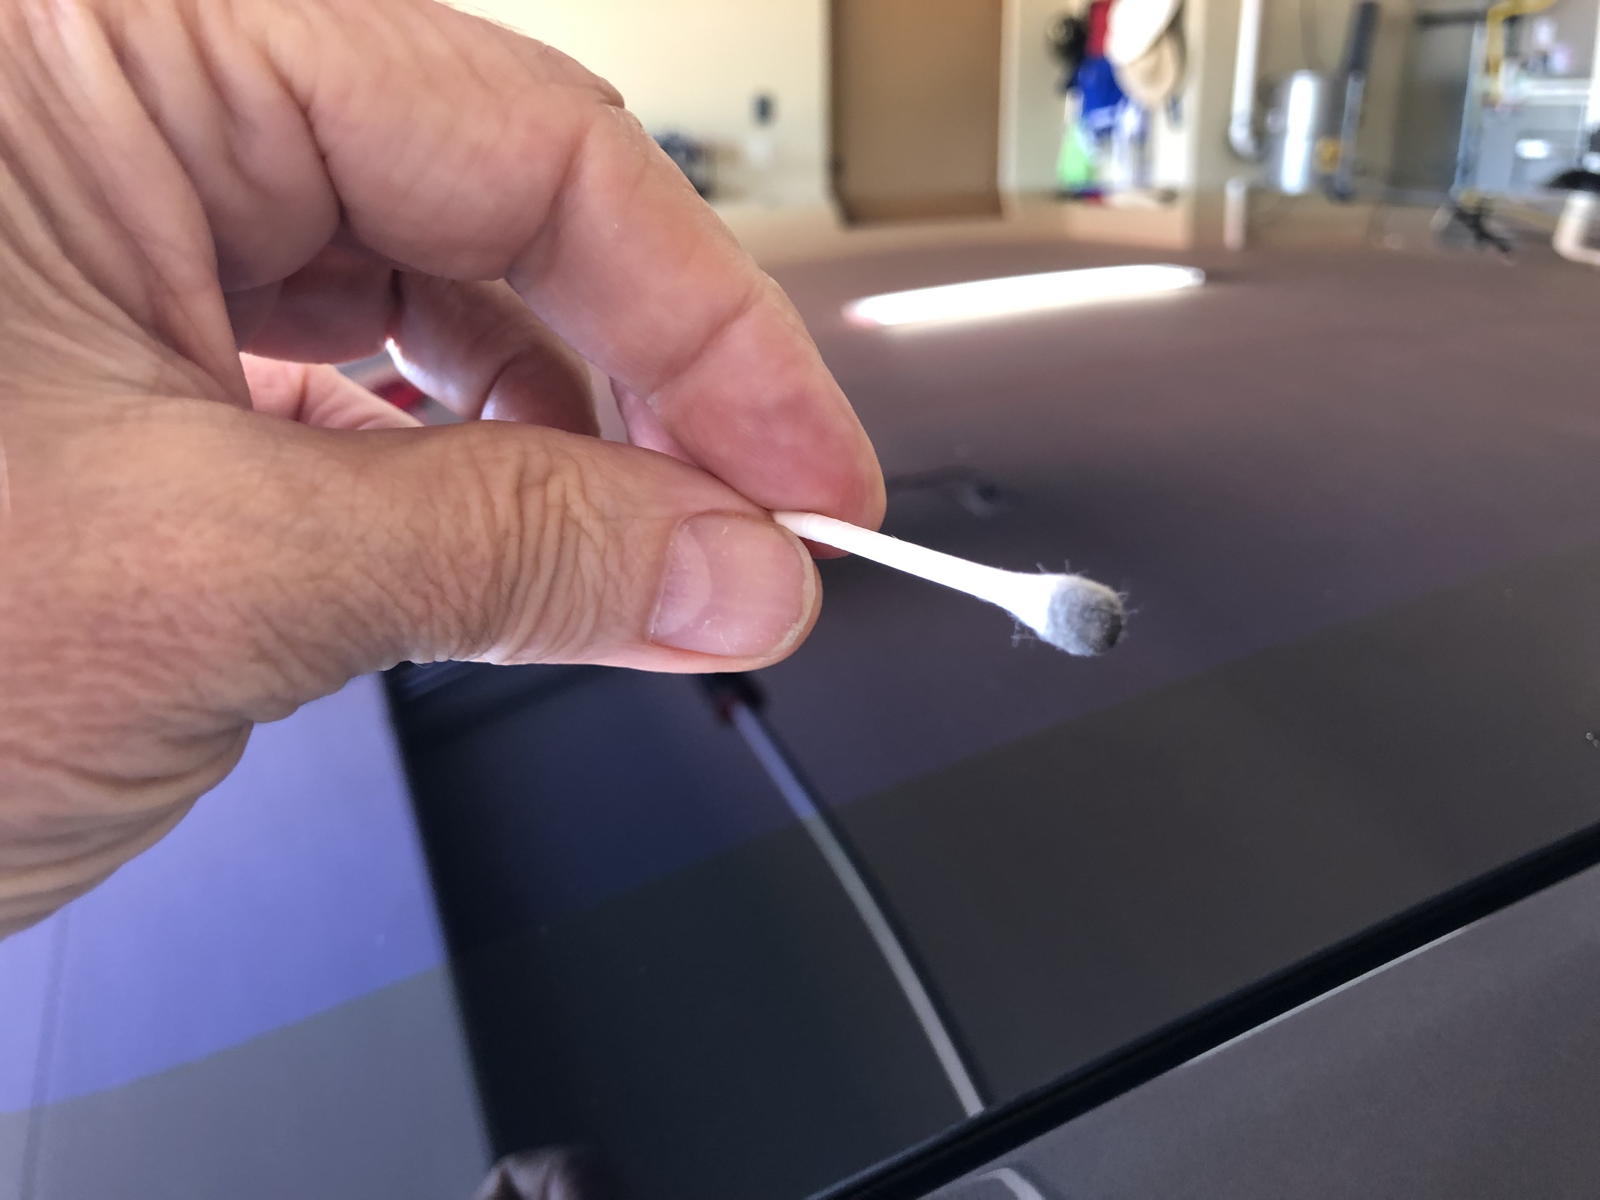
I then decided that it would be best to also clean out the channels in the gaps, and got out some alcohol and Q-Tips to use in the grooves.

The idea worked well enough, since the Q-Tips fit just fine in the gaps.

Sure enough, there was plenty of grime in the grooves, and I realized it would take quite a while, plus lots of Q-Tips, to clean them out.

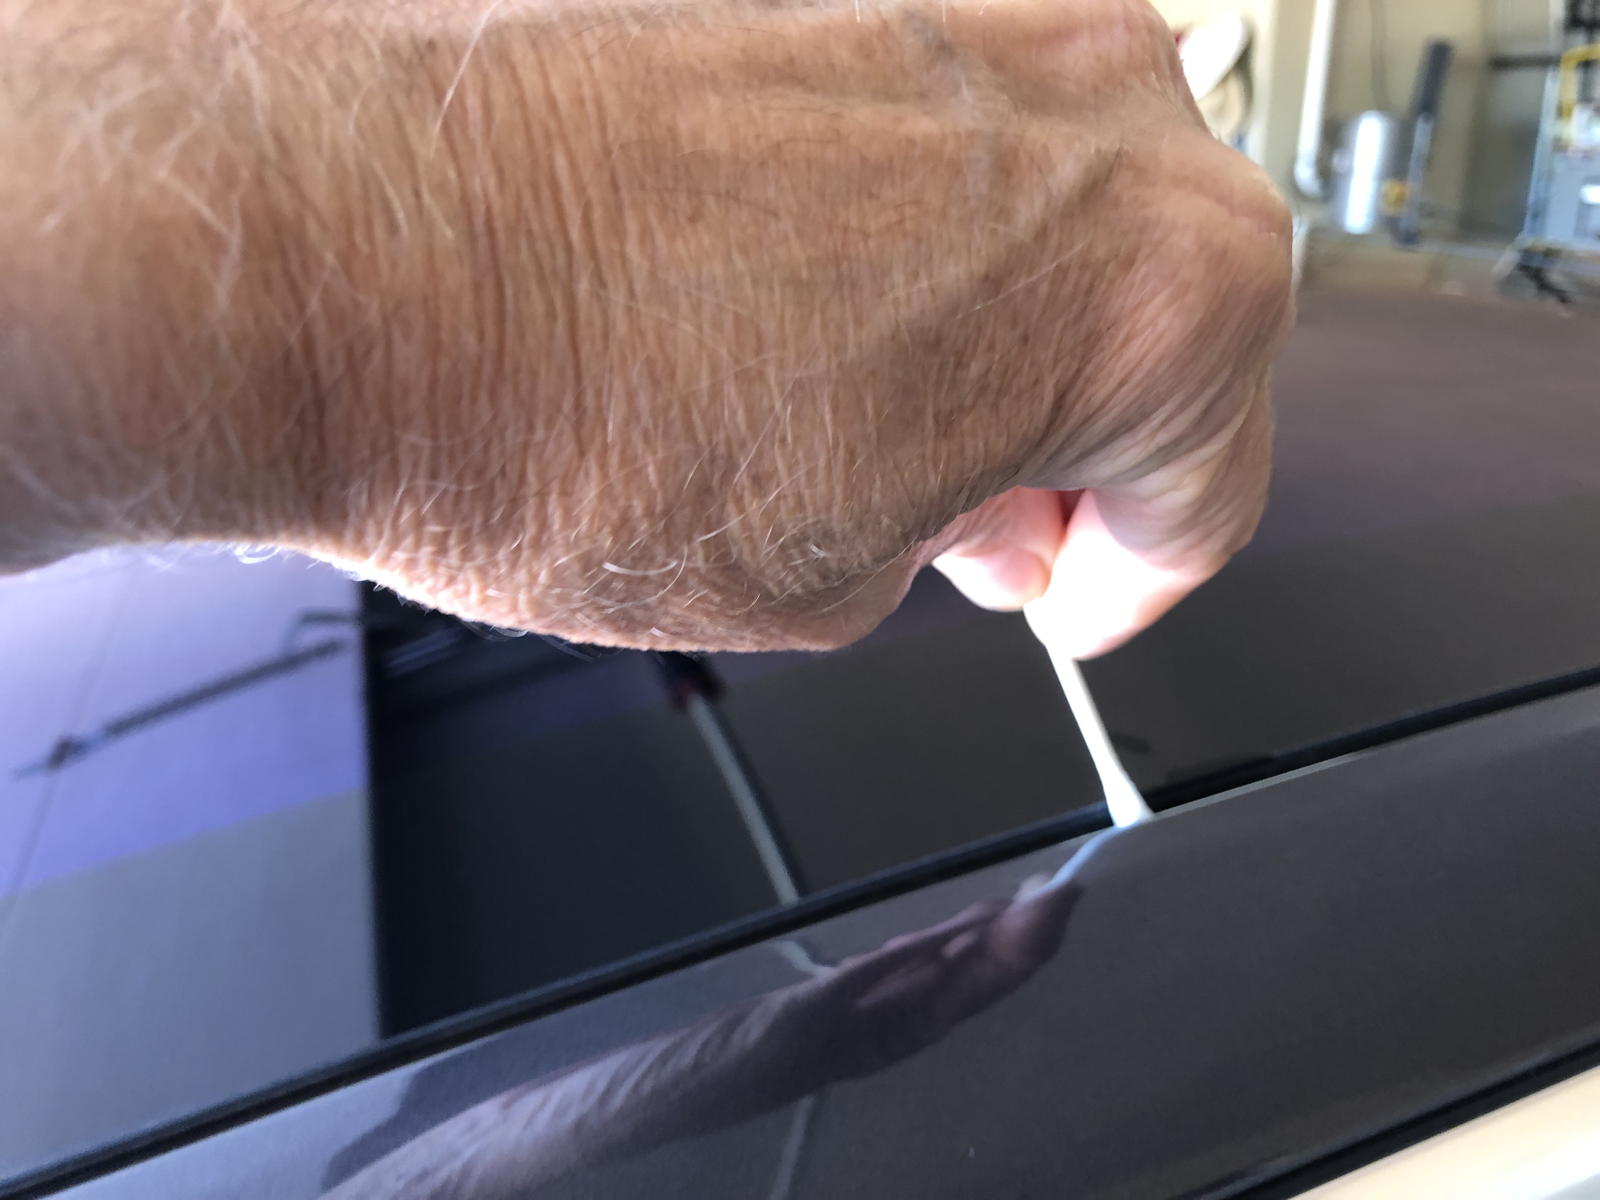
I therefore came up with another alternative: I put the alcohol on a microfiber cloth and then slid it along the groove using a wedge squeegee.

The squeegee did the trick, as you can see by the lines of grime that ended up on the cloth.

One observation worth mentioning: there are anchor points for a Tesla roof rack at the front and back ends of the grooves for the roof glass. The noise reduction seal will cover those points along the gaps, so I am not sure if you could install it with such a rack.

The seal’s ends are glued together to form the entire “rubber band.” The instructions suggest installing that glued joint in the rear groove of the panel if it fits, and I didn’t have any problem pushing it into that gap on Correcaminos.

Installing the seal was as easy as the instructions predicted. You simply push it into the grooves and flatten it with your fingers. It is actually smaller than the panel’s circumference, so you have to stretch it a bit. The video suggest doing most of the stretching for the grooves across the roof, since they are more narrow and the stretched rubber thus fits better inside them. Another suggestion is to use painter’s tape to secure the seal around one corner while you then stretch it to the opposite corner.

Here you can see that I have stretched it to the opposite corner, inserted it into the front and side grooves, and then also secured those spots with painter’s tape. From that point, it is easy to continue to stretch it to the remaining two corners and push into the gaps all the way around. Sorry if the garage door’s spring up above renders the photo confusing: this is unavoidable with a reflective glass roof!

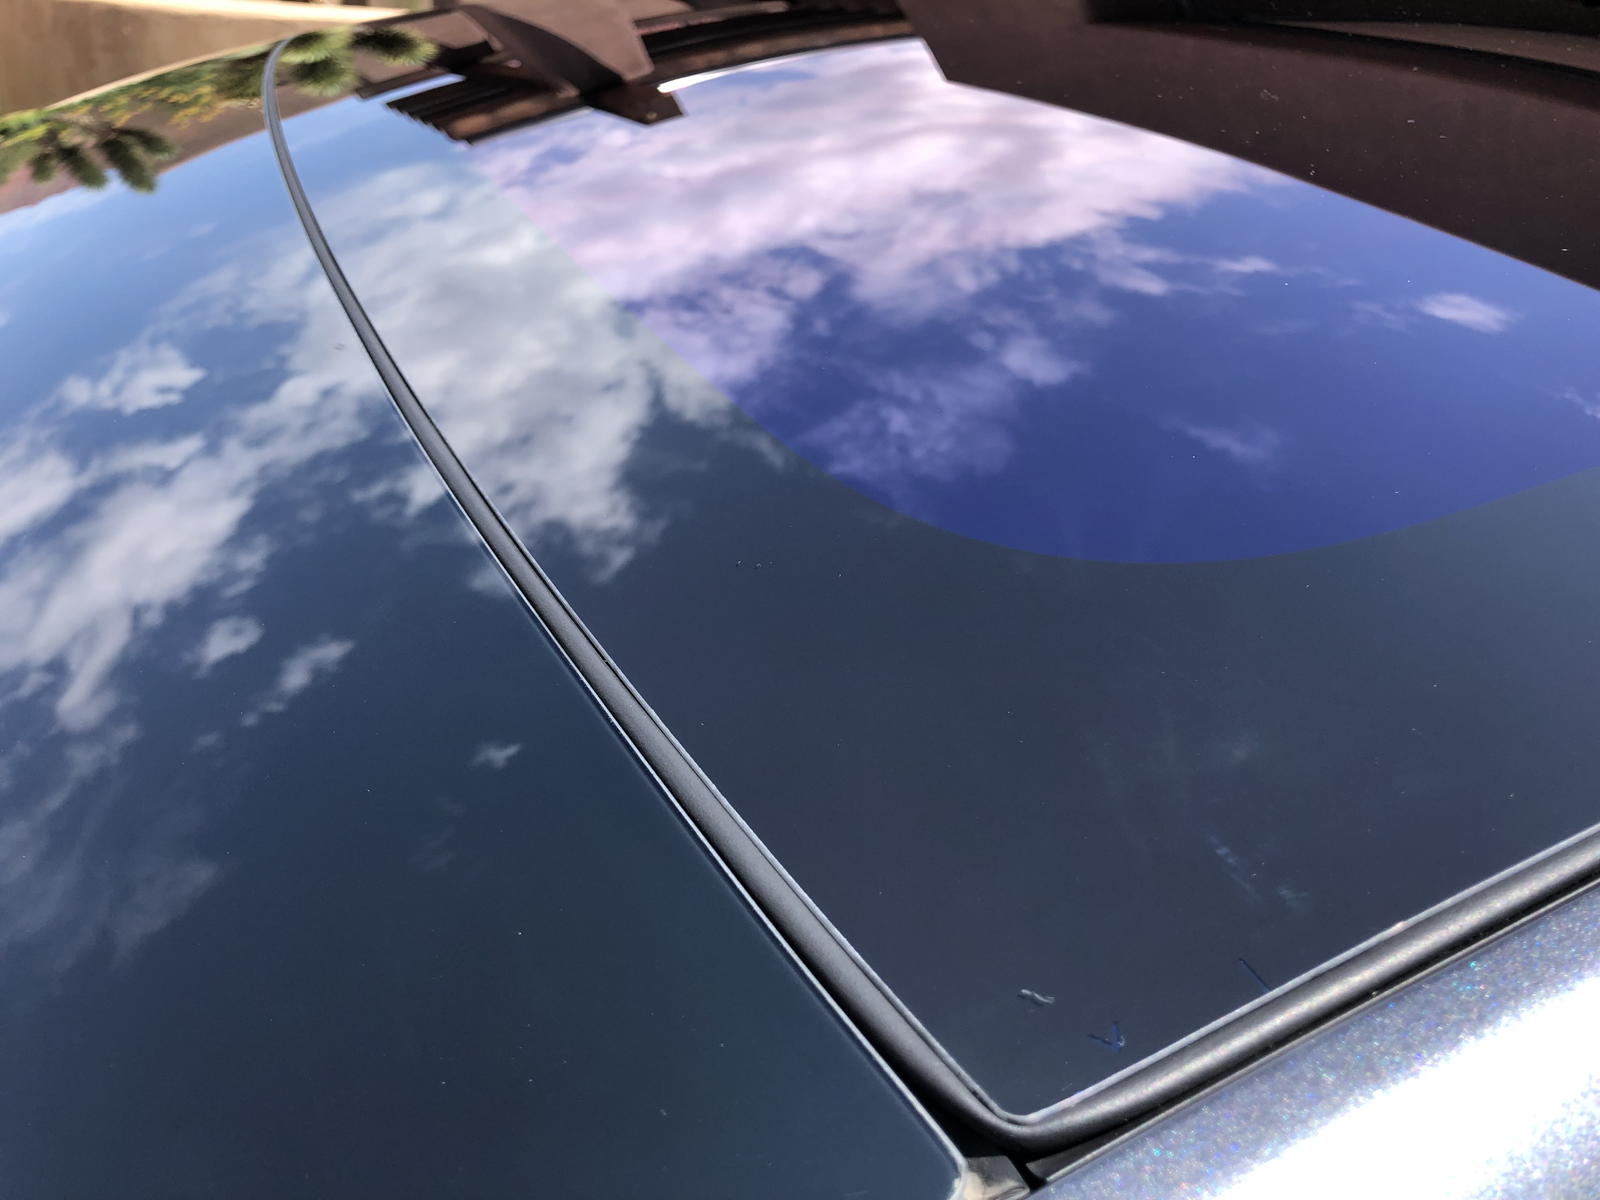
This photo shows the finished product of the seal installed along the rear and driver’s side of the glass panel.

And here you can see it in the groove between the windshield and the glass panel.
Does the seal reduce wind noise? I took Correcaminos out on the highway to see if I could tell the difference, and couldn’t hear any wind whistling over the roof. Of course, that was only at about 60 MPH, so perhaps my ears were fooling me with confirmation bias. Time, speed, and breeze will tell as we take more roadtrips later this summer. Regardless, even if the seal doesn't dampen wind noise very much, I like how the glass roof in the front is now smoother and thus easier to wash with its gaps filled in. I decided that I might as well go for broke, and also install a set of door seals to hopefully make Correcaminos even quieter.